![H-Teal (1).svg]](https://help.occupier.com/hubfs/H-Teal%20(1).svg)
Connect Occupier to NetSuite
Obtain Access Tokens and Setup Integration Role in NetSuite
To successfully set up the NetSuite connection to Occupier, you will need the assistance of your NetSuite system administrator to obtain Access Tokens via Token-Based Authentication. Access tokens play a crucial role in authenticating requests to the NetSuite APIs, allowing for seamless integration between NetSuite and Occupier.
Additionally, your NetSuite administrator will need to create a role for the integration in NetSuite. Provide the Setup Guide "How do I connect Occupier to NetSuite" to your NetSuite system administrator before proceeding to the next steps.
Allow access to Lease Accounting Integrations
To setup the permissions to send journal entries from Occupier to Netsuite, go to Settings>Teams>User/Team Settings and select the user with access to Lease Accounting.
- Select "Allow access to lease accounting integrations", select submit upon completion. To maintain security and control, it is advisable that the user does not have permissions to manage integration settings and access lease accounting integrations.

Send Journal Entries from Occupier to NetSuite
During the process of closing a period, follow the same close books process for an accounting period. See the document "How do I close an accounting period?"
- Once the period is closed, go to the Closed Periods tab from the Close Books menu. [Accounting>Close Books>Closed Periods]
- The Closed Periods tab will show a list of periods along with a column titled "Integration," providing a clear overview of the integration status for each closed period.
- Choose the specific period for which you would like to transmit the Journal Entries to NetSuite and then click the Sync button to initiate the integration to NetSuite.

- The integration status will update to "In Progress," and you'll see a notification indicating that an email will be sent to you once the integration is complete.

Reviewing Integration Results
Successful Integration
- You will receive an email confirmation once the integration has been successfully completed. Select the View Closed Periods button to return to the application to review.

- Upon successful completion of the integration, the status will be marked as "Completed."
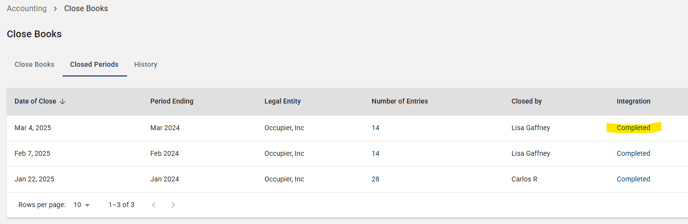
- To view the detailed results of the integration process, simply click on the "Completed" hyperlink within the app, the integration details will display the date and time the integration transmitted and the user that initiated the Journal Entry.
- Choose "View in Integration" to access the Journal Entry details in NetSuite.

Failed Integration
- You will receive an email if the integration fails. Select the Review Errors button to return to the application to review the errors.
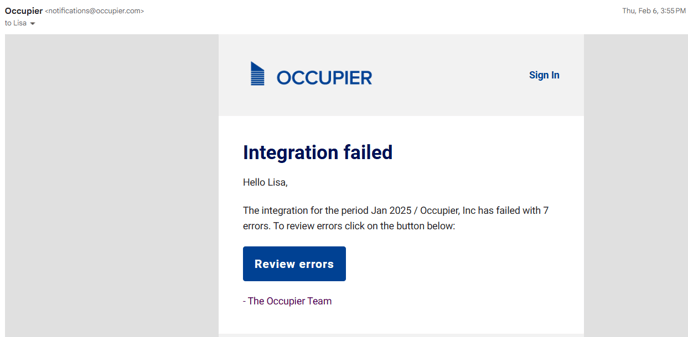
- Upon a failed integration, the status will be marked as Failed. Click on the hyperlink to review the errors.

- The errors will display on the integration details page. The example below has an error where the subsidiary, account number, and department are not found in NetSuite. Some errors may be corrected by the user, allowing you to attempt the integration again by selecting the Retry button once corrections are completed. For a list of errors and corrective actions, see the document "How do I fix errors in a Journal Entry Integration".
