How To Add a New Lease
It's very easy to create a new lease in Occupier using the Lease Administration tools.
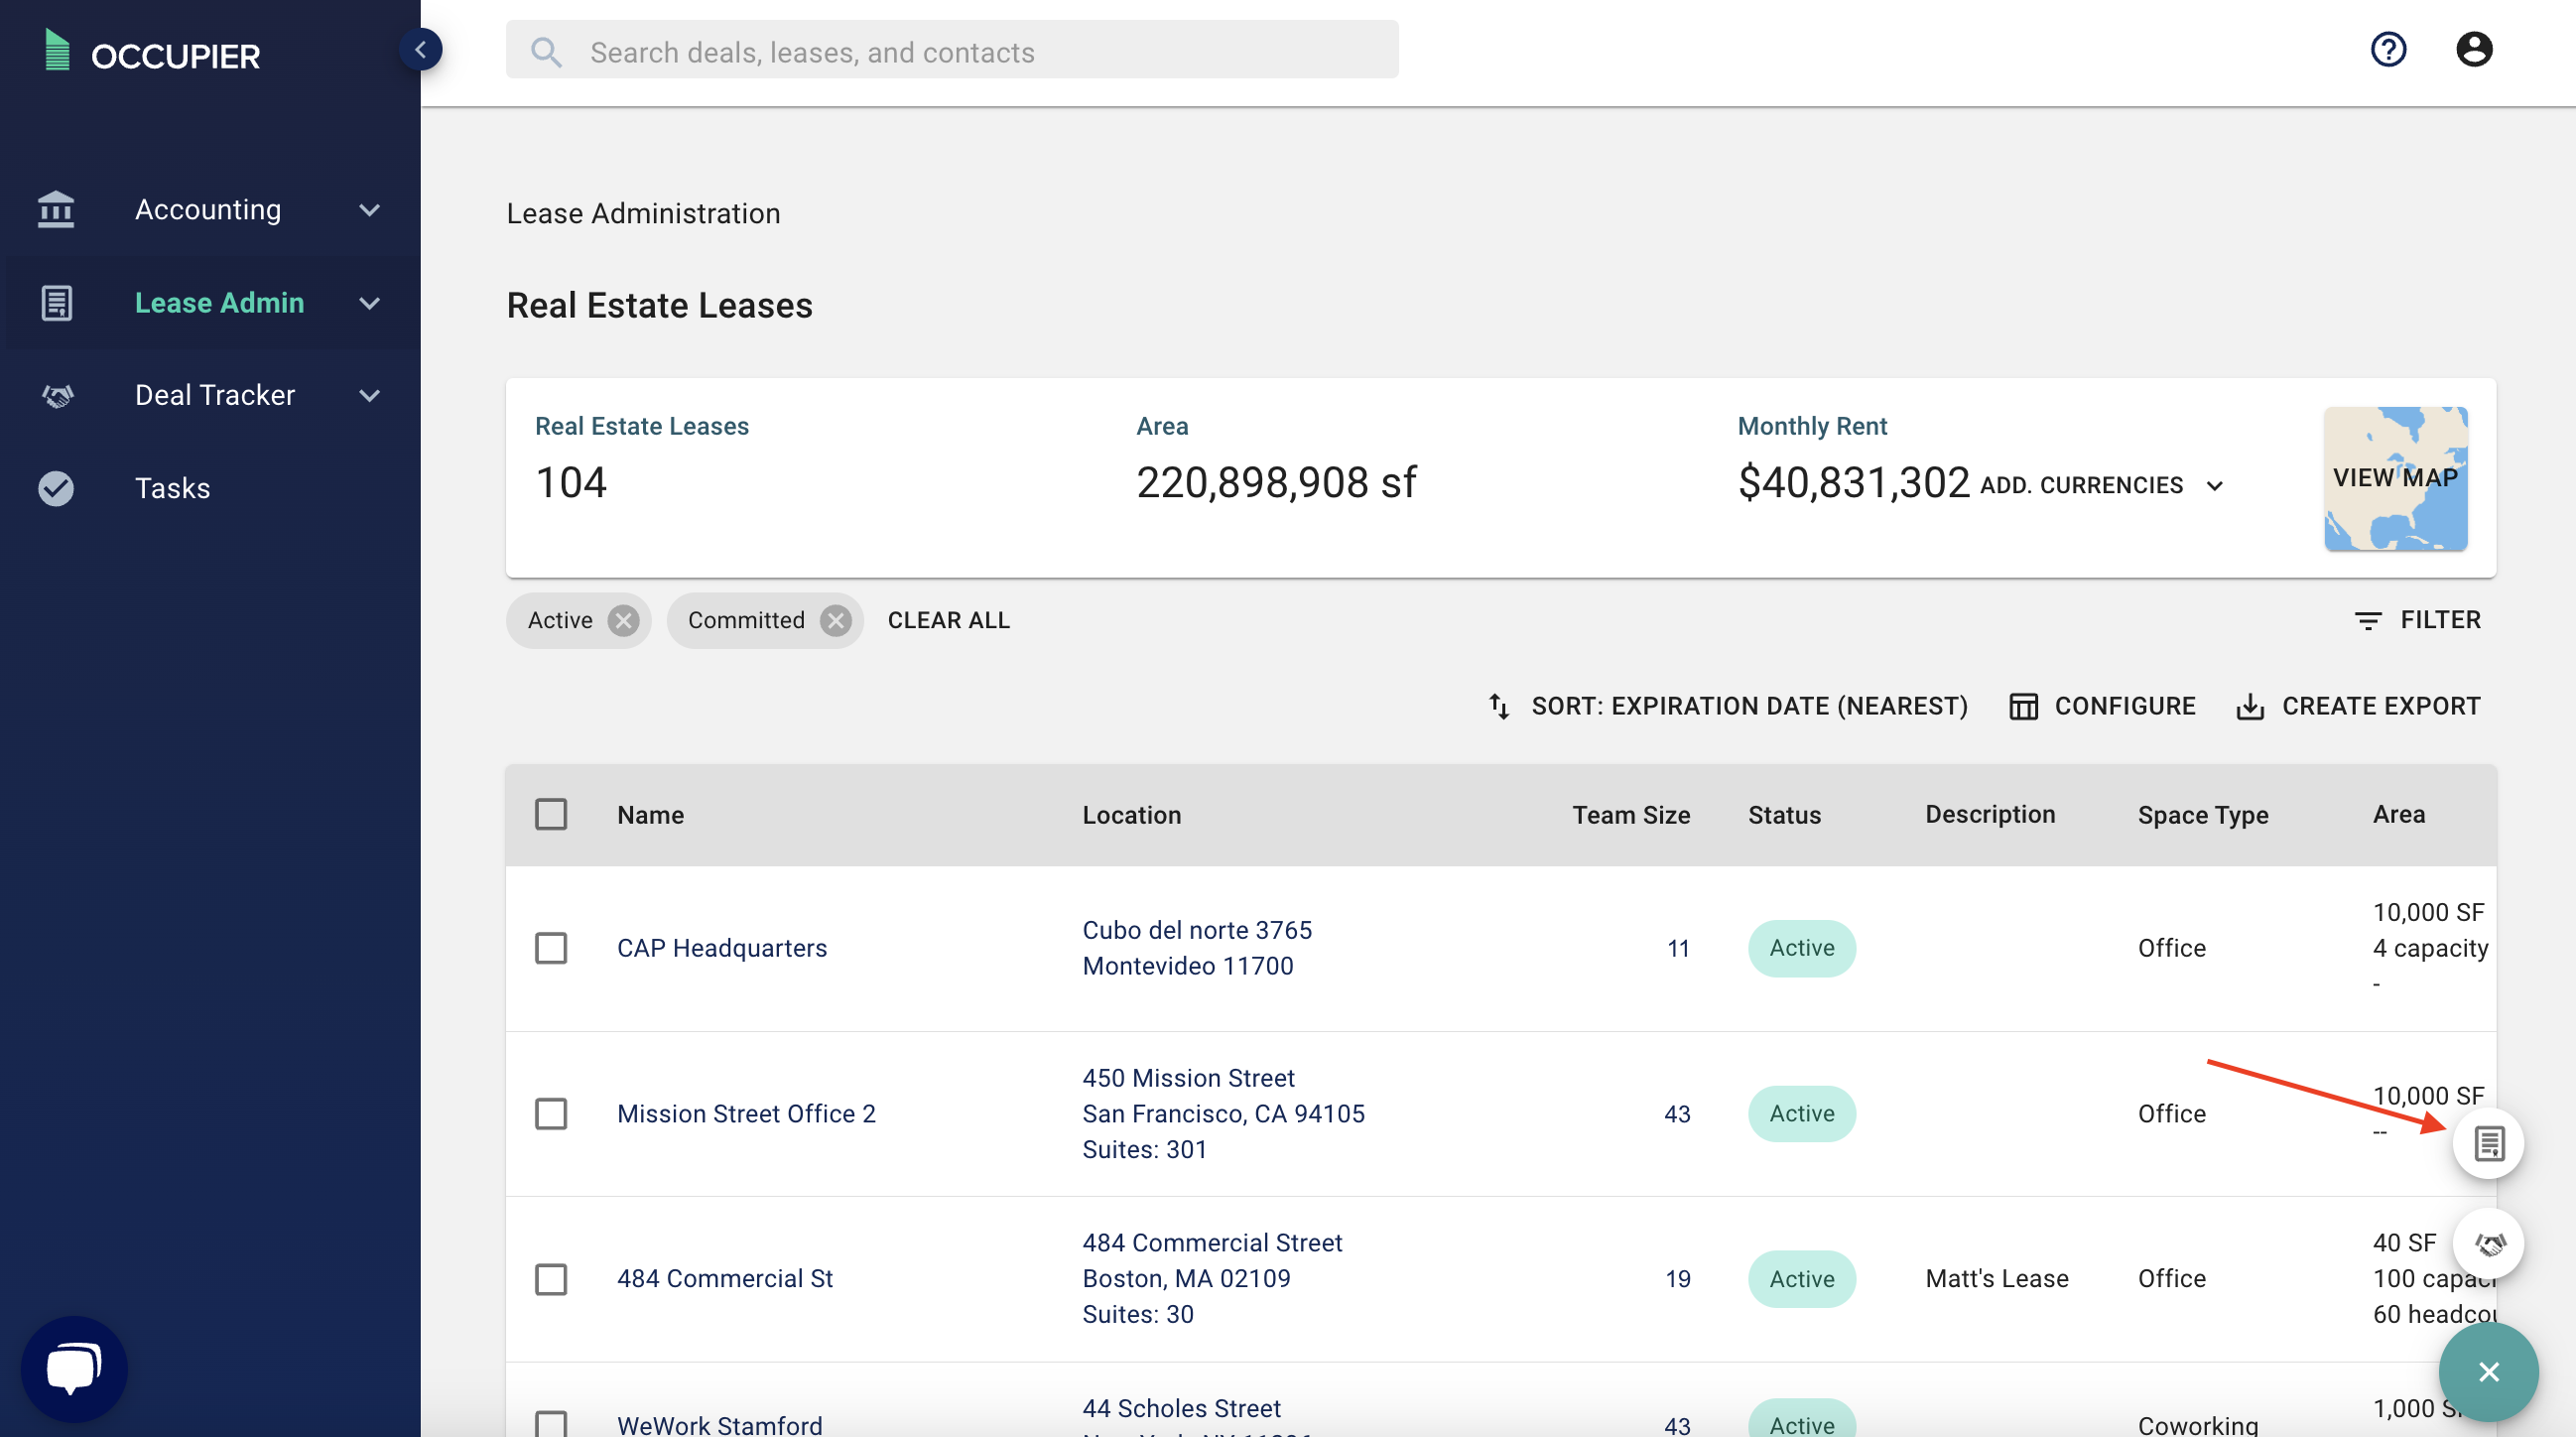
Step 1: Click on the green plus (+) symbol at the bottom right and select the 'Lease' option.
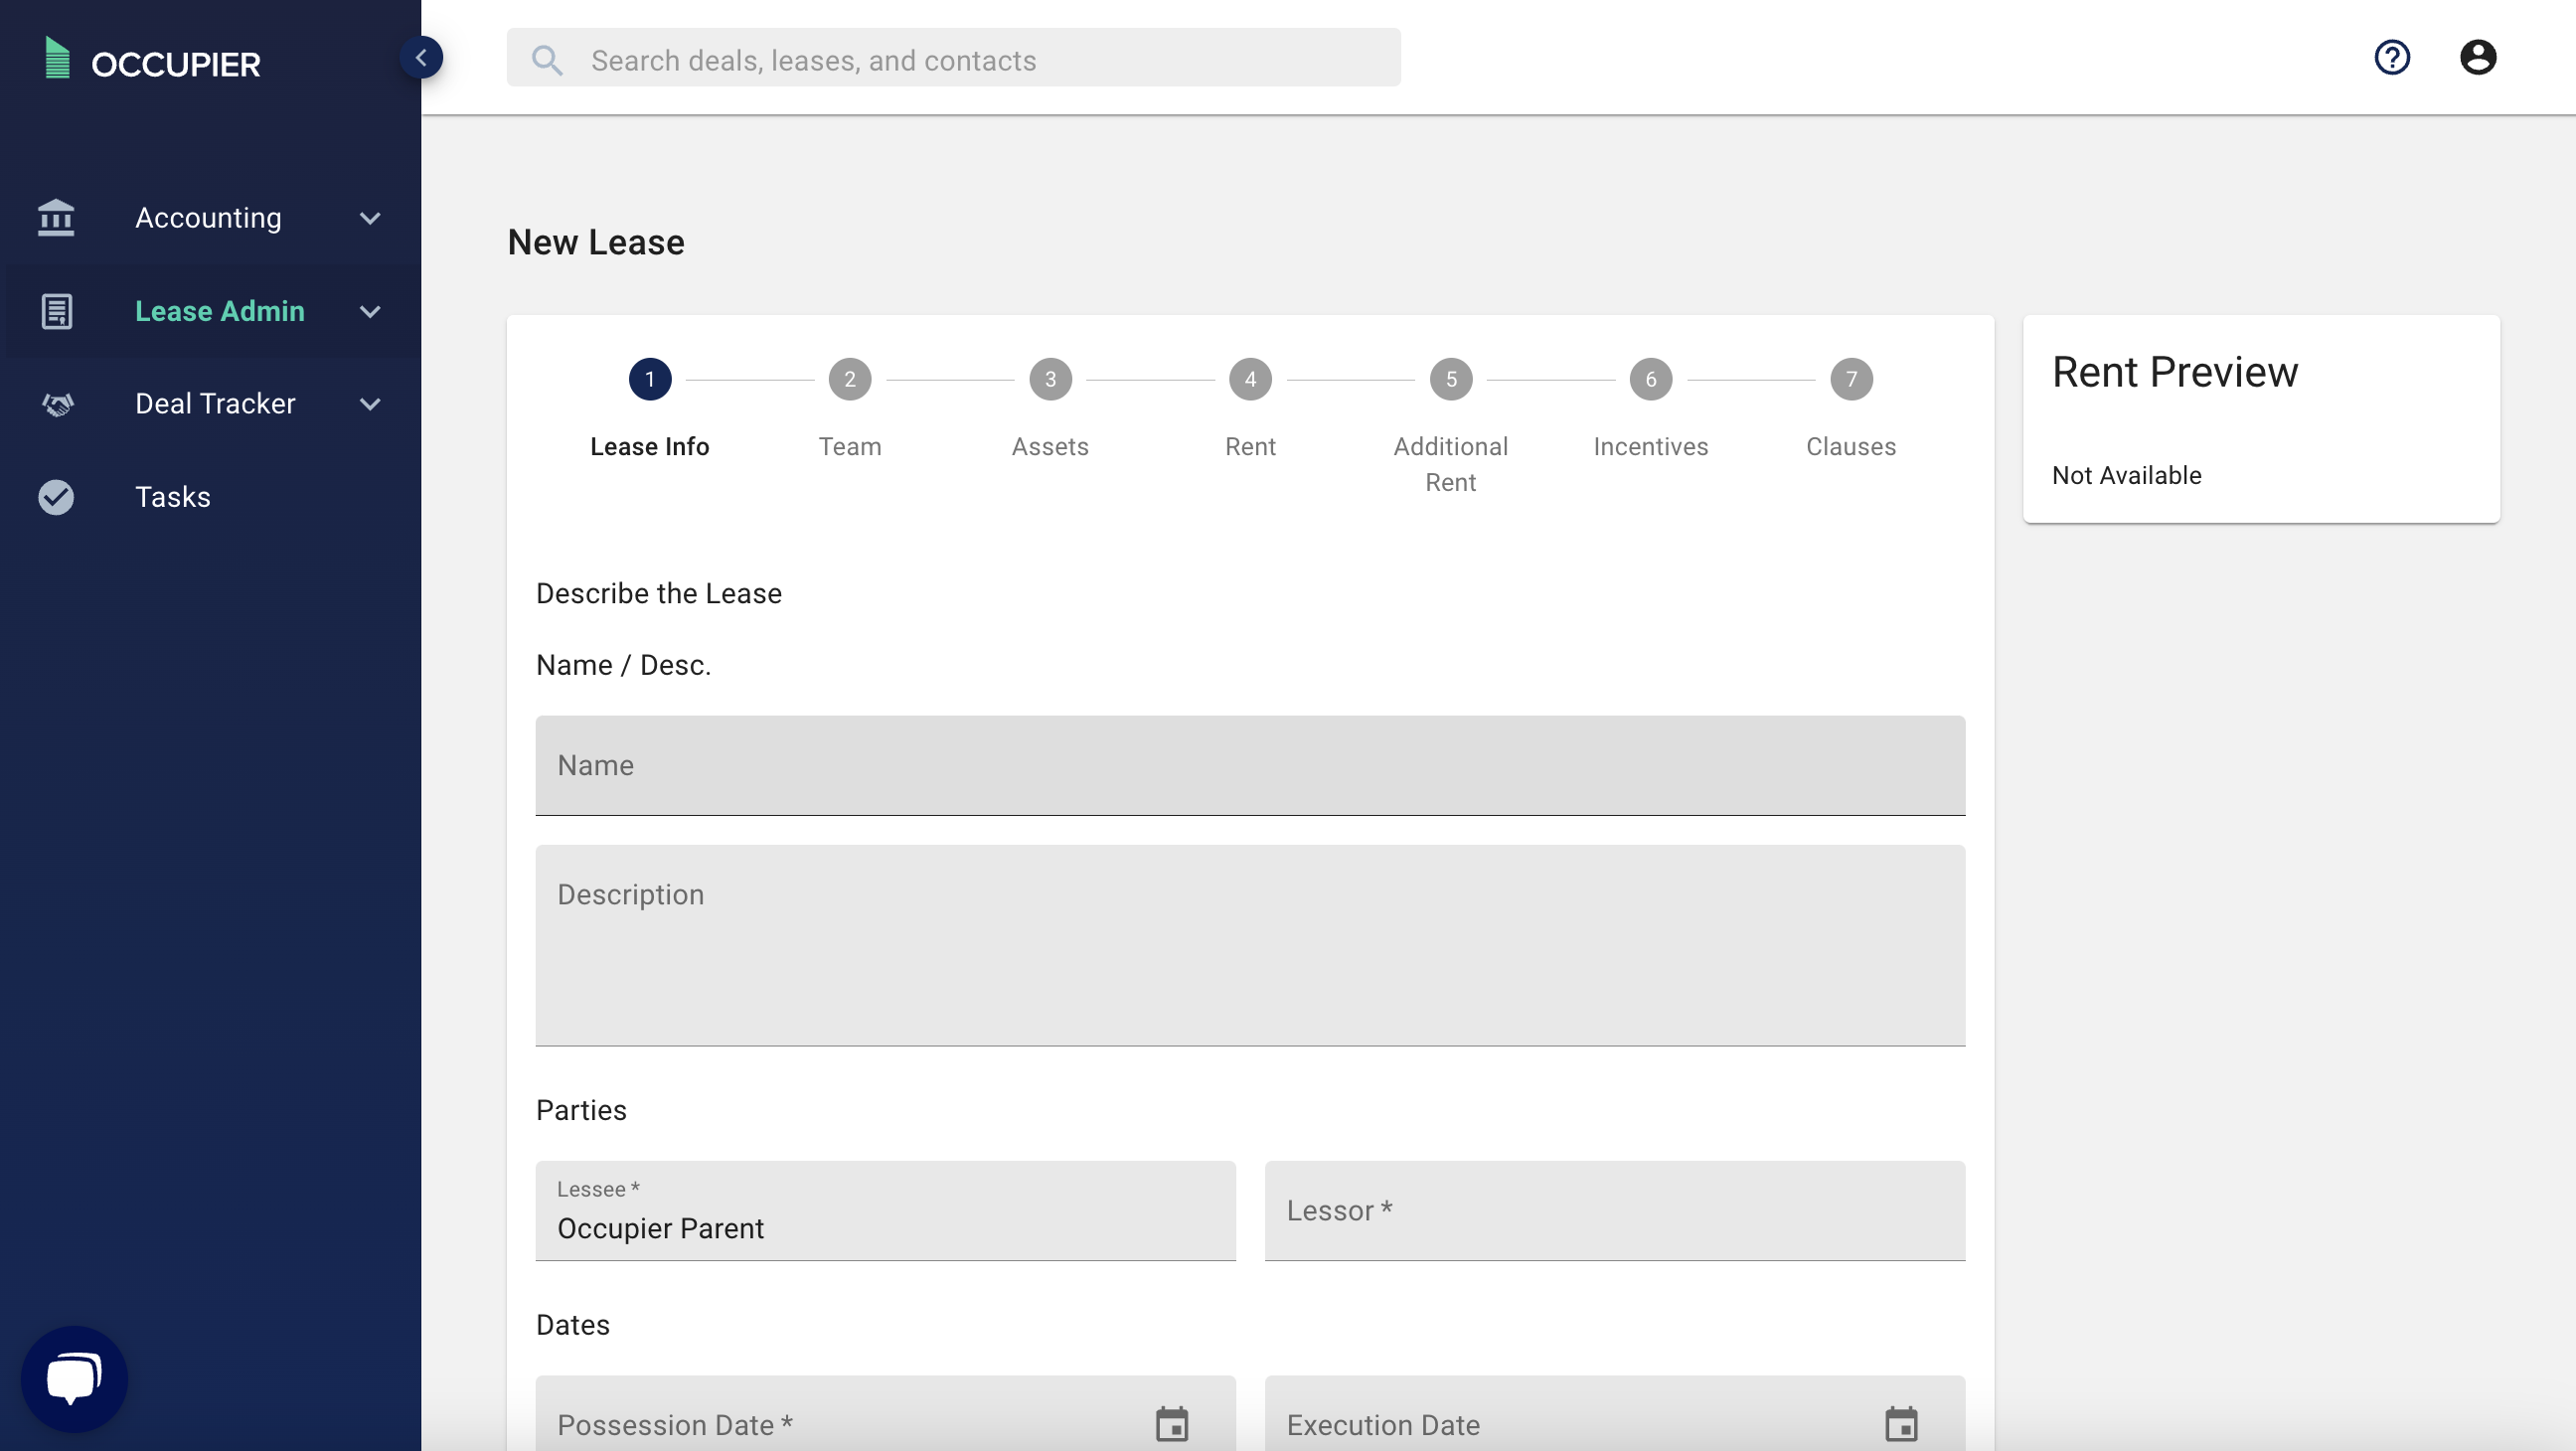
Step 2: Input your lease information.
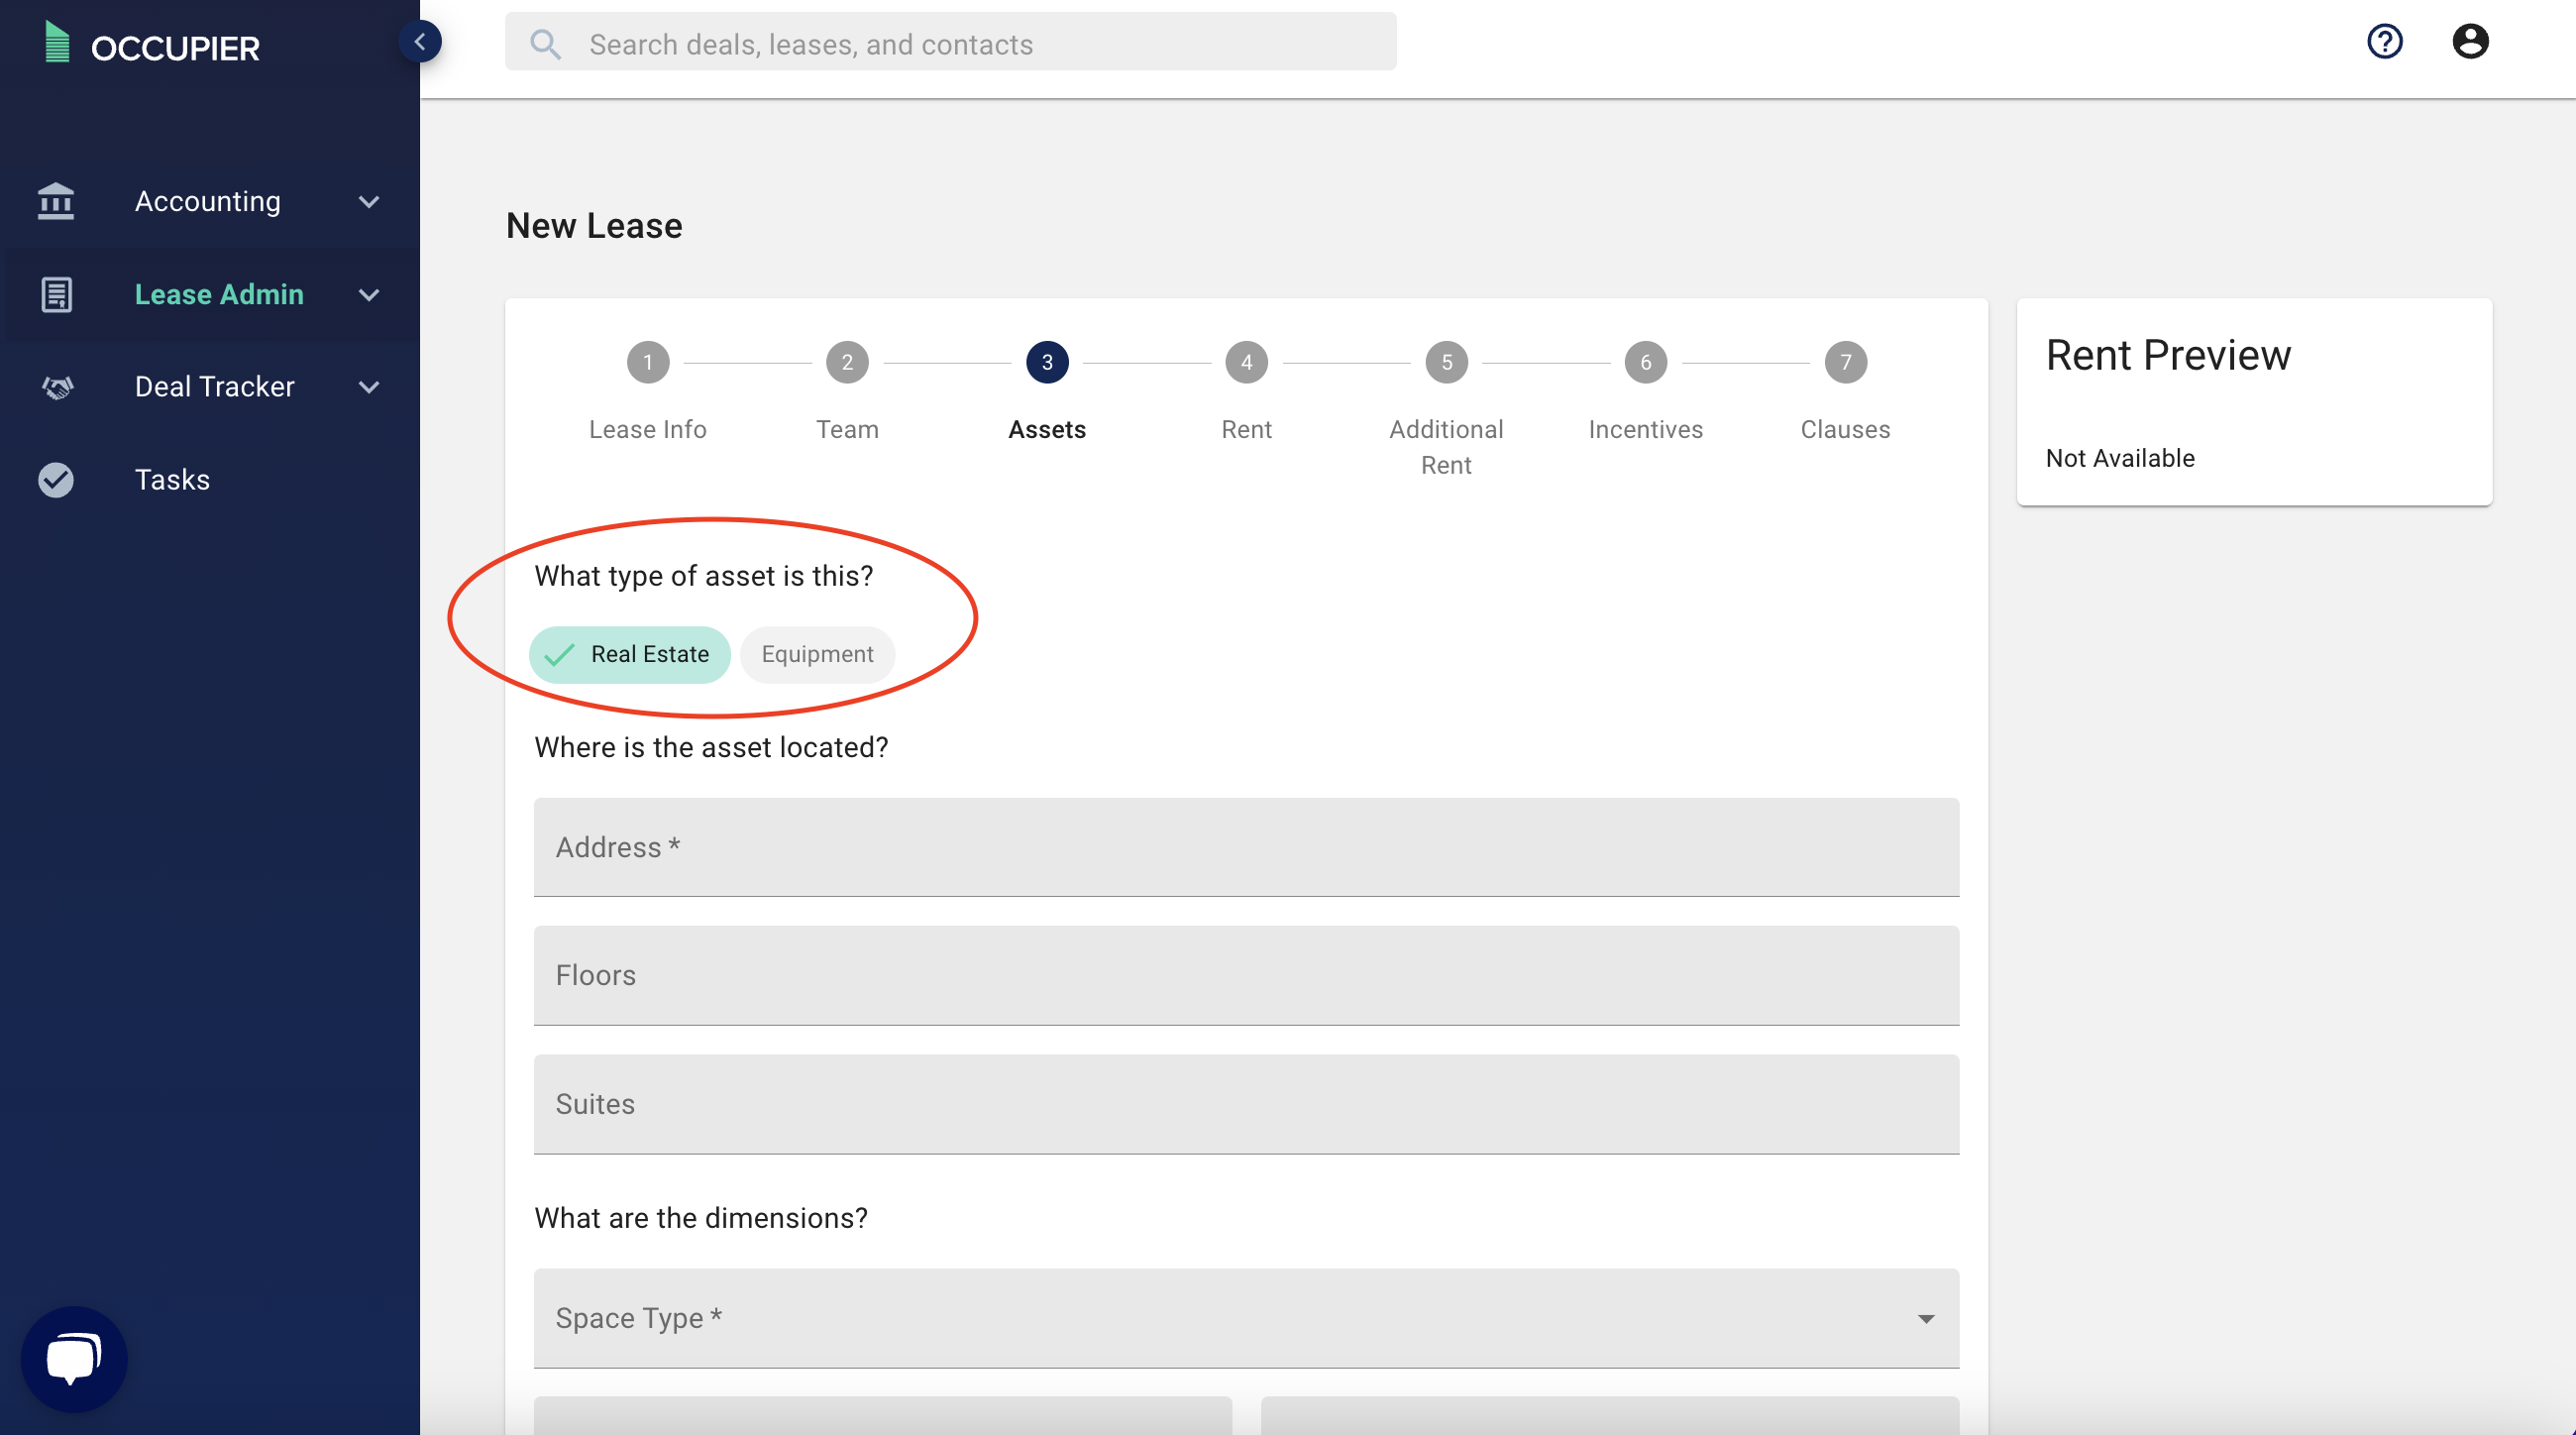
Step 3: Select whether you are adding a 'Real Estate' Lease or an 'Equipment' Lease. And add details related to address, floors, suites etc.
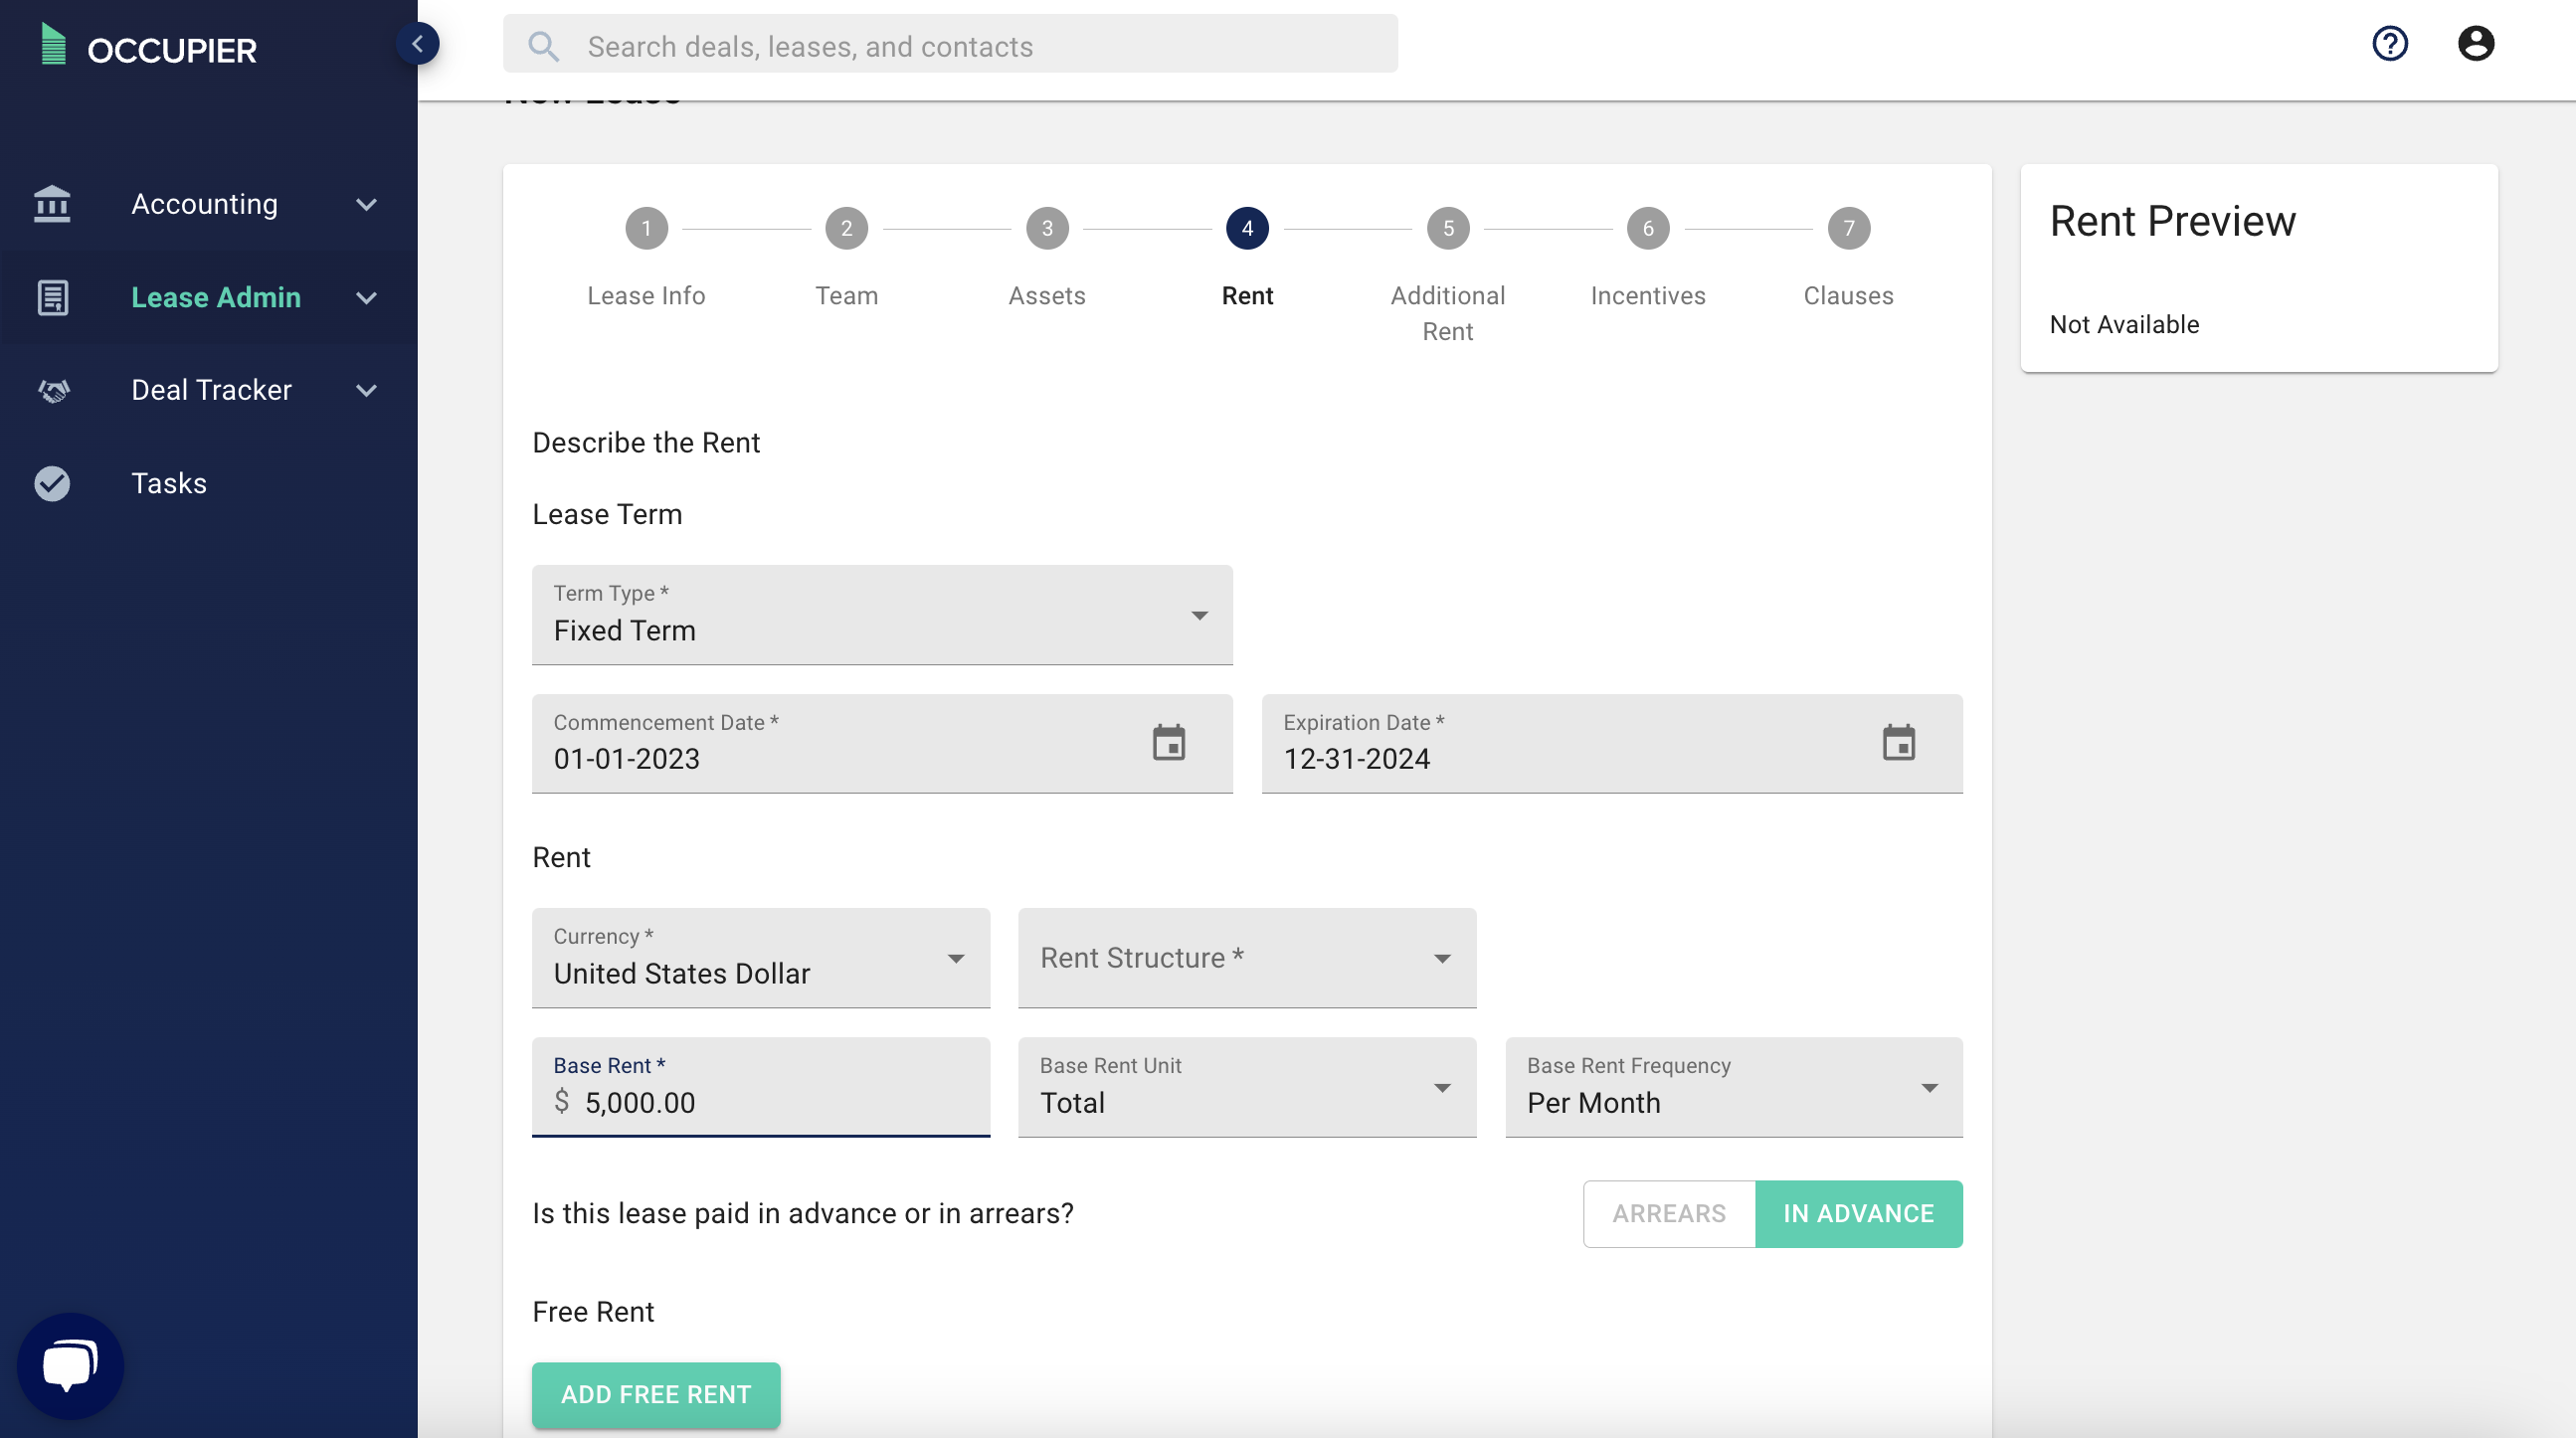
Step 4: Input your lease term and rent schedule. This page is also where you can add TI Allowance. To learn more about how to add abatement periods or rent escalations, check out this article.
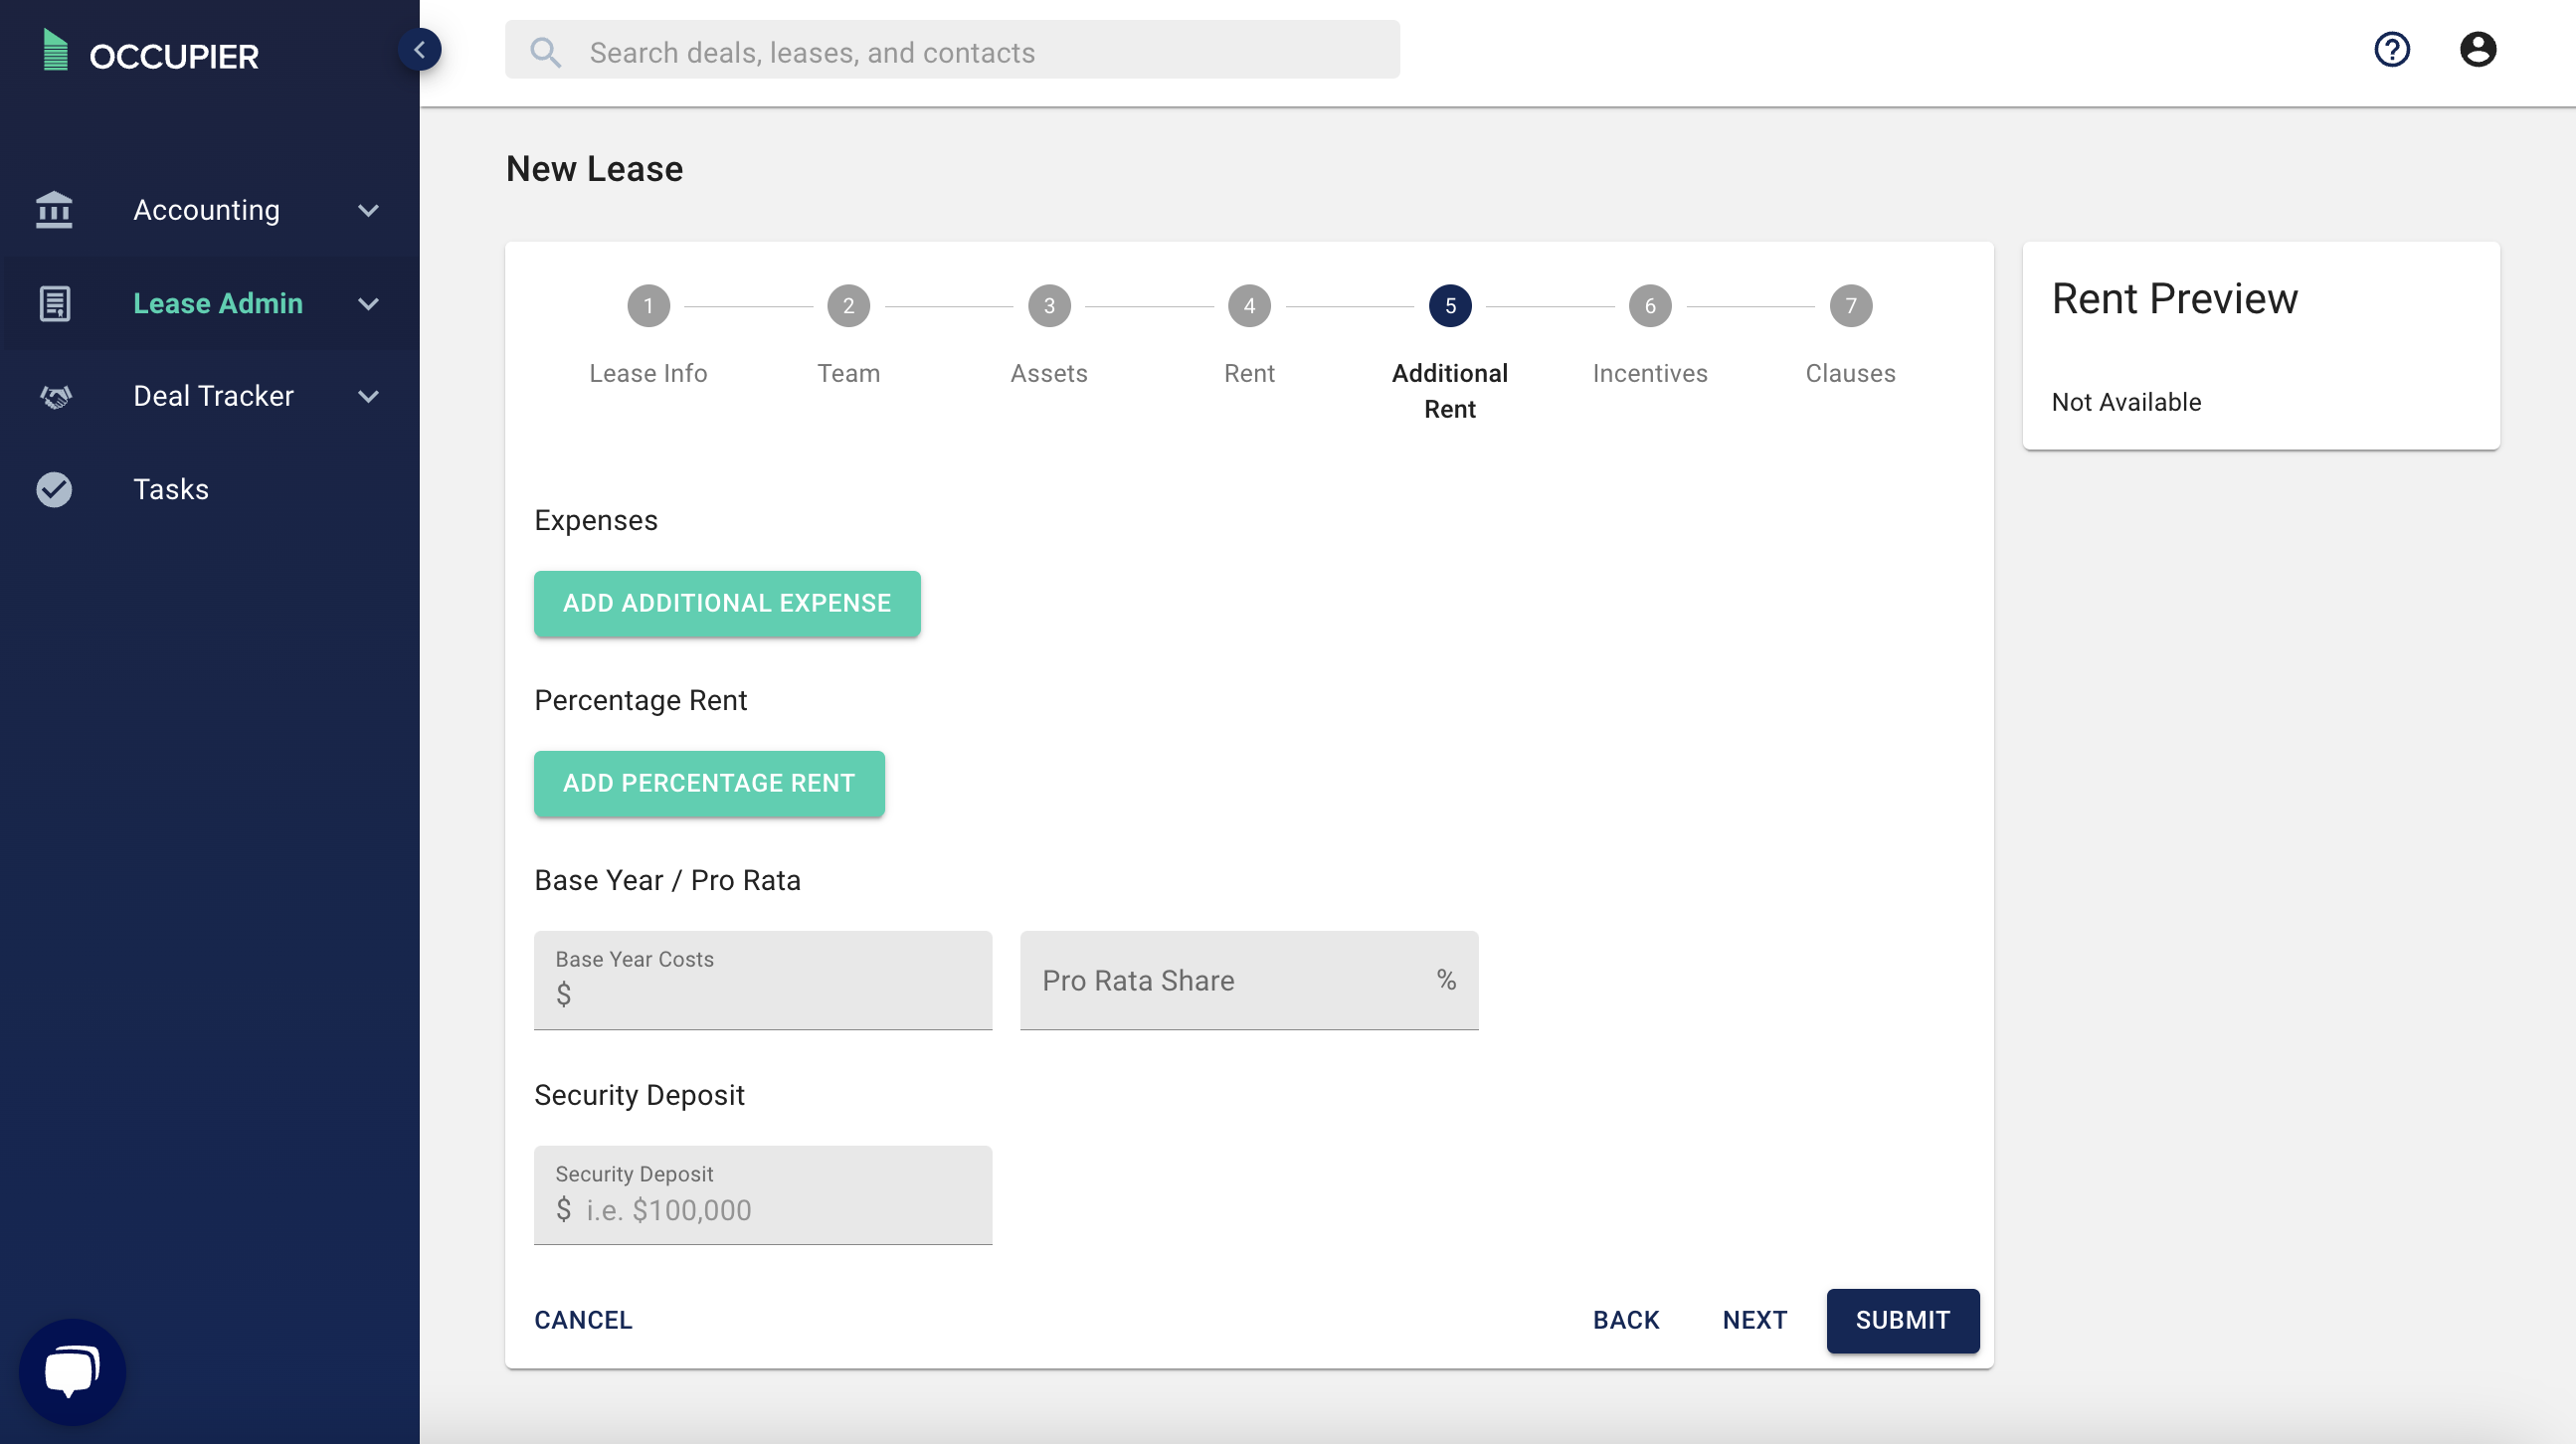
Step 5: Add your additional rent expenses, percentage rent (both optional) pro rata share and your security deposit amount.
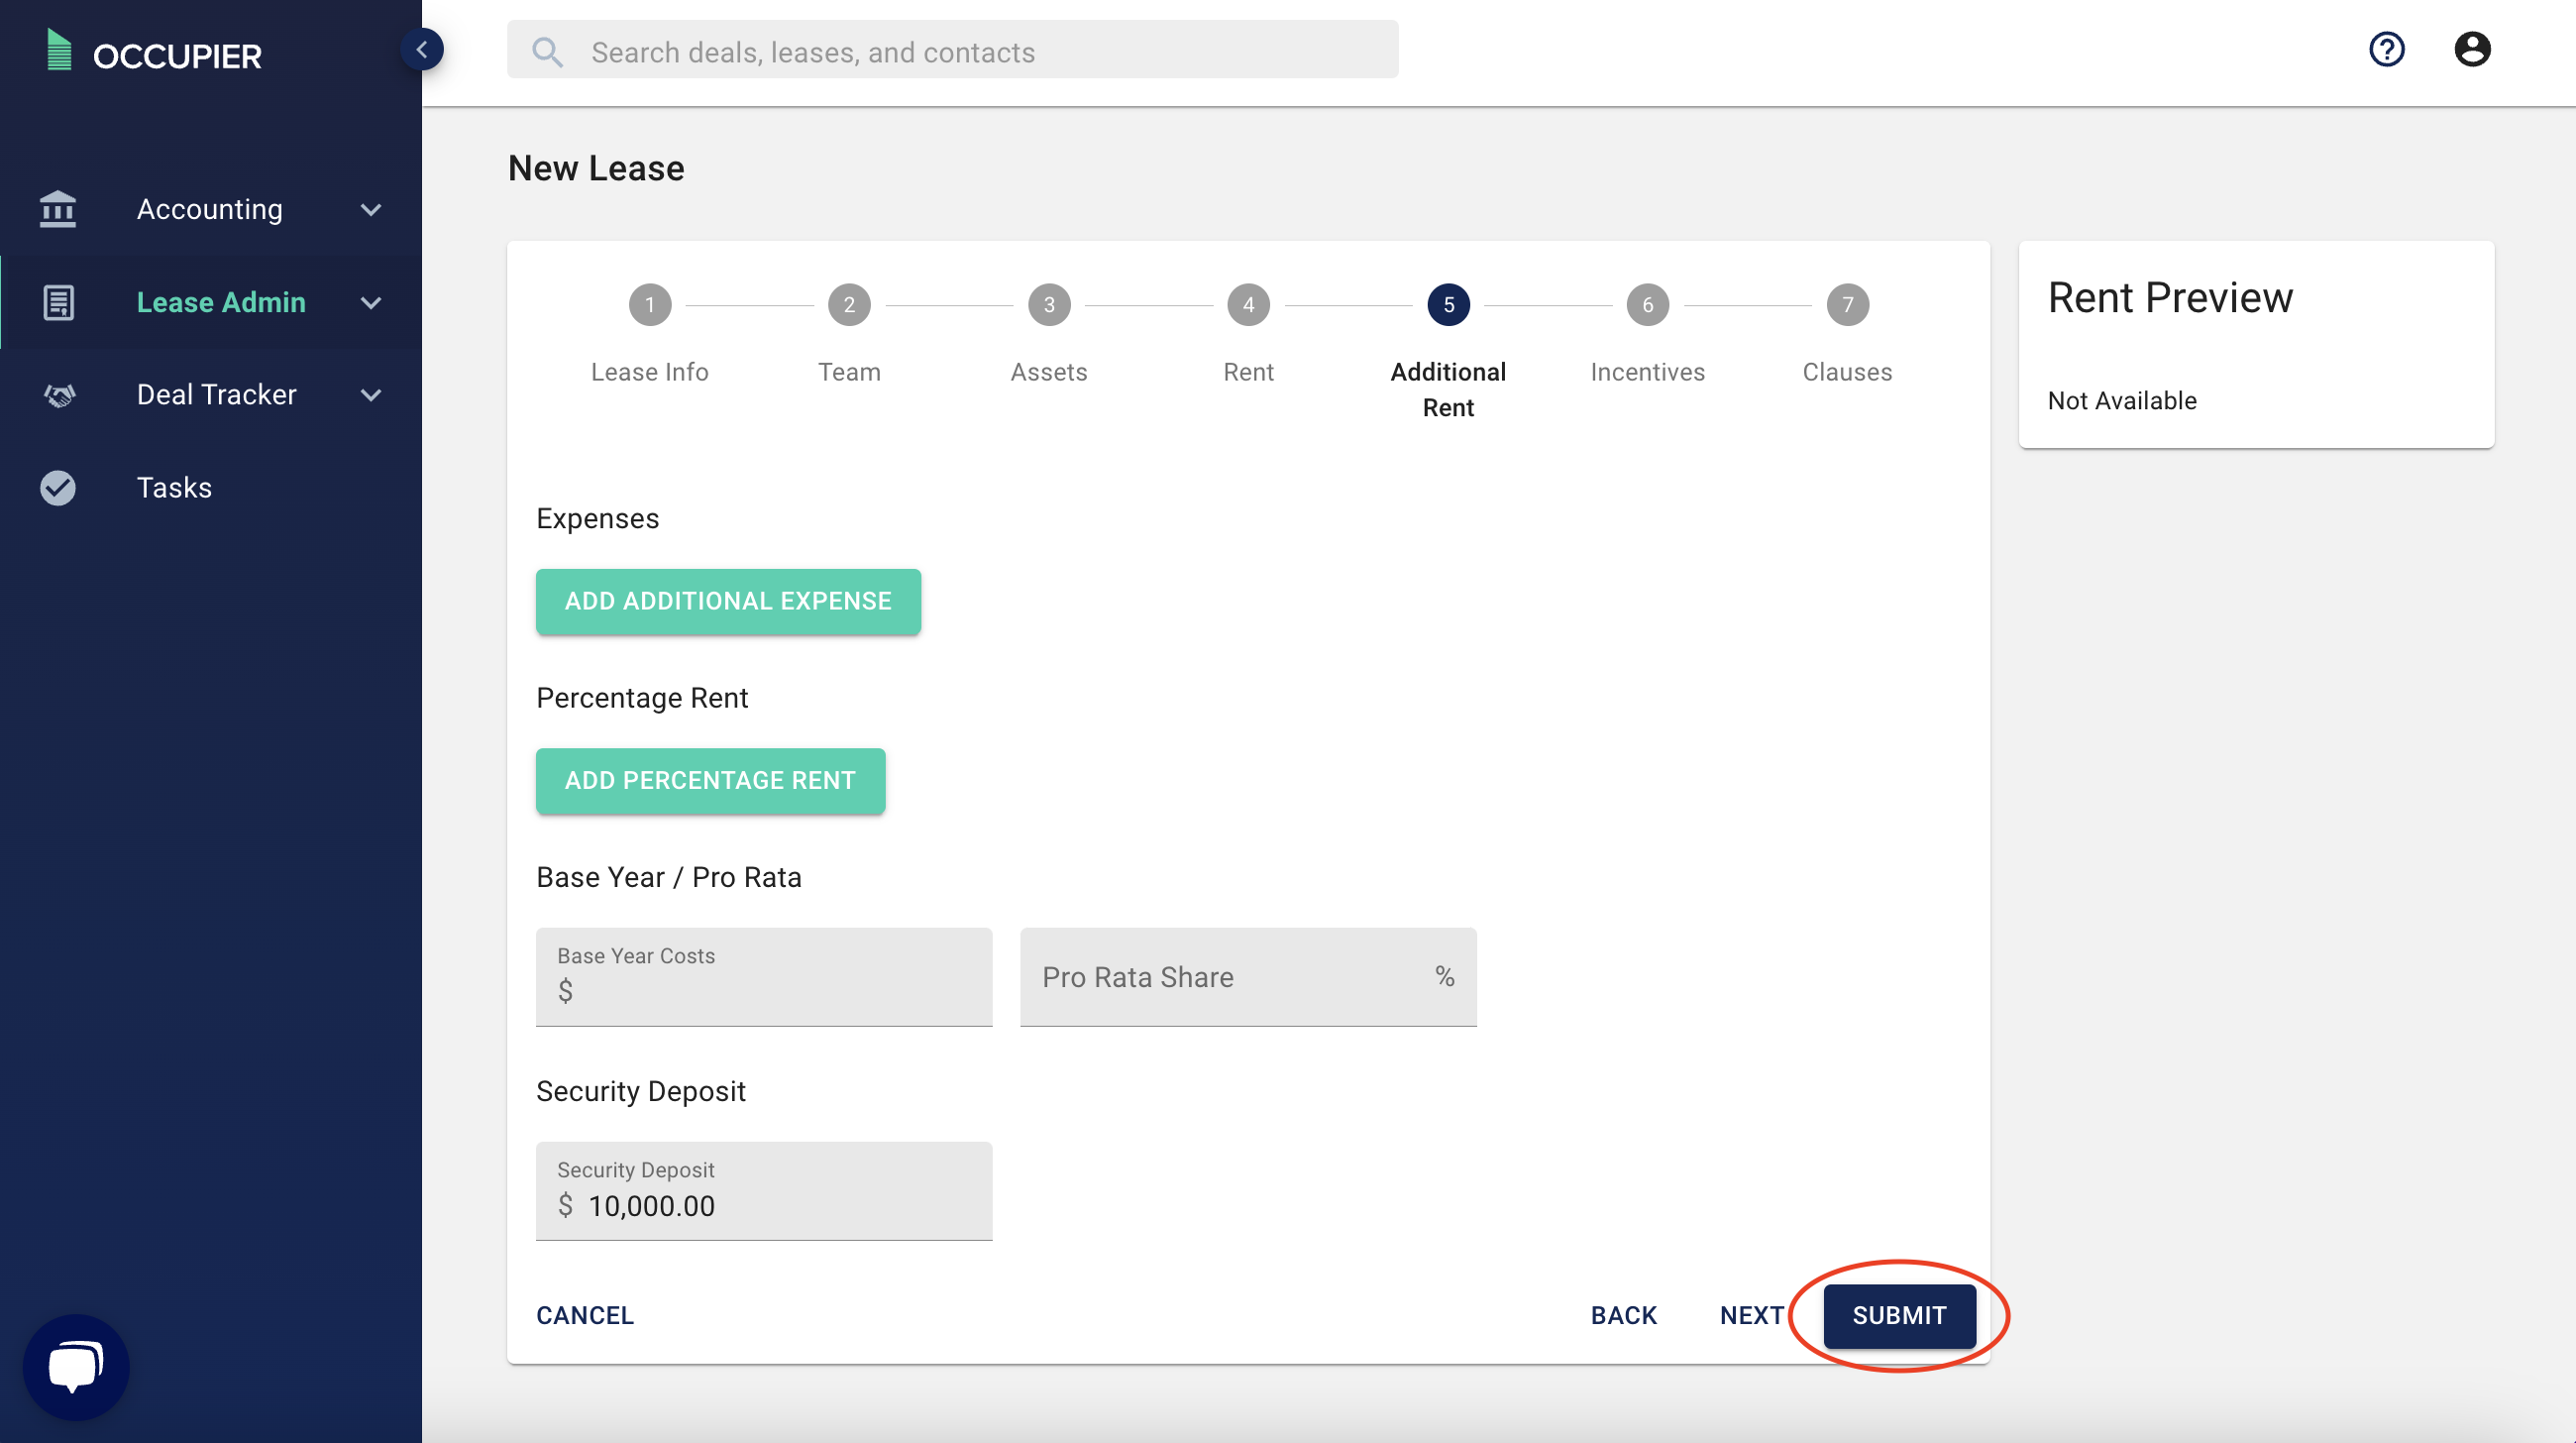
Step 6: Click submit once you are done.
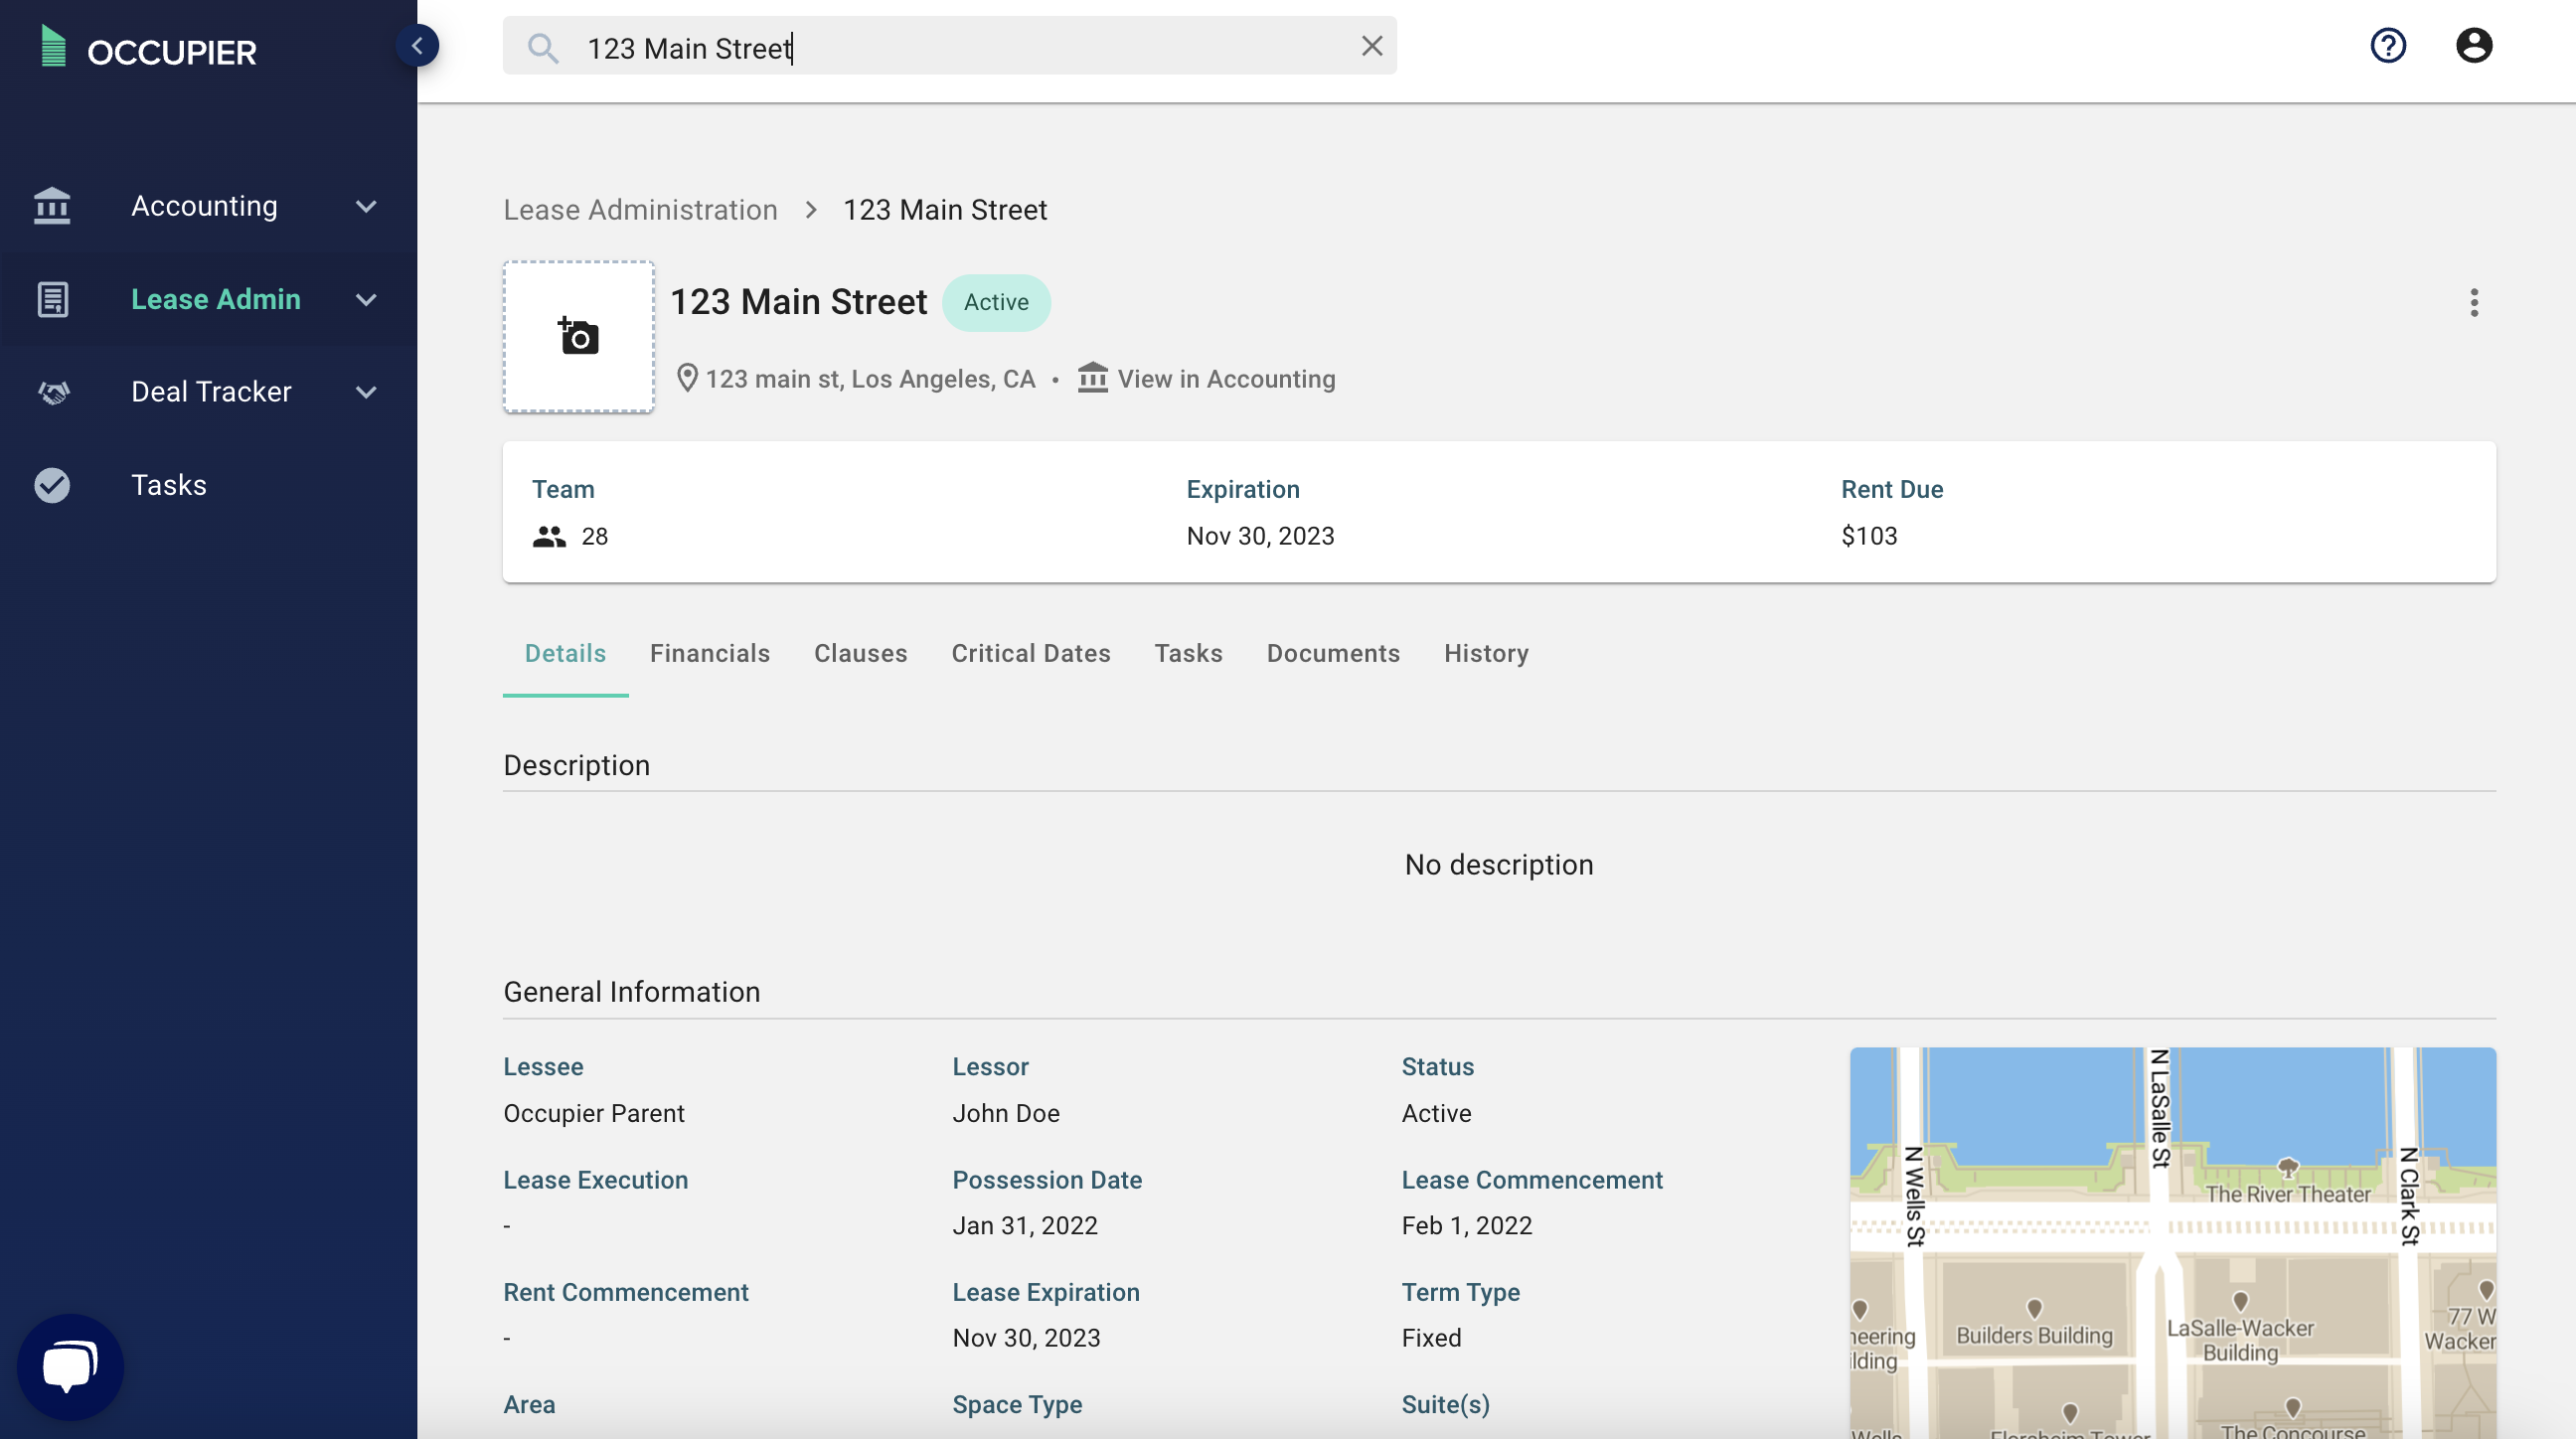
Step 7: You will then be taken to the lease page.
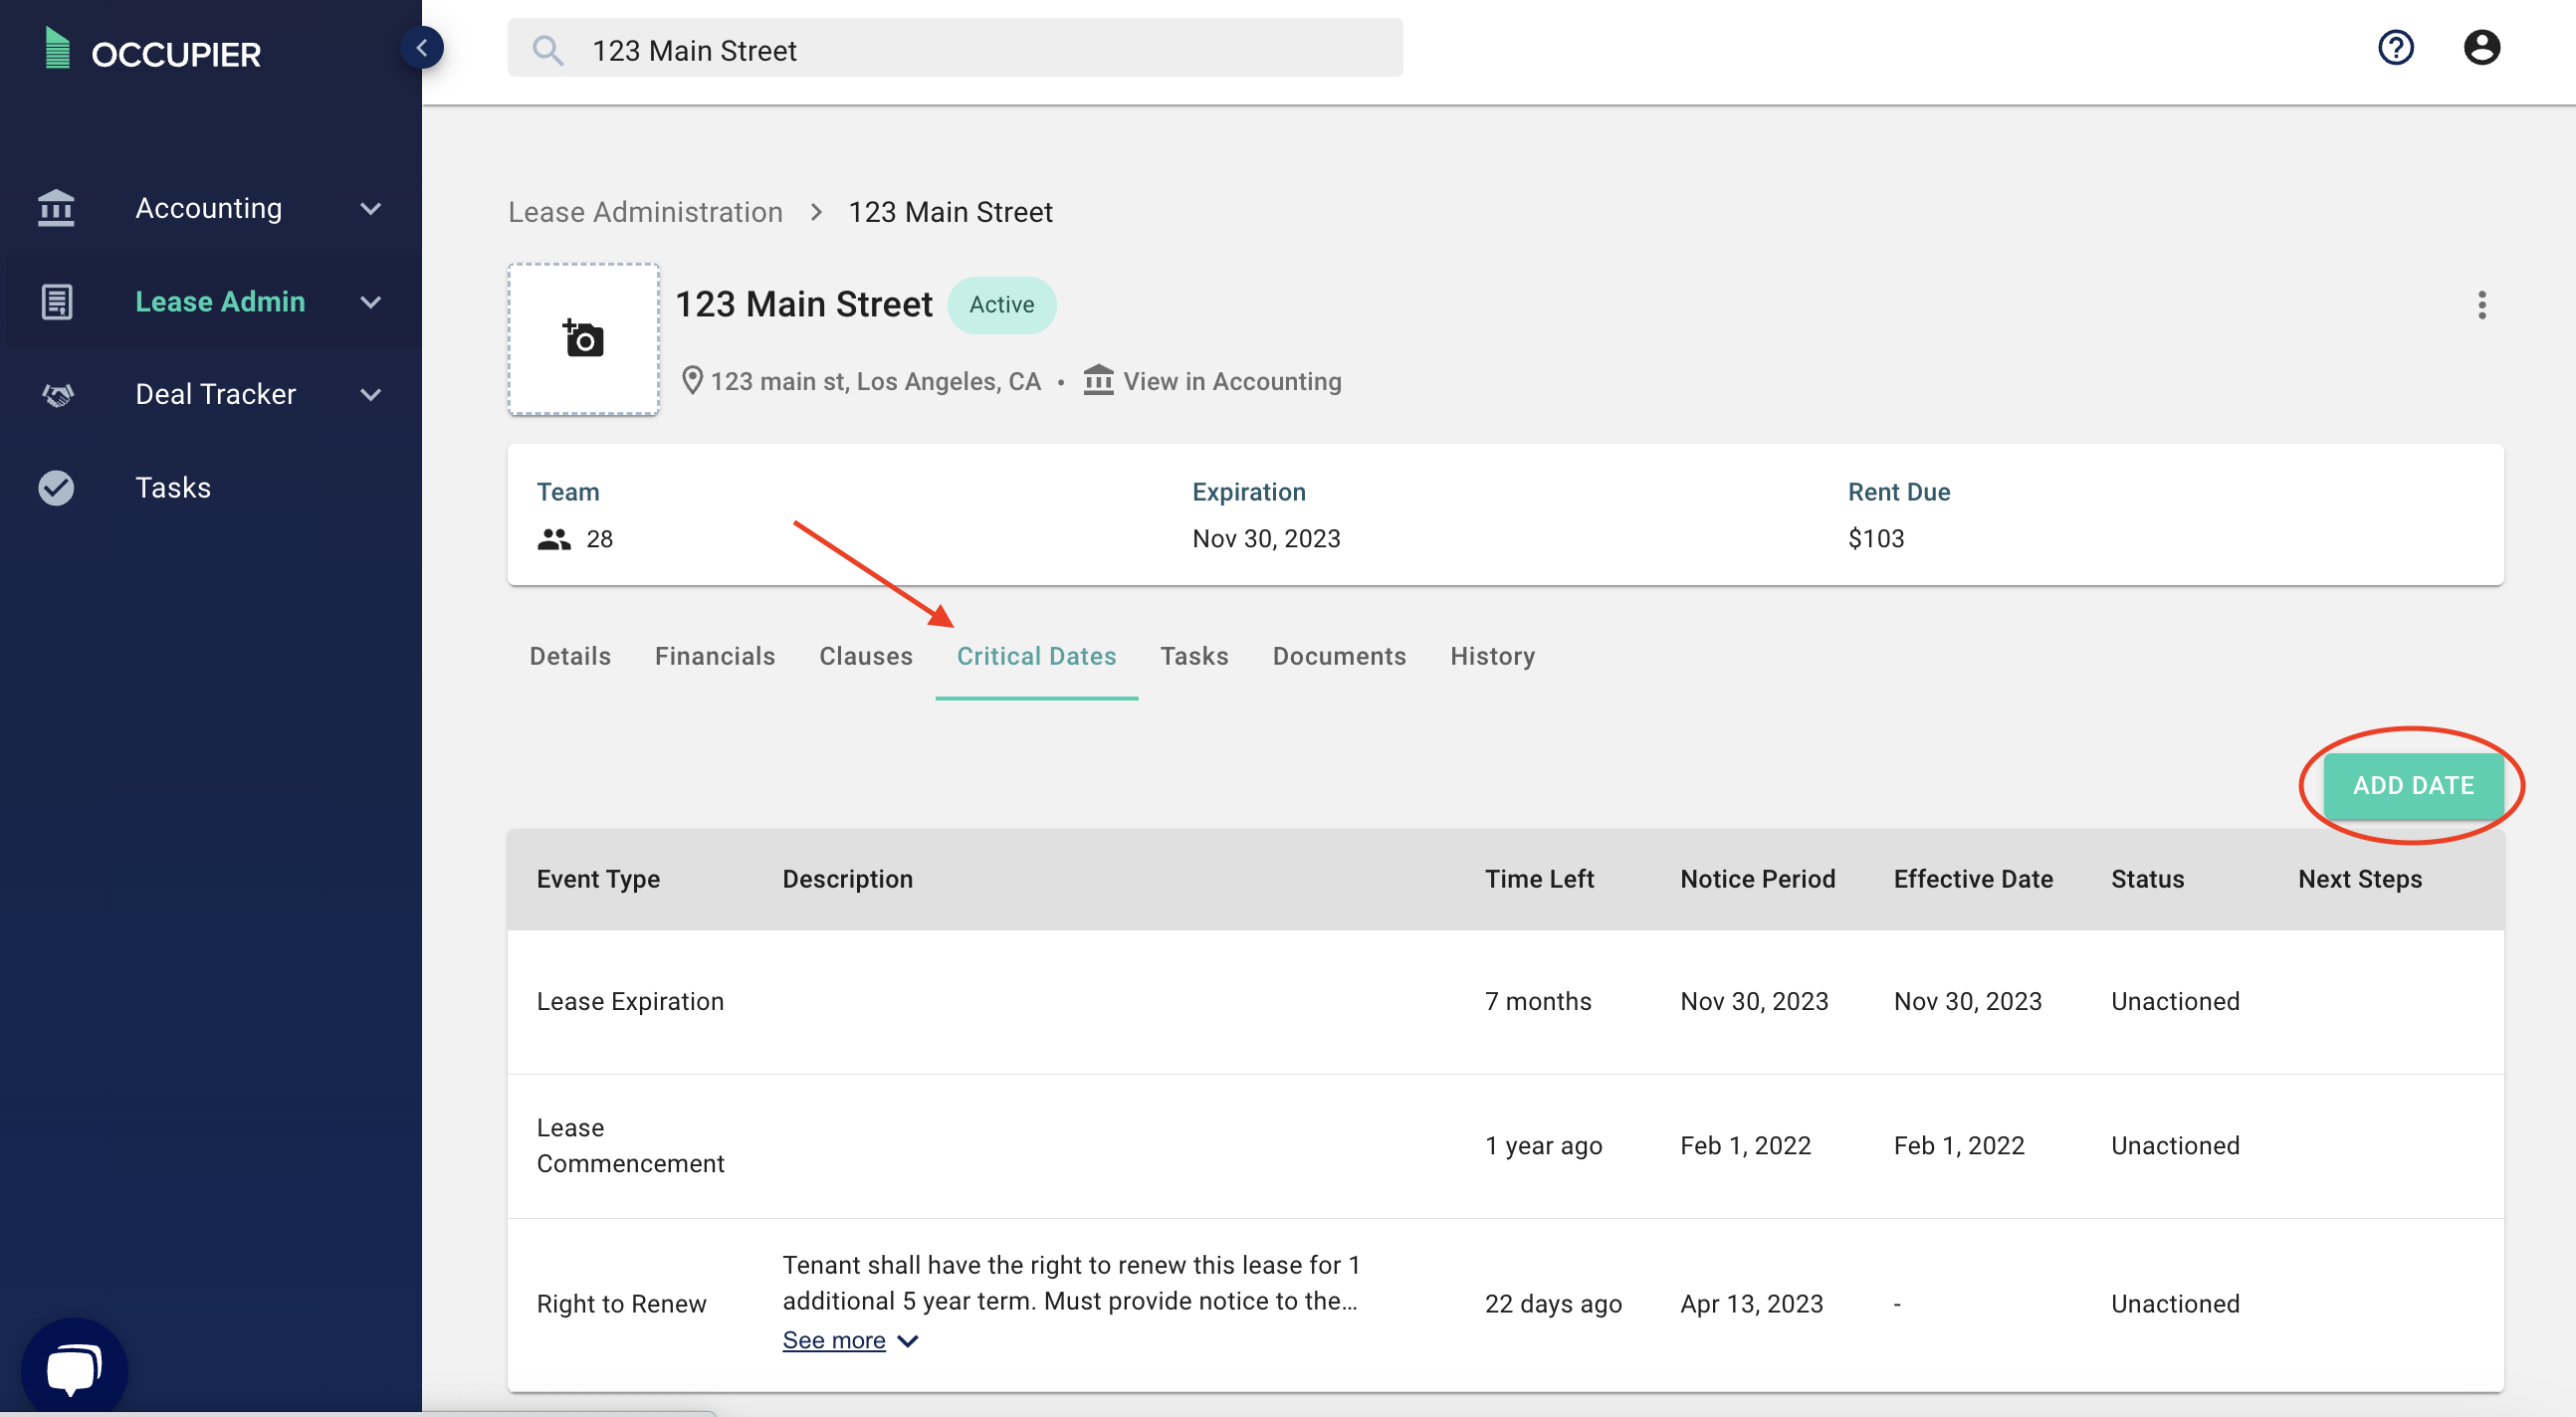
Step 8: Next, add critical dates.
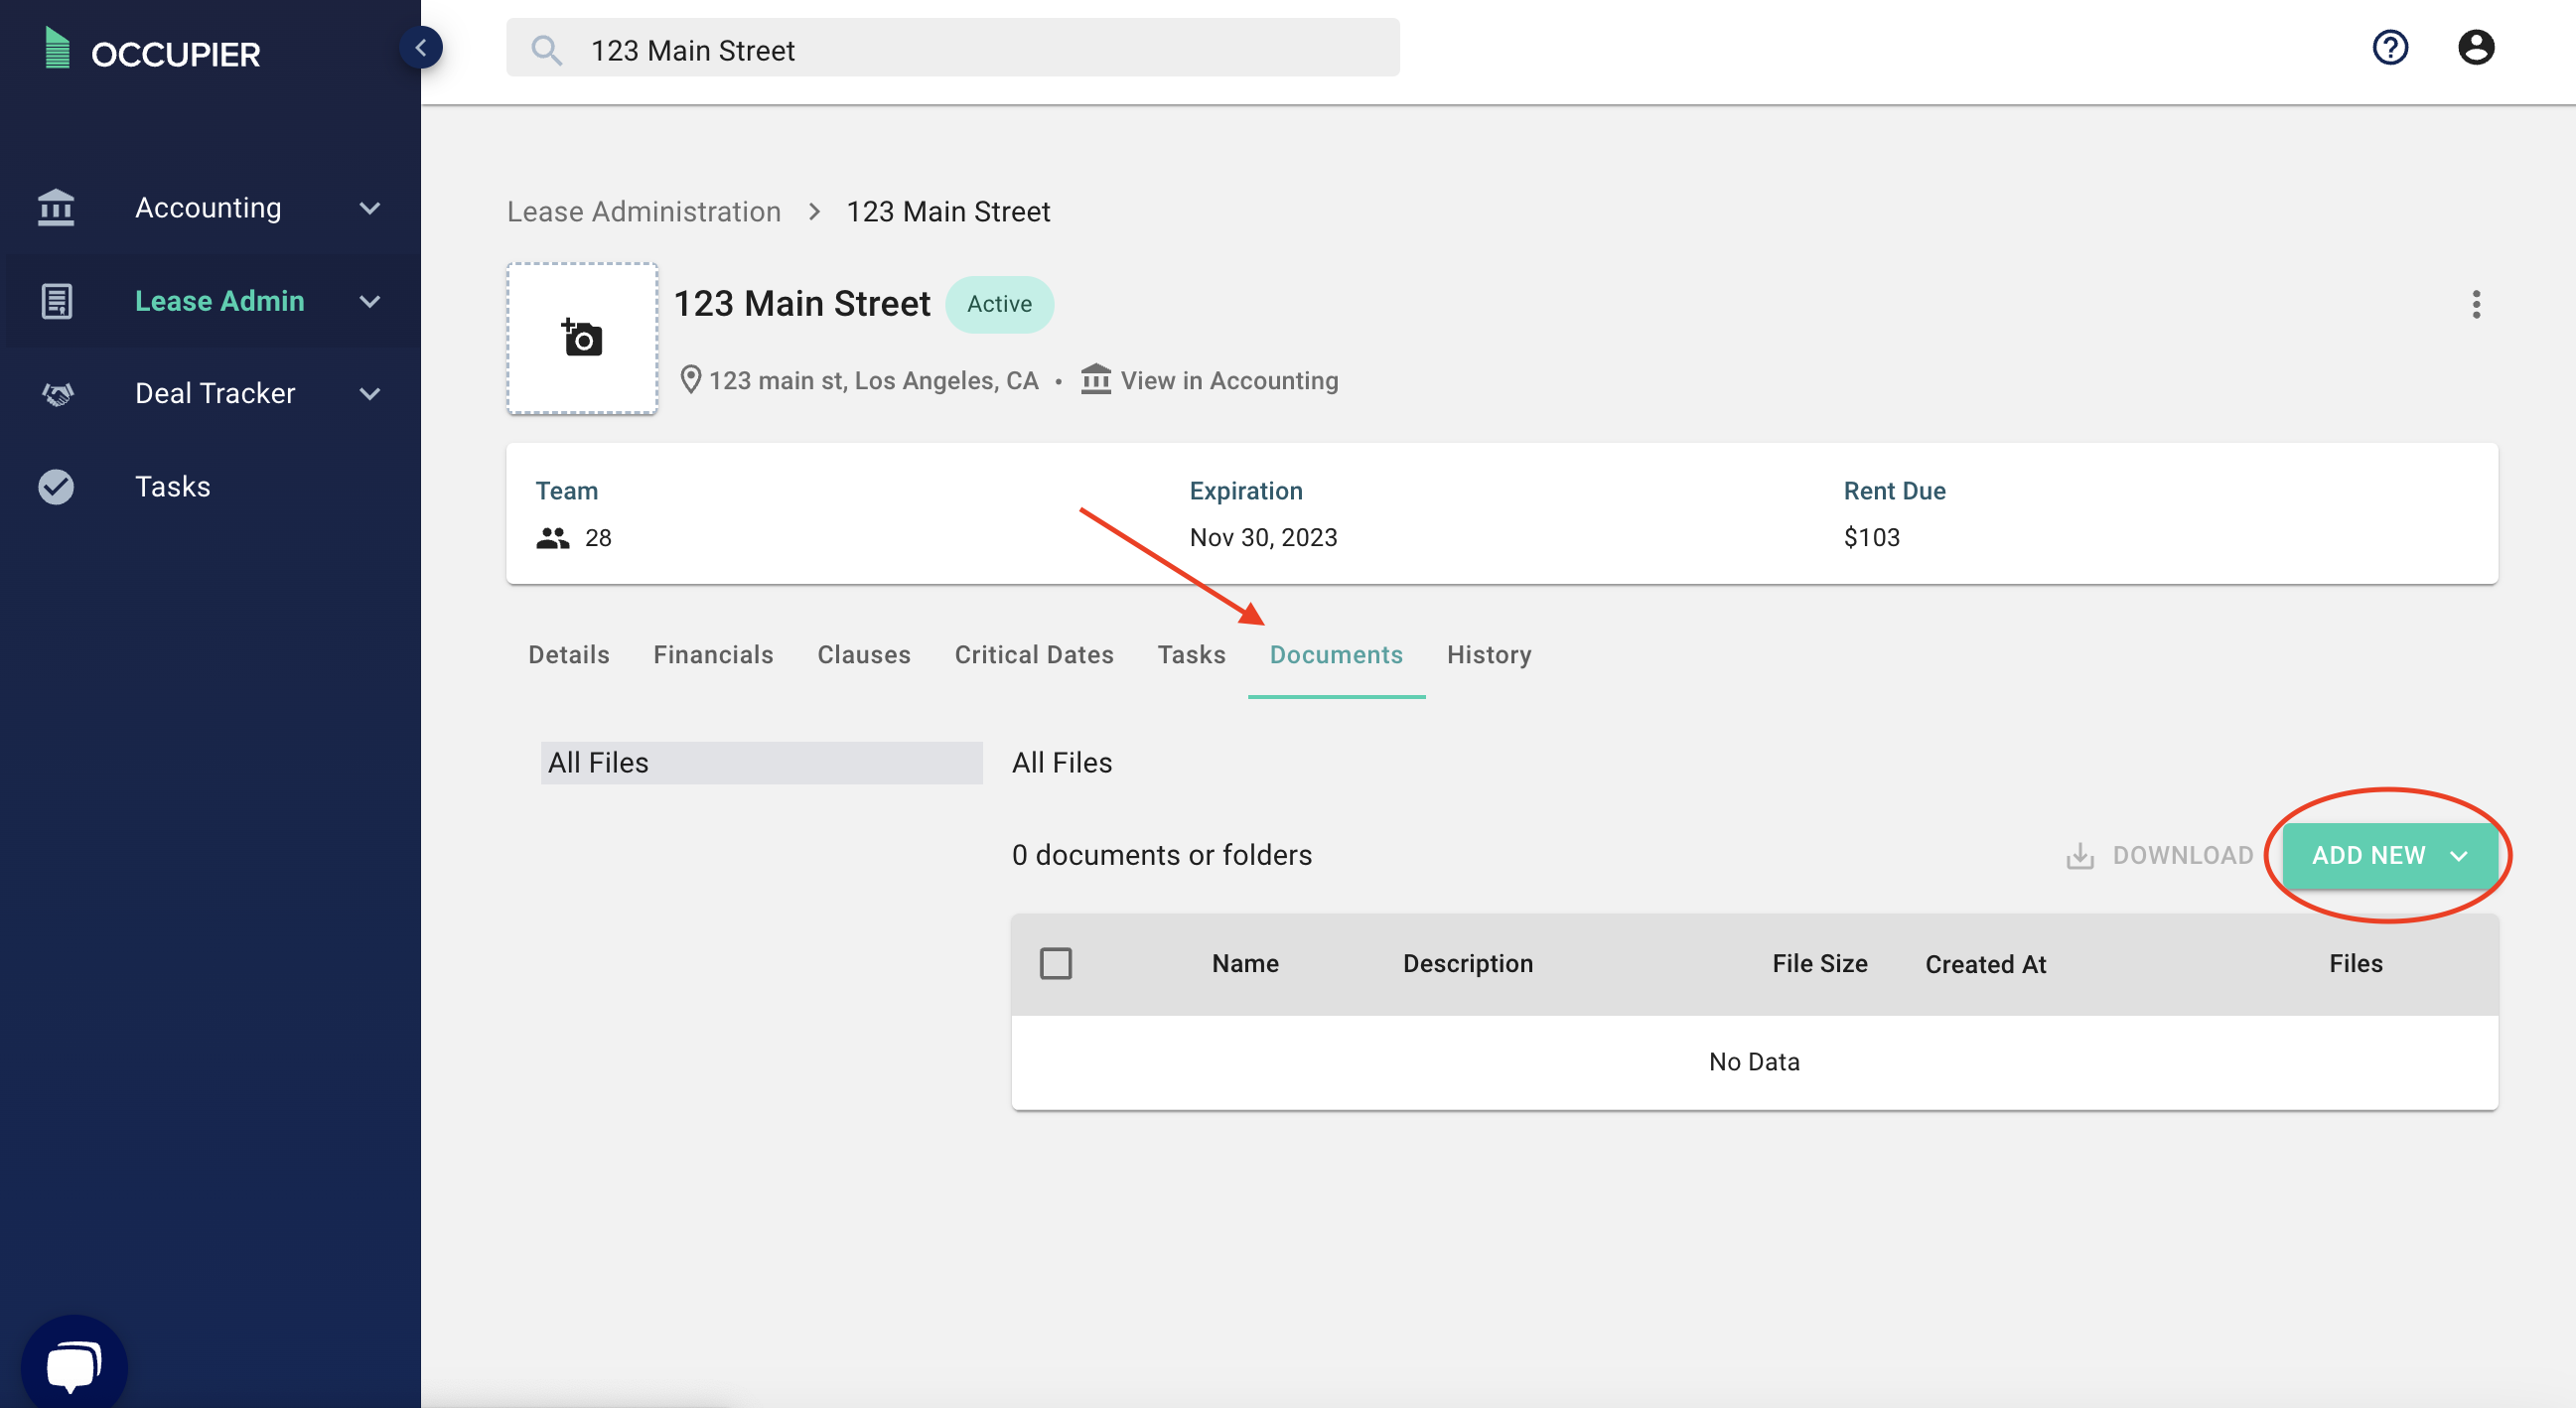
Step 8: Upload documents
Step 9: Add contacts to the lease. (Optional) by selecting the "Add Contact" button on the lease home page.
