![H-Teal (1).svg]](https://help.occupier.com/hubfs/H-Teal%20(1).svg)
A lease needs to be Approved and moved into a "Complete" state in order for that lease to be included in reporting (Journal Entries, Trial Balance, Disclosures). Approving a lease should ideally be performed by team members who have sufficient experience and knowledge. Before approving, you will likely want to review the key data points input during the process, including:
1. Measurement Information:
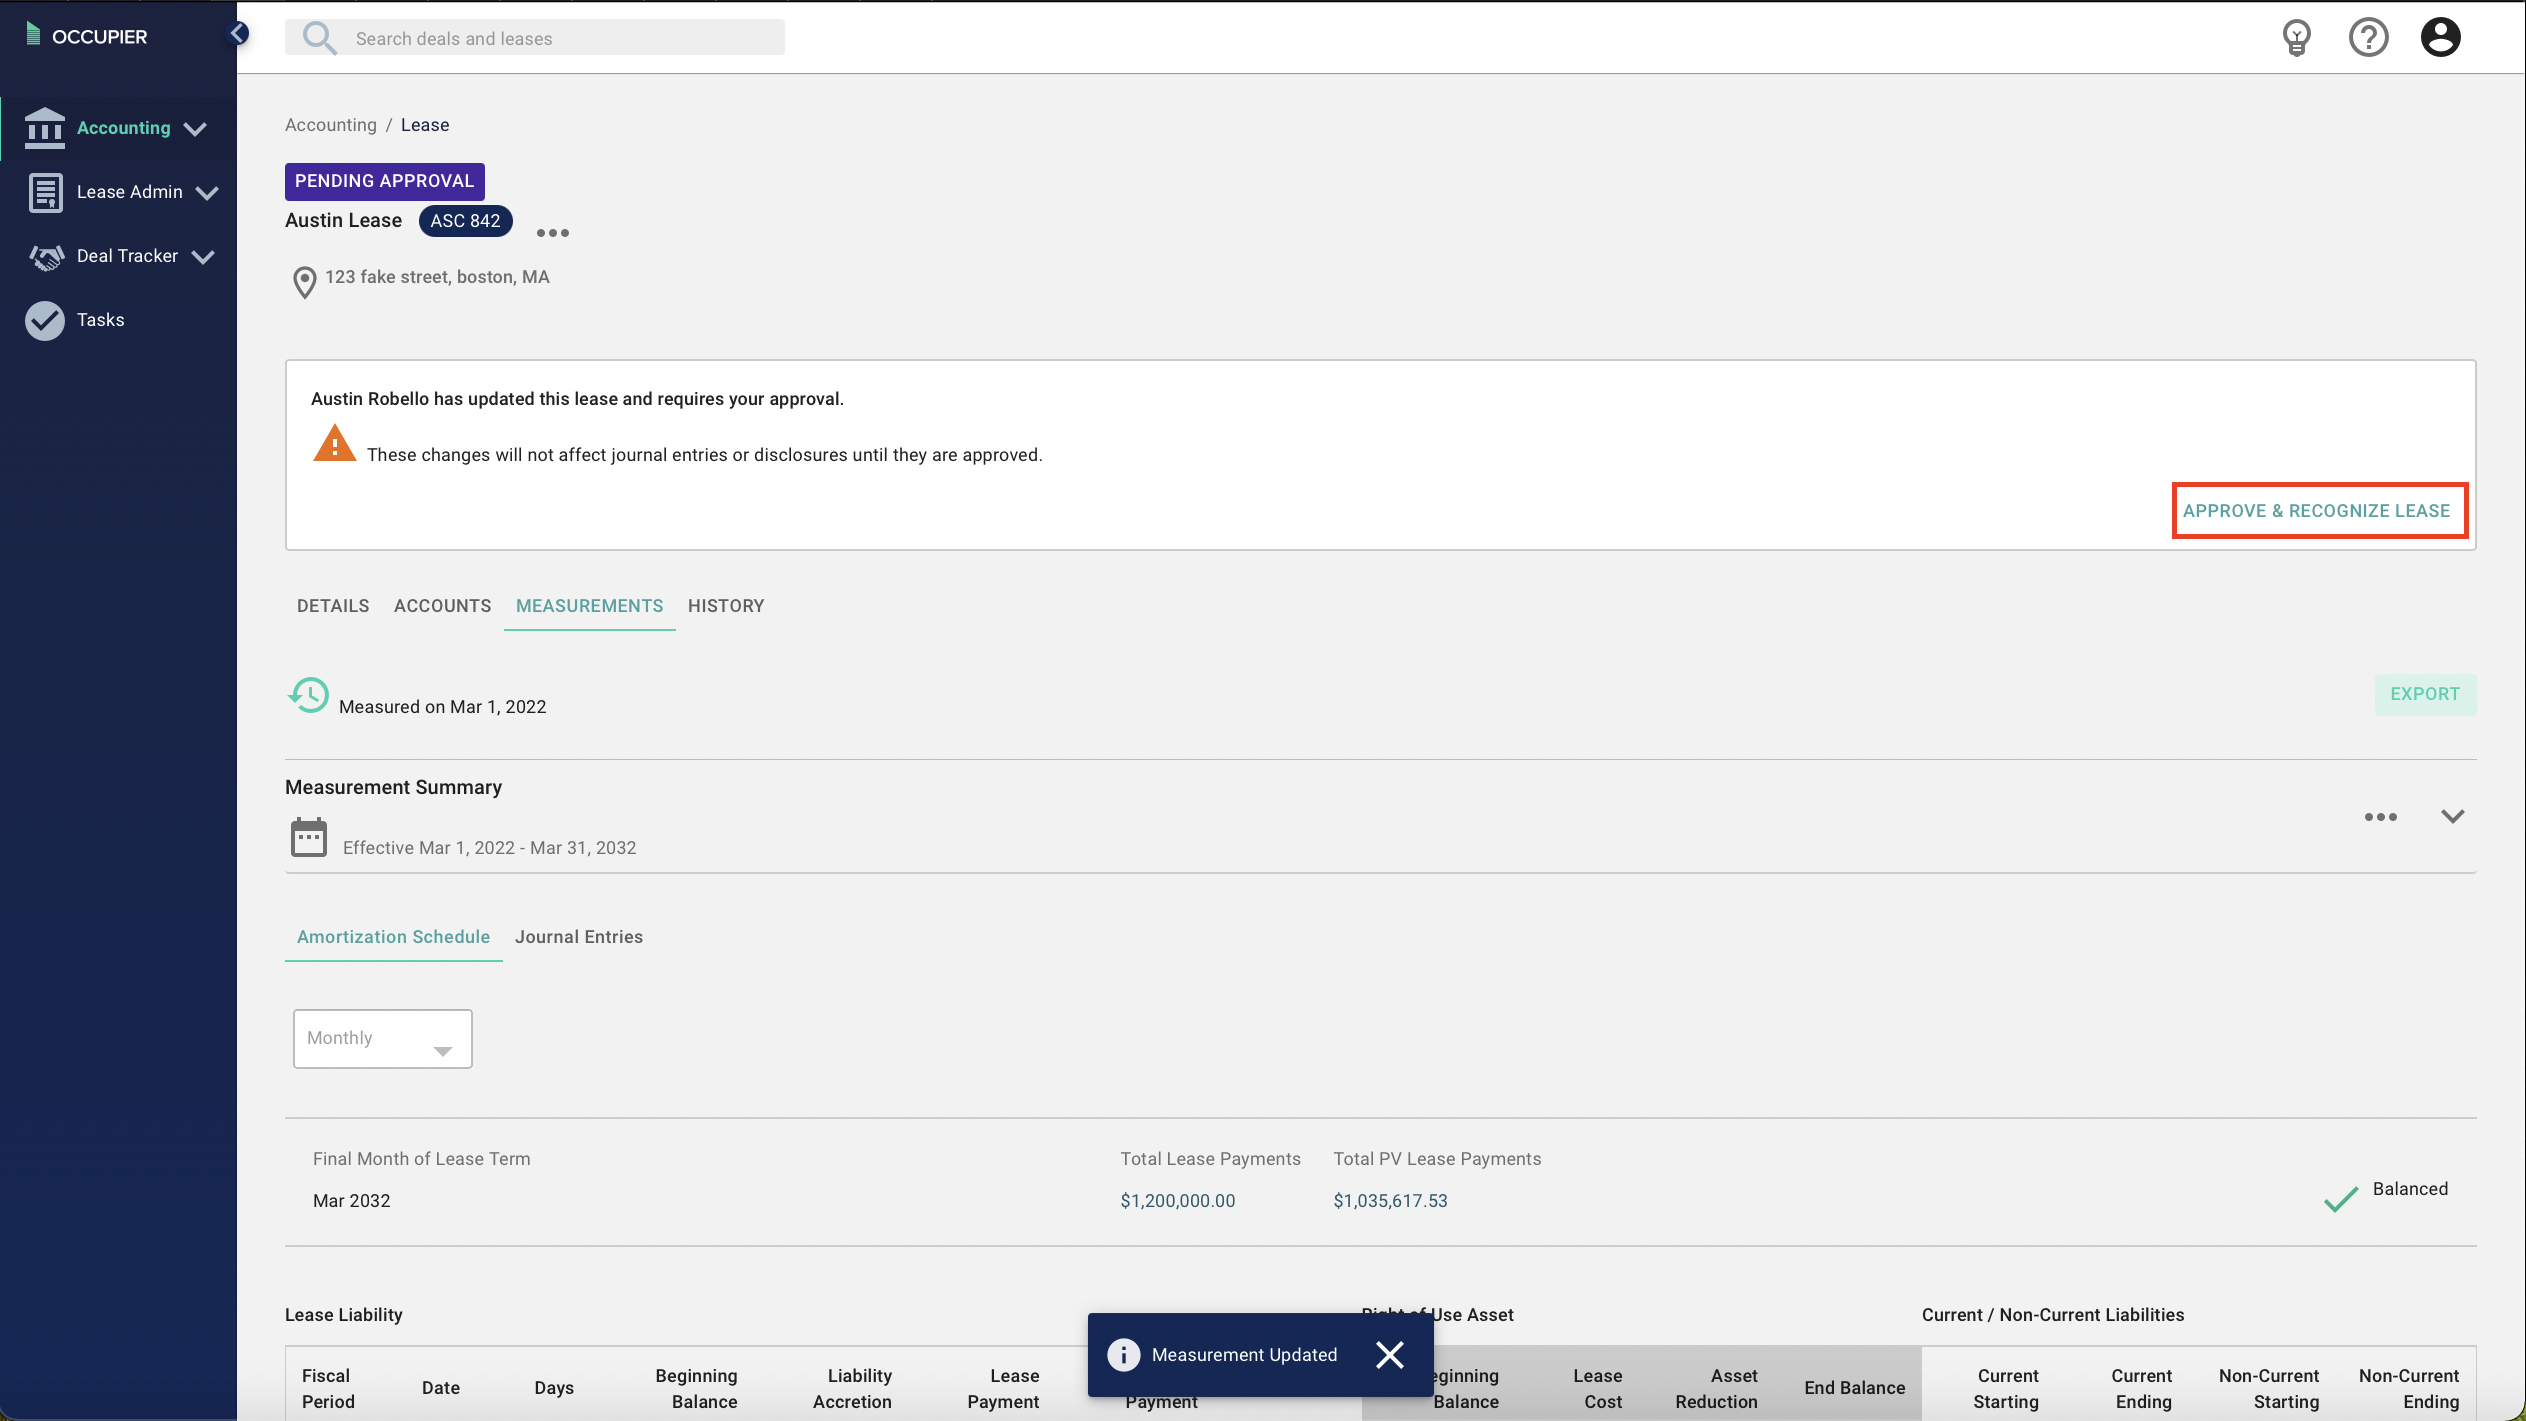
In order to view the data input in the measurement, click on the downward arrow in the screenshots below and select "edit." This will take you back to the screen/interface where you input all of the key data points (payments, IBR, etc.).

2. Account Set Up
Go to the "Accounts" header and review the segments and accounts list for accuracy: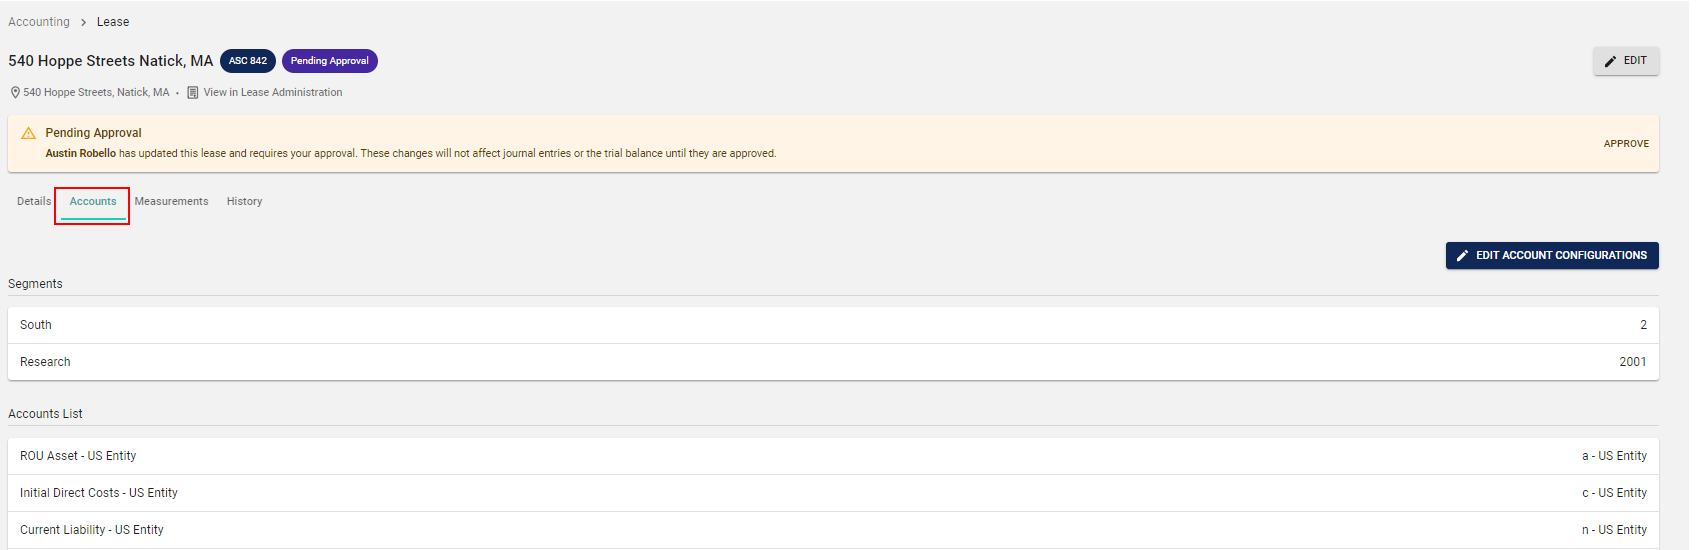
To configure the accounts, go to the lease and click on the Configure button located under the Accounts Tab.
During the initial setup, users have the option to choose set up the GL accounts manually or copy them from another lease. If you choose to "Copy From", you will be prompted to select from a list of leases that have the accounts already configured. Once in this screen simply select which lease you would like to copy from and then select "Submit."
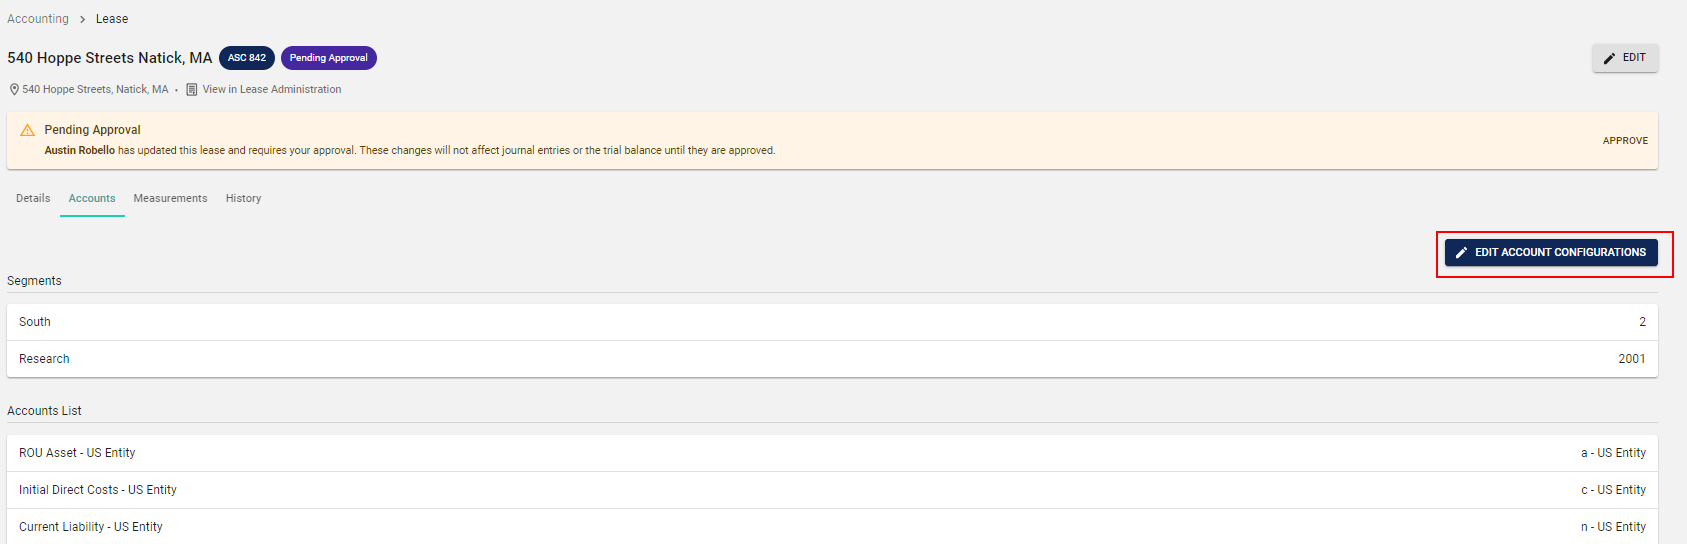
If an edit needs to be made, select "Edit Account Configurations":
For more information on account configuration, refer to the following articles:
What does each Account configuration mean?
How do I configure my Account level set up?
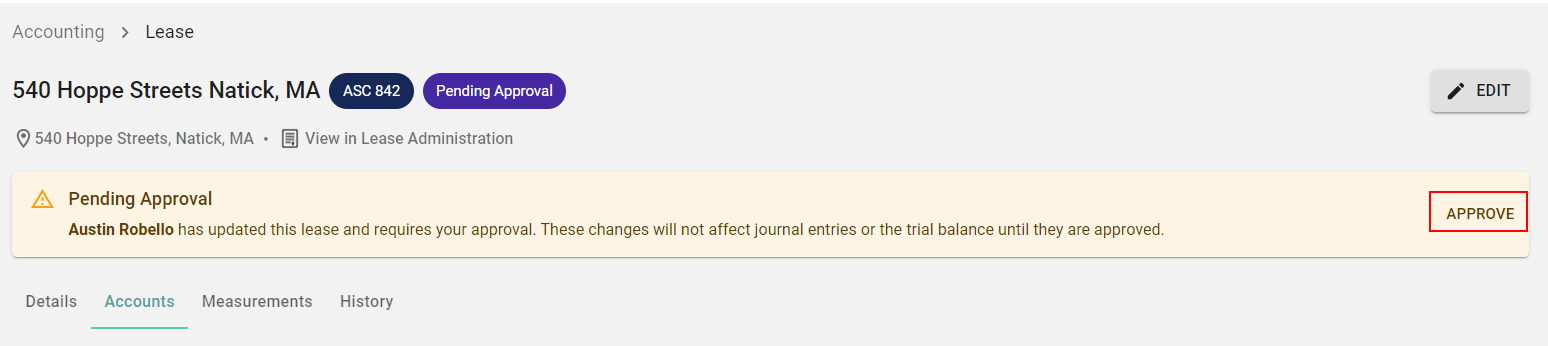
Approving the Lease:
Once you are satisfied with the information in the lease, you can approve the lease. It is important you review this information as a "Complete" lease can only be changed be deleting the measurement and remeasuring the lease with the correct data.
To approve the lease, select the "Approve" button in the "Pending Approval" banner, as shown below: