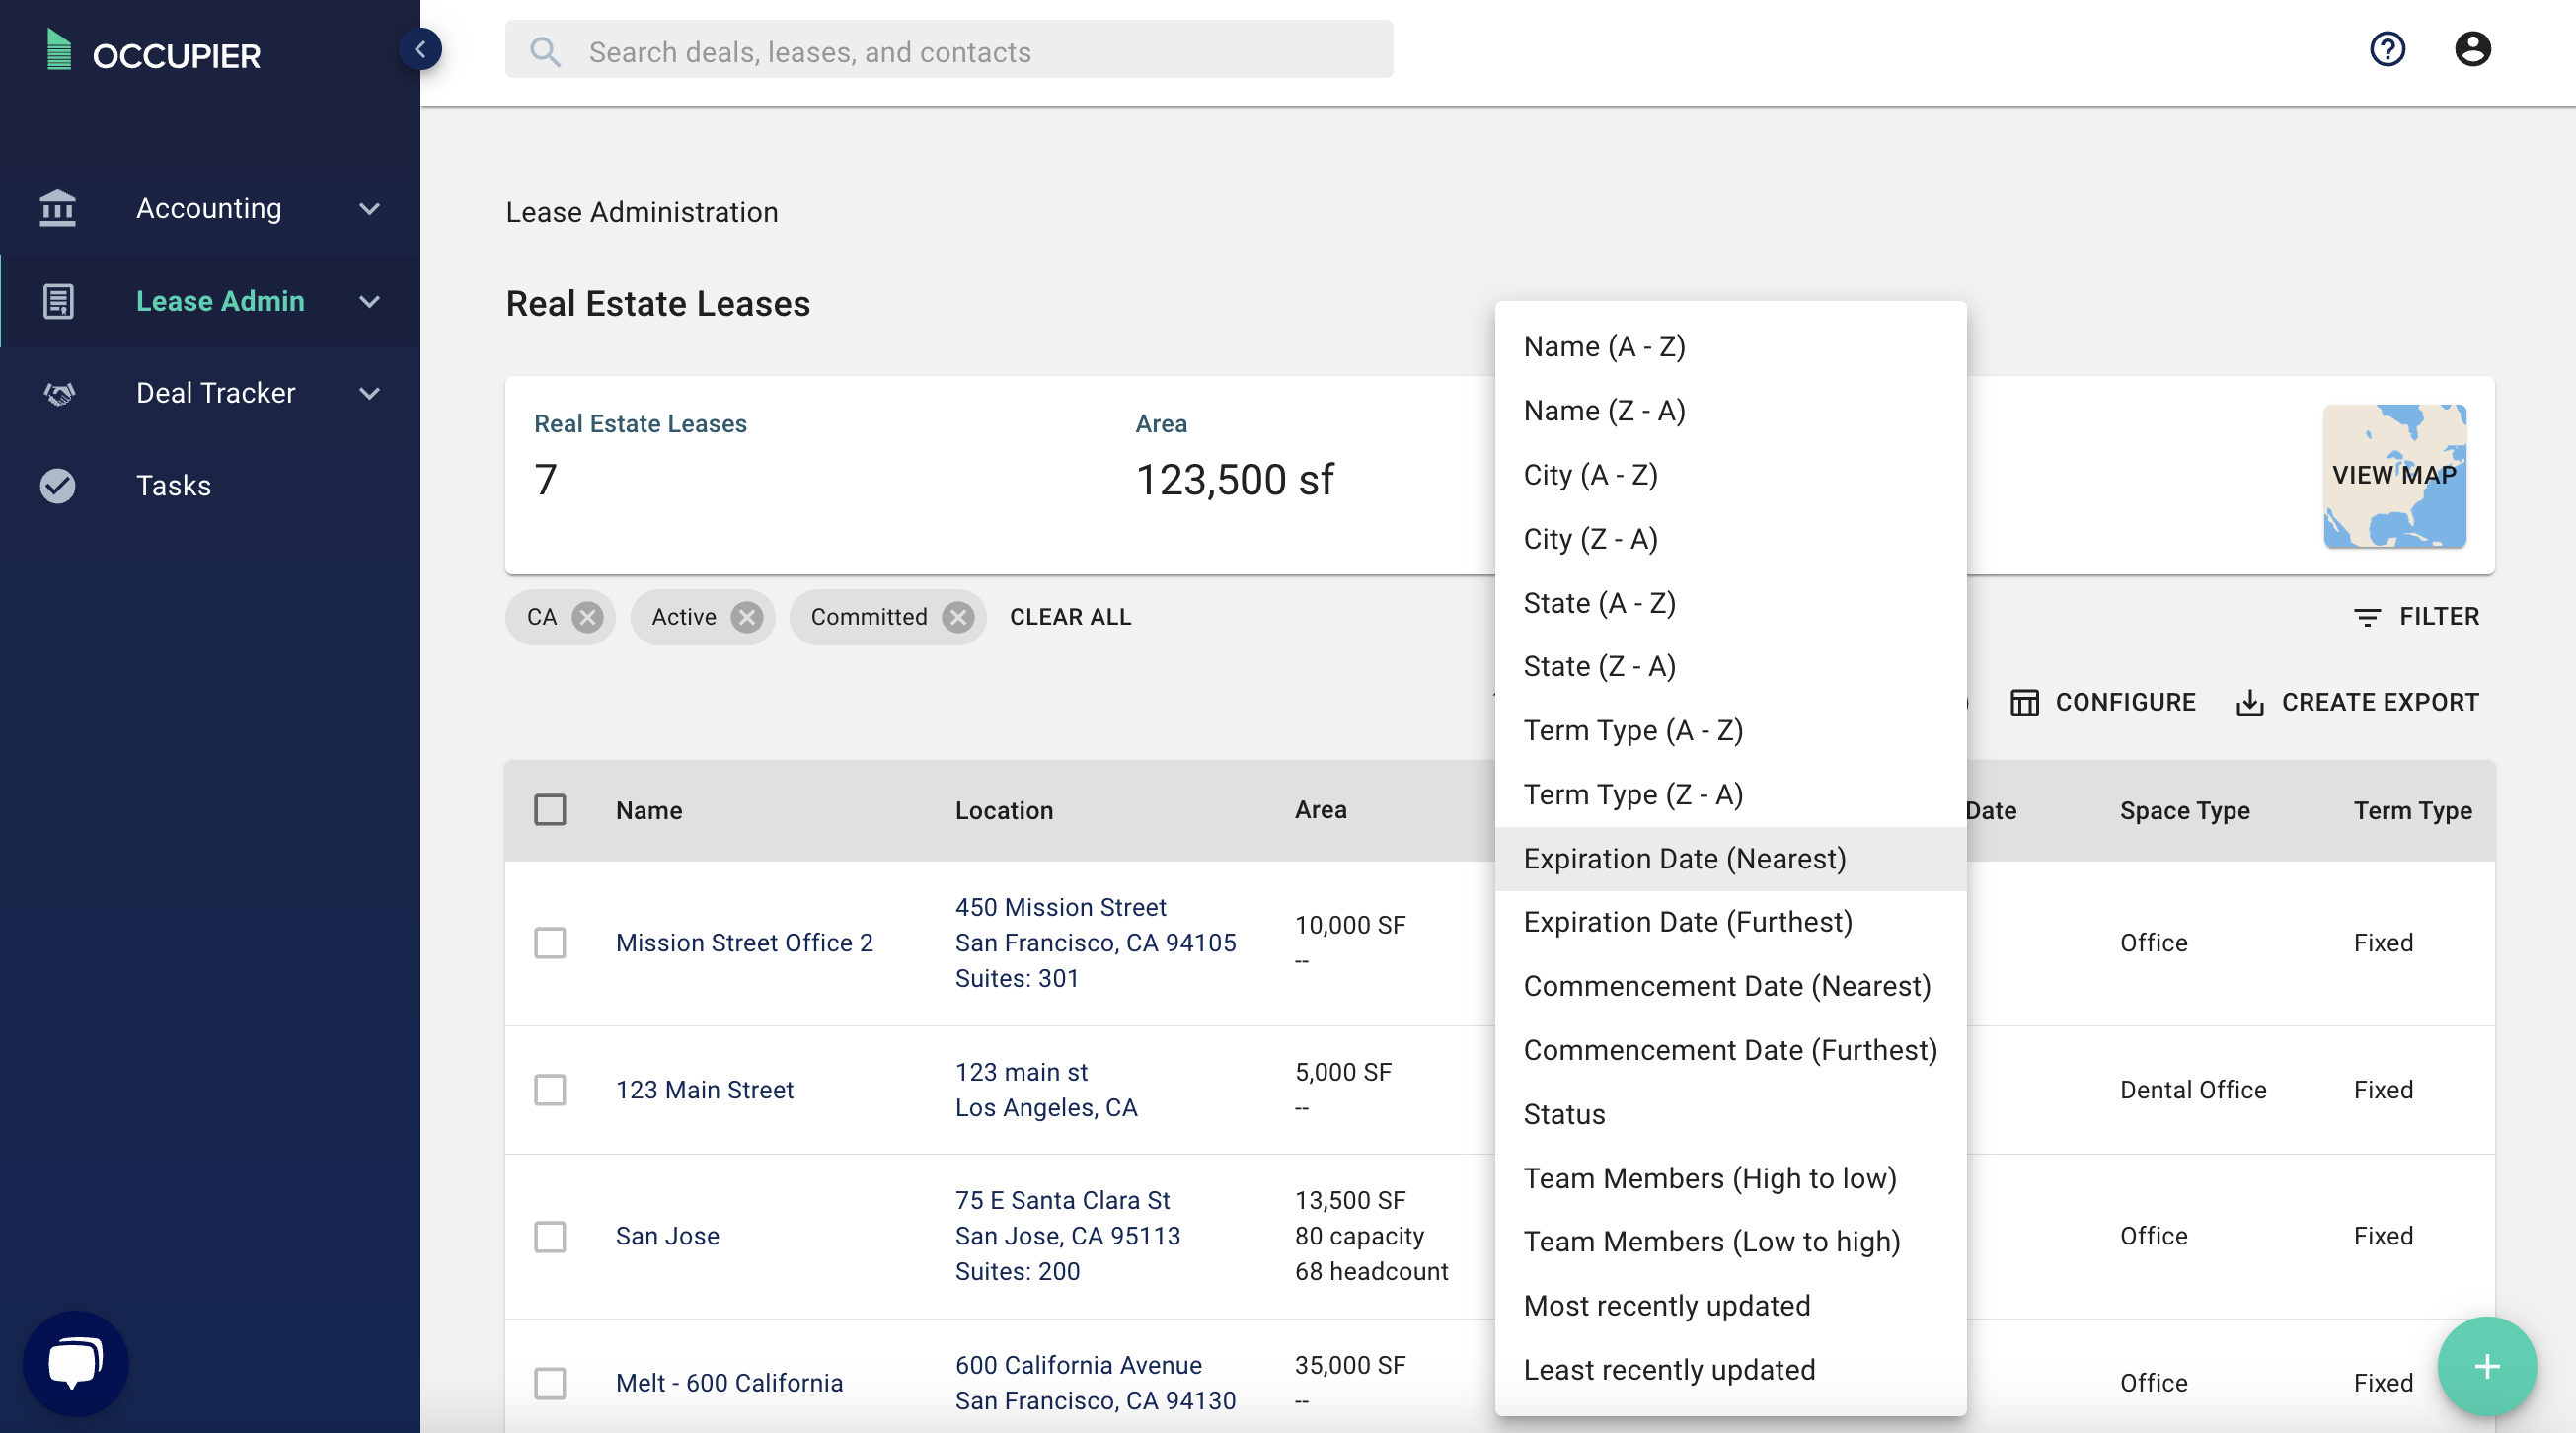
How do I use lease filters?
Why did we build this?
We built this feature to enable users to generate views and reports based on specific data points within their leases. For example, if you desire to filter all of your leases to a certain state, such as California, you can select that state, and the view/report would only show leases from California. You can then sort the list based on a number of criteria. The benefit of this feature is to break your portfolio down into subsets that are relevant to you at that time, with ease.
What does it do?
The filter and sorting functionality generates an on-screen view of the leases that matter to you at that moment. You are able to select multiple filters, if desired, as well as filter by custom data fields that you and your team have created. Once the filtering is complete, you are then able to export the generated view into an excel export that mirrors the report on the screen. For further granularity, you are able to sort your list by numerous options in a dropdown menu. Once filters are applied, they remain in place until you change them again, so when you log out and log back in, your view and report are the same as your last session. This is beneficial if you are commonly accessing a section of the portfolio and do not want to apply filters each time you log in.
How to use it
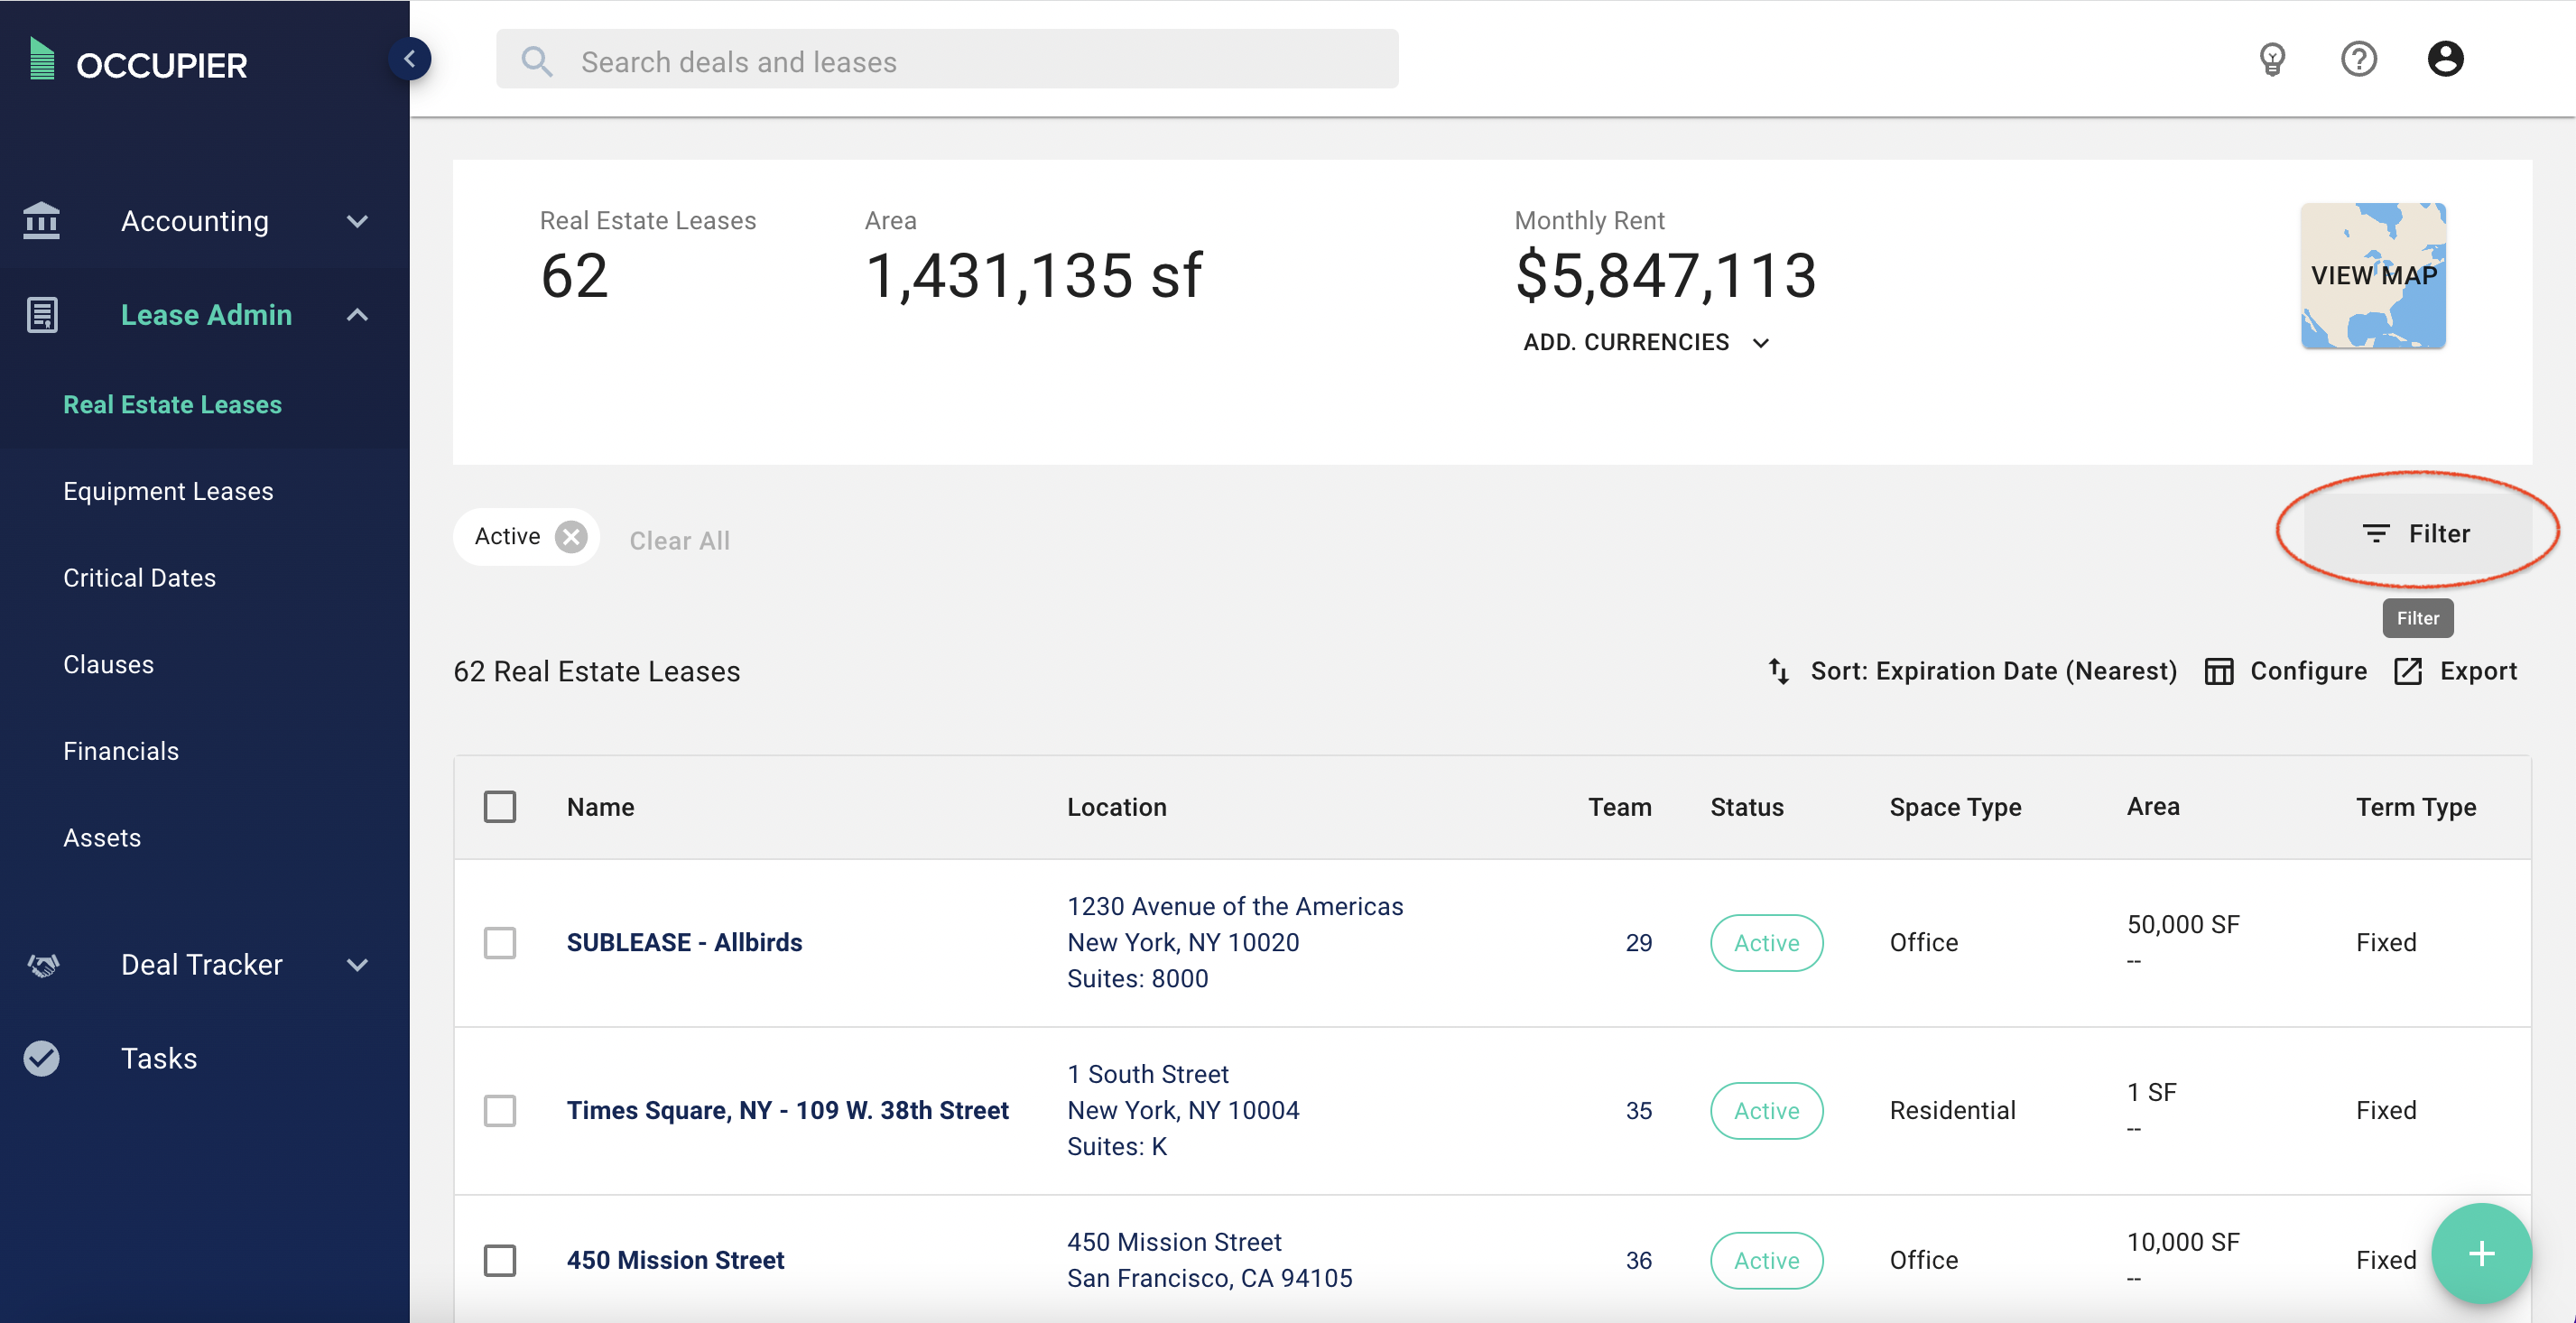
Step 1: From your real estate leases dashboard, click on “filter.”
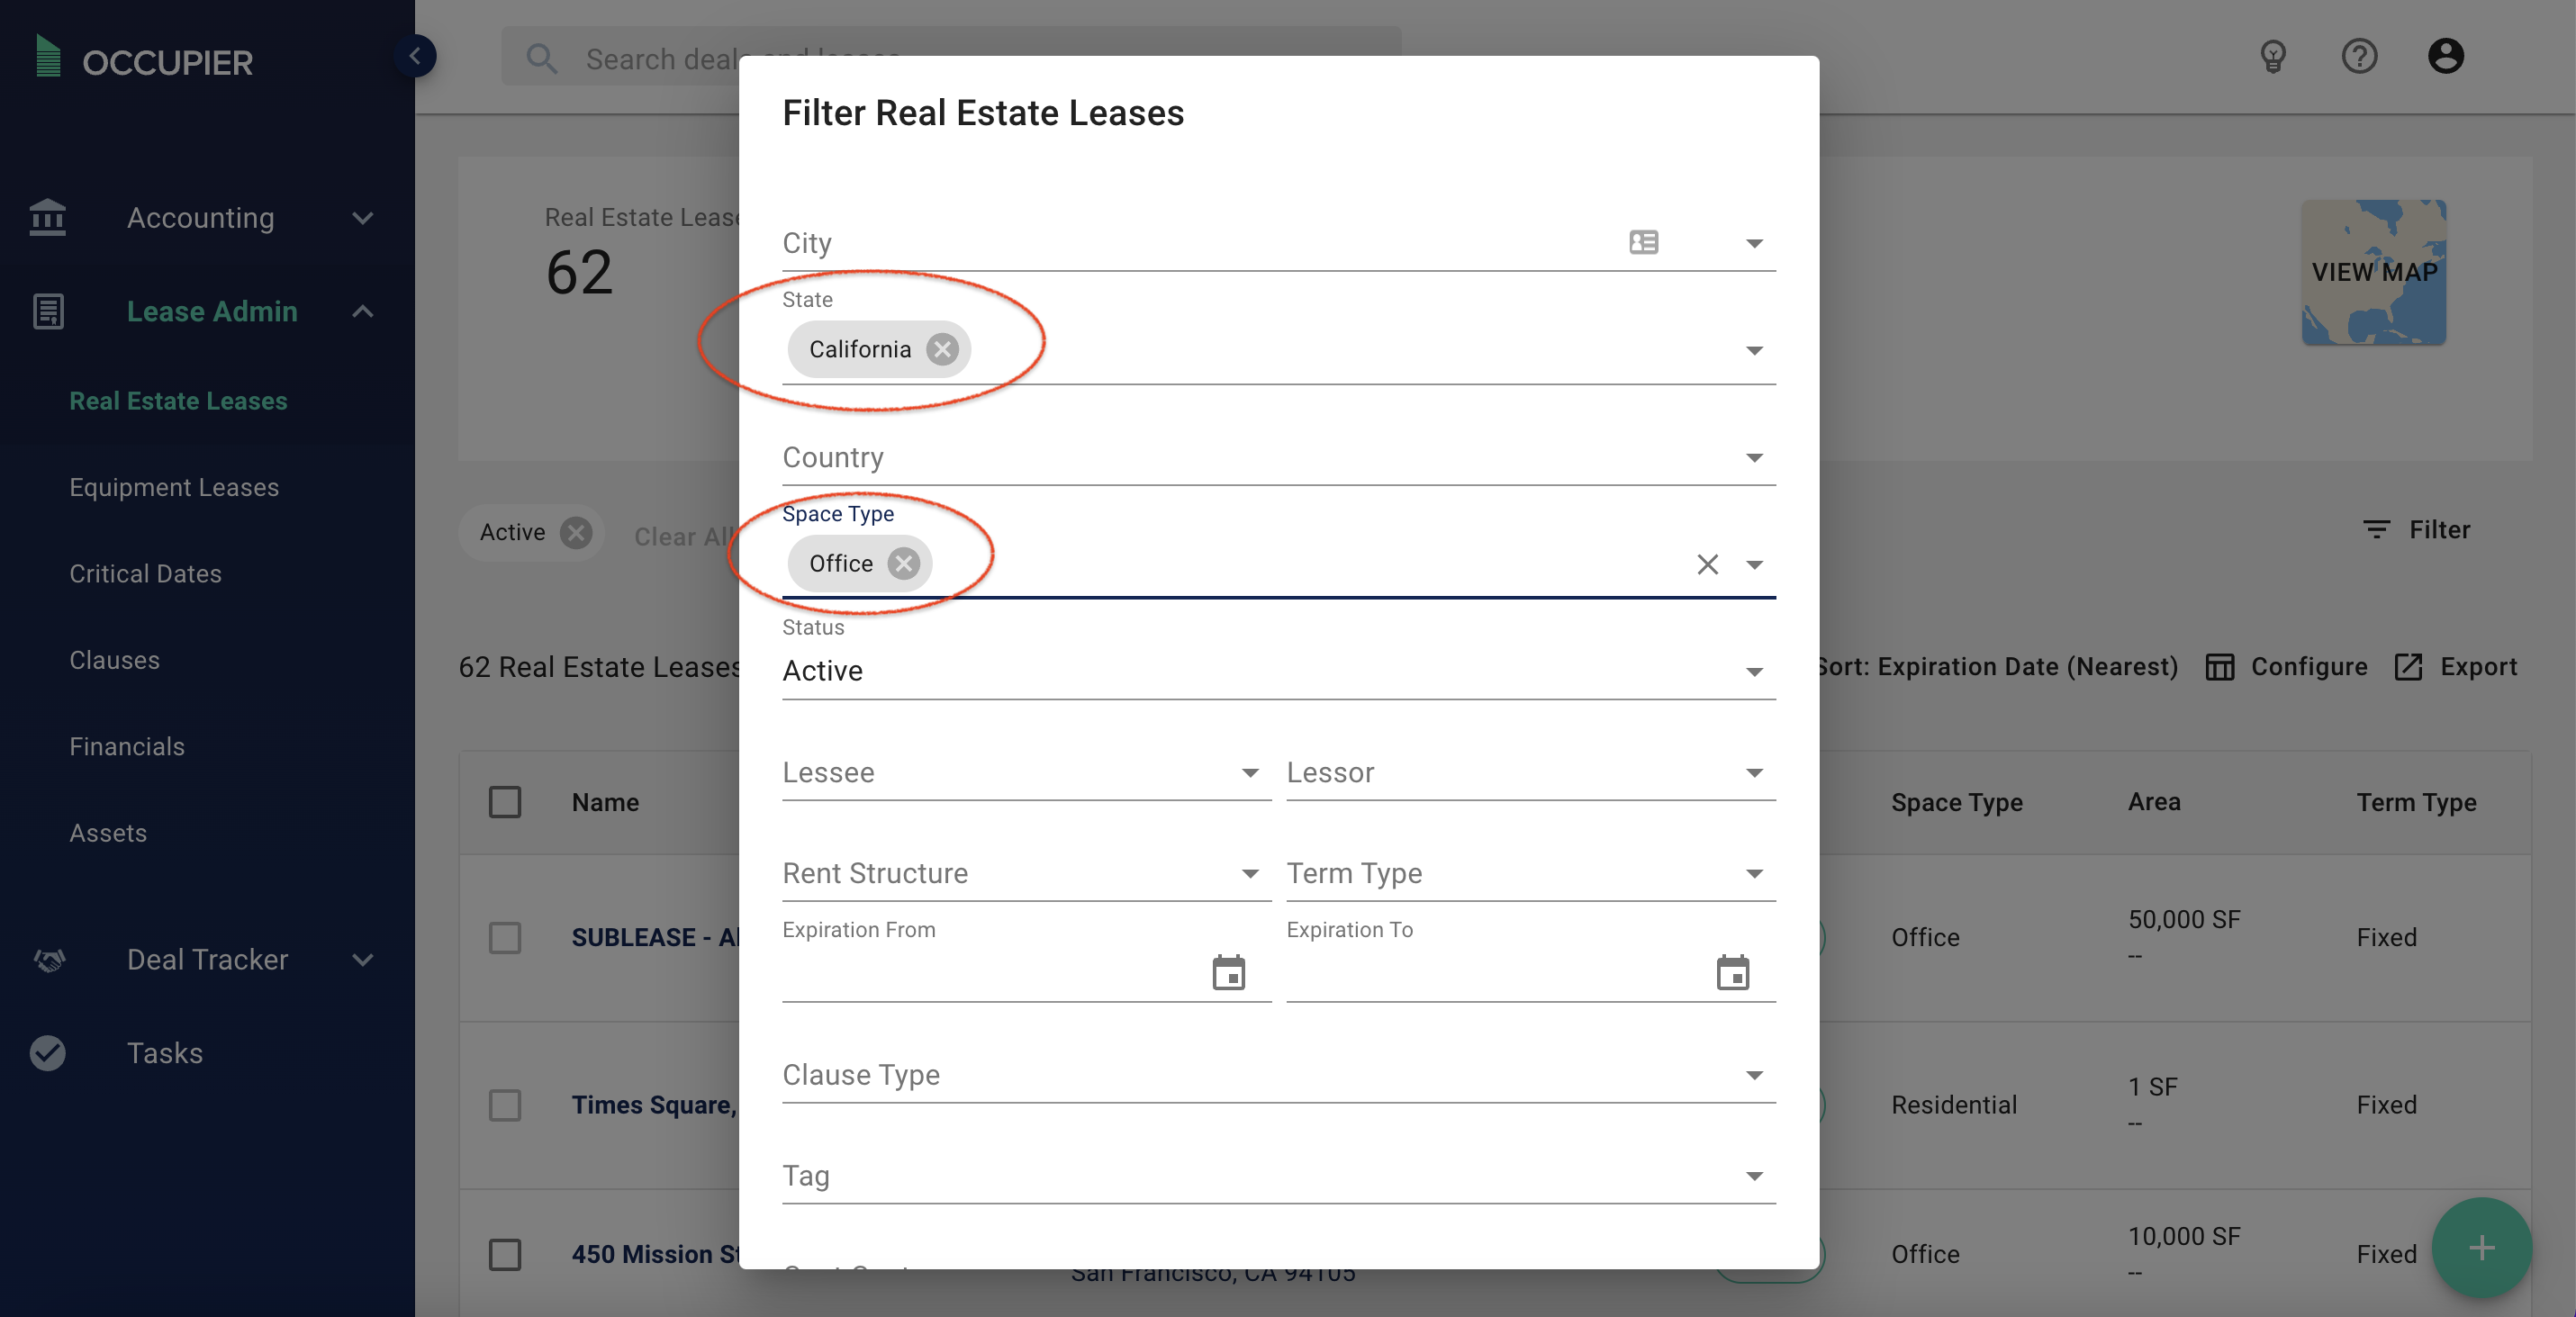
Step 2: Now choose which filters you’d like to analyze further.
Ex. Office Space in California
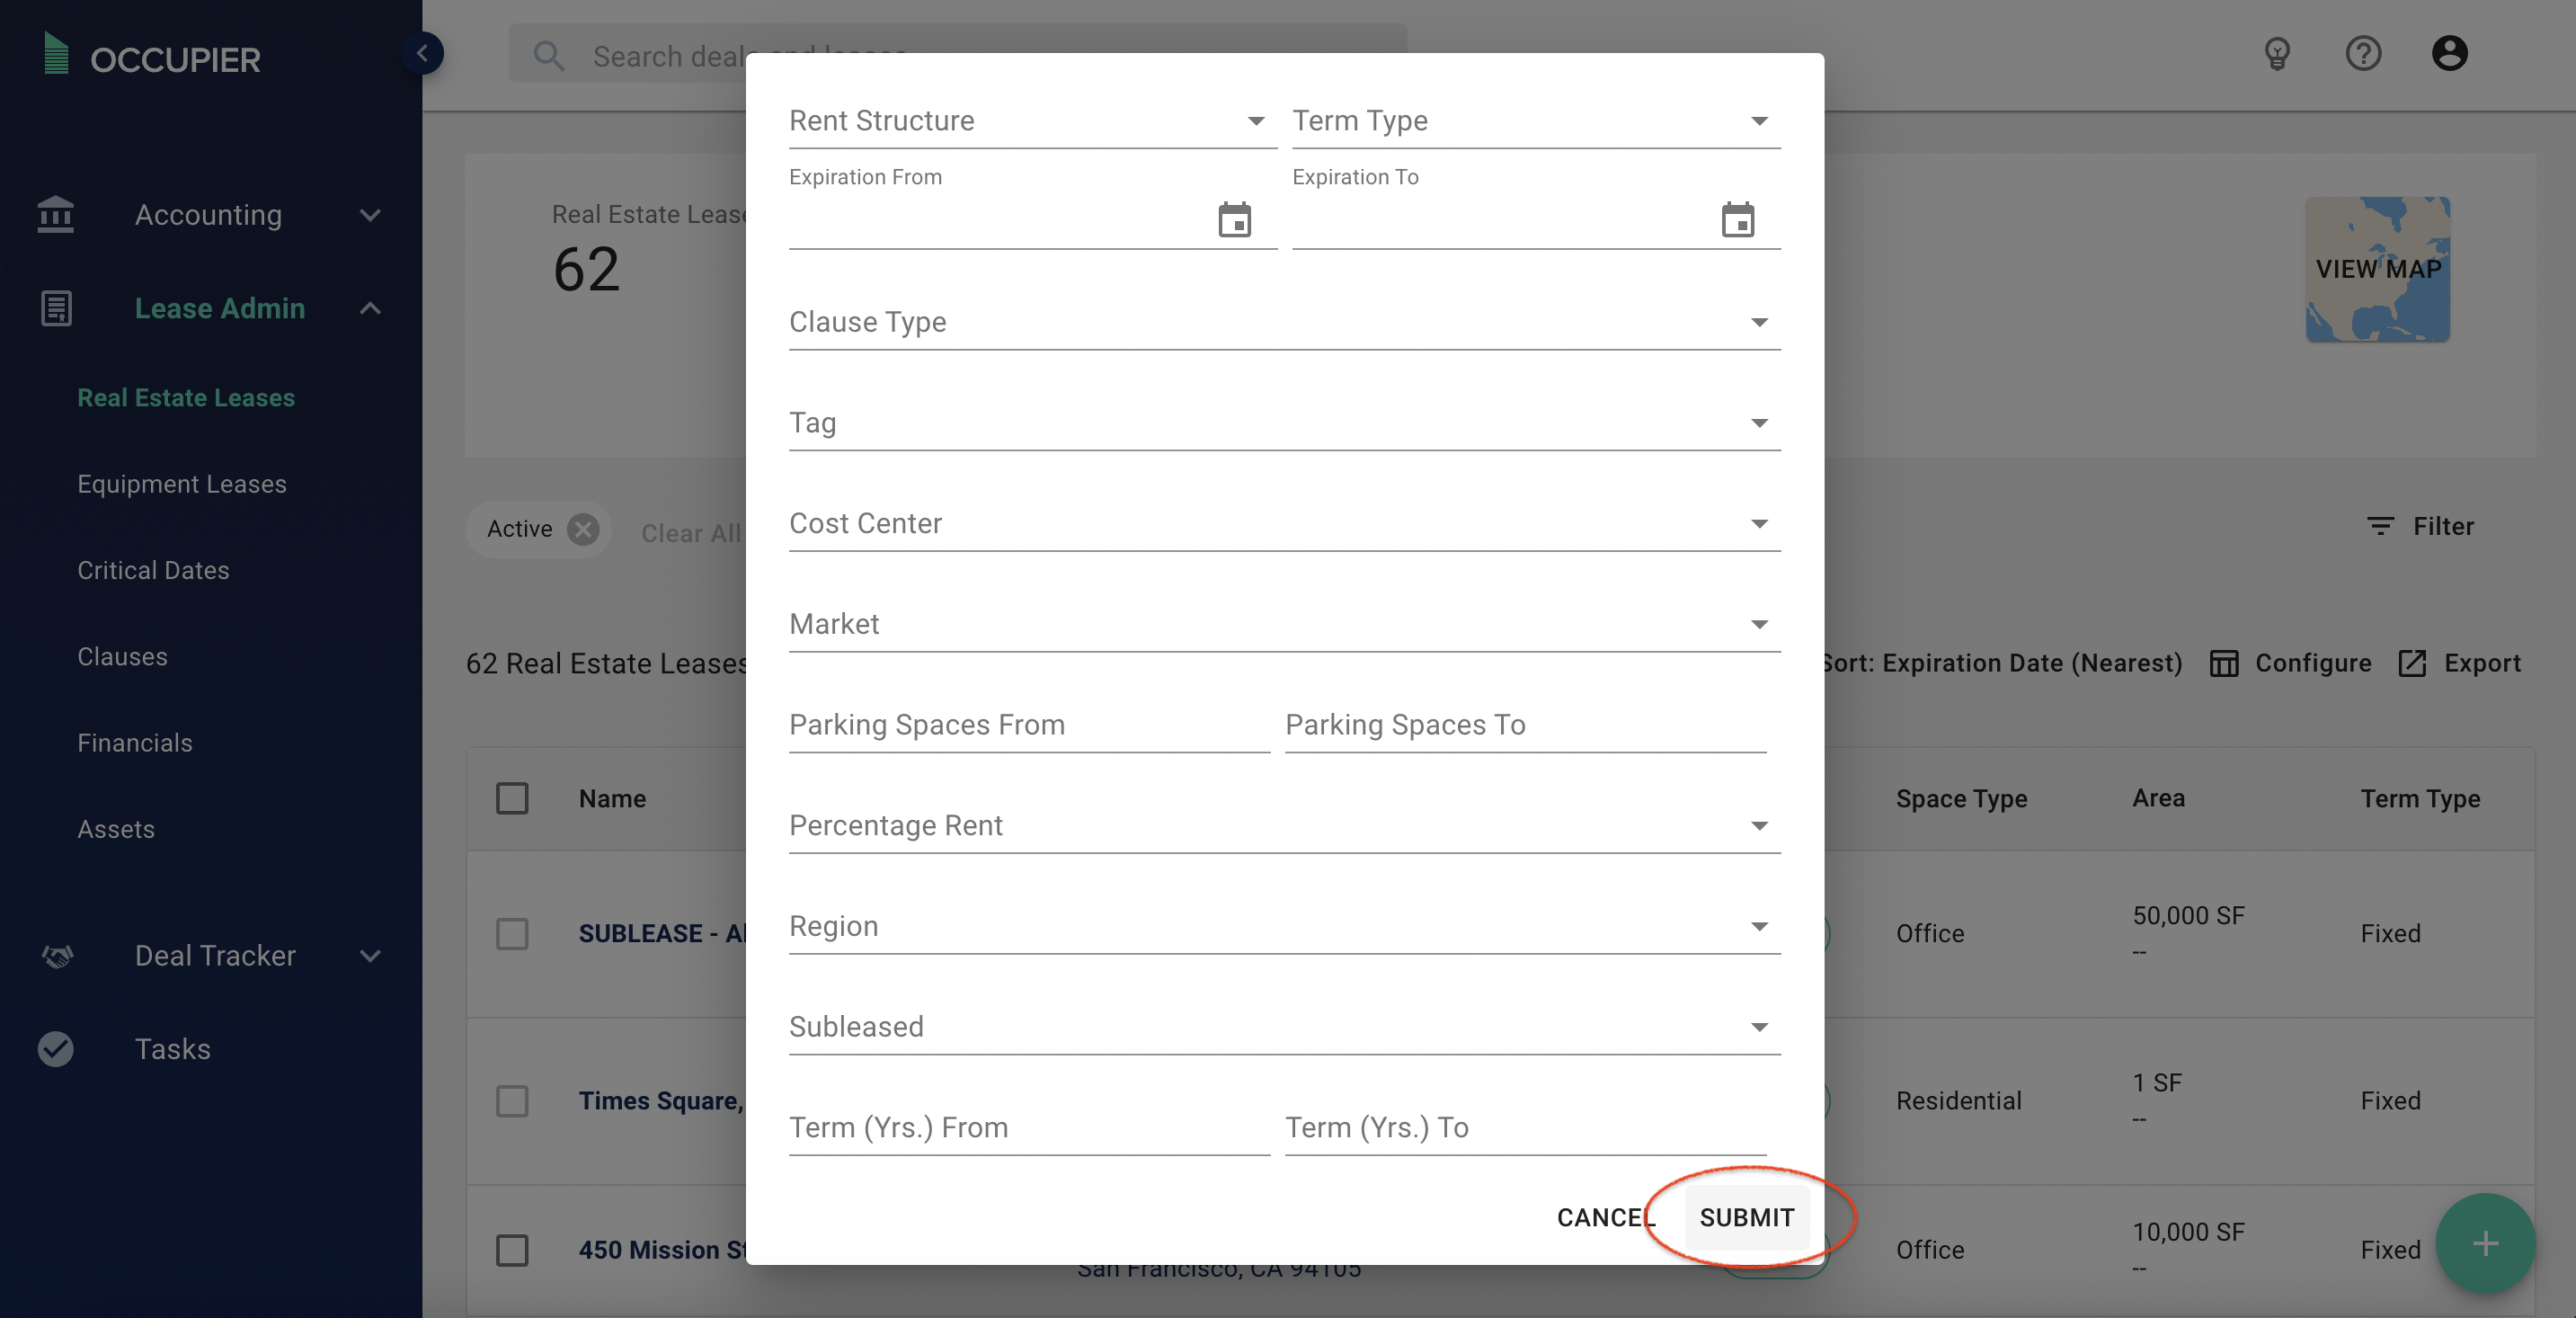
Step 3: Once you’ve selected the lease filters, click “submit.”
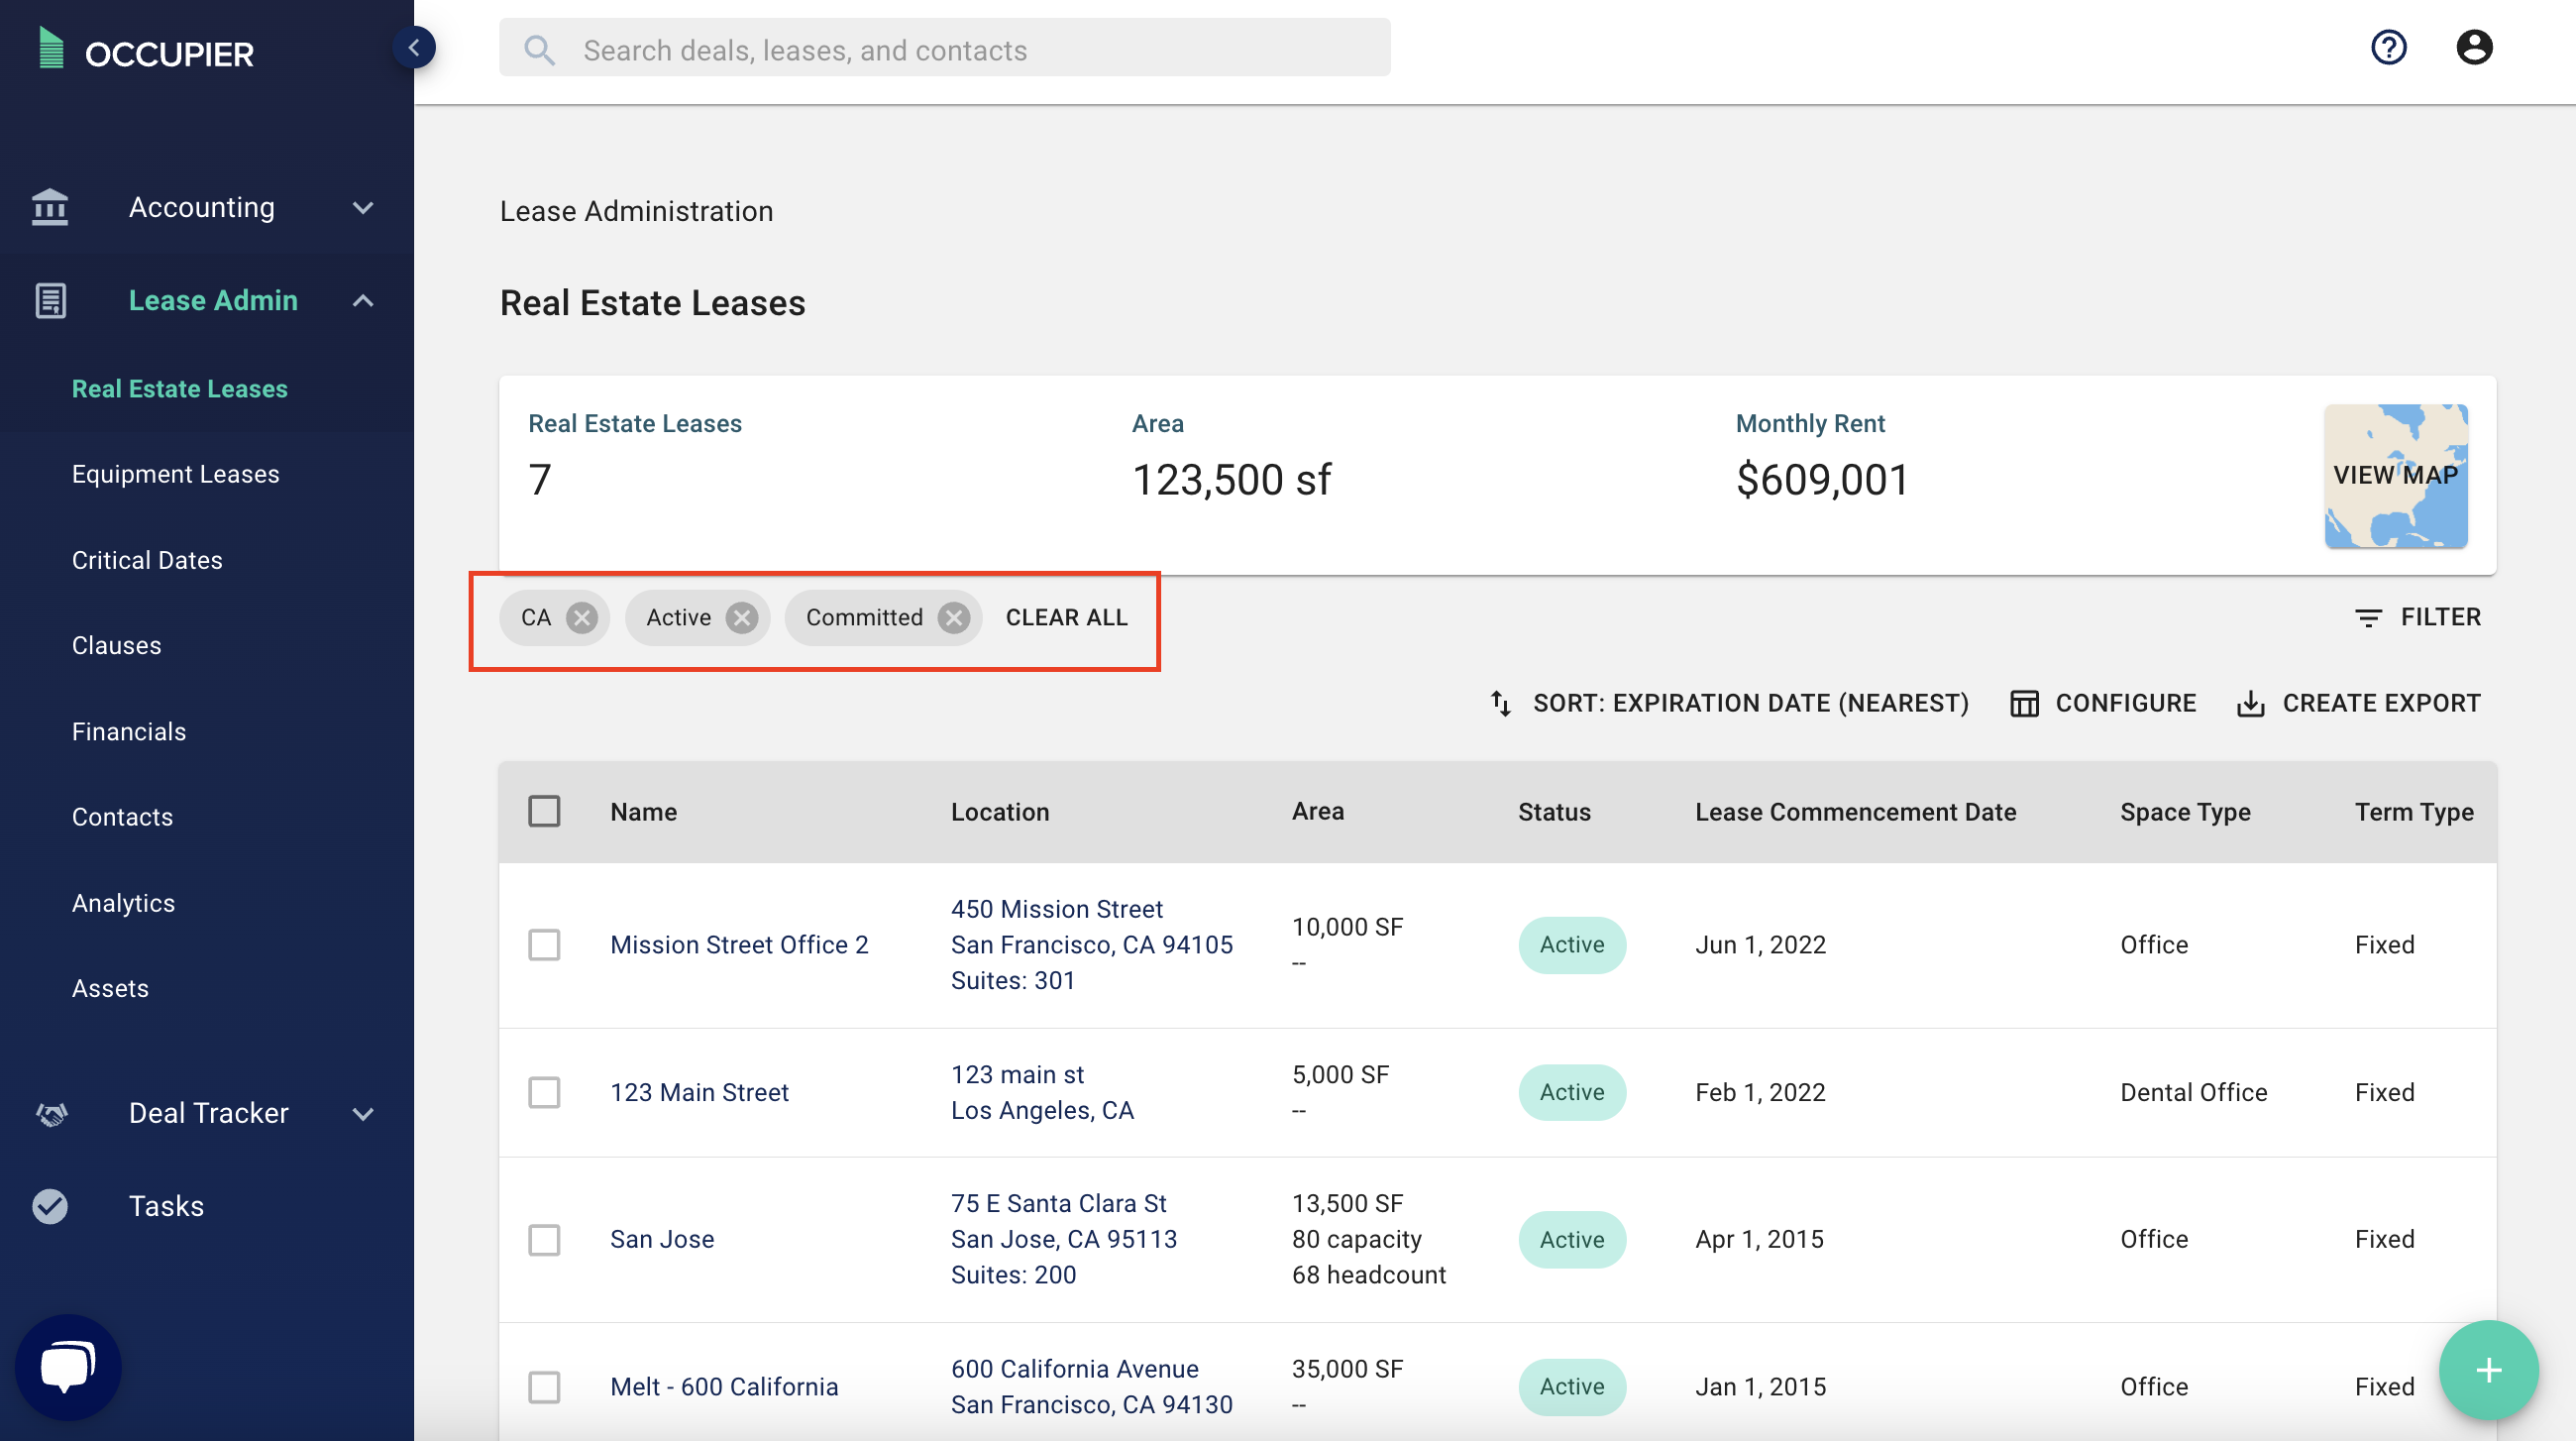
Step 4: This will redirect you to your real estate lease dashboard and only highlight the lease in your portfolio that meet your filter criteria.
Step 5: Navigate to the sort function above the leases list view
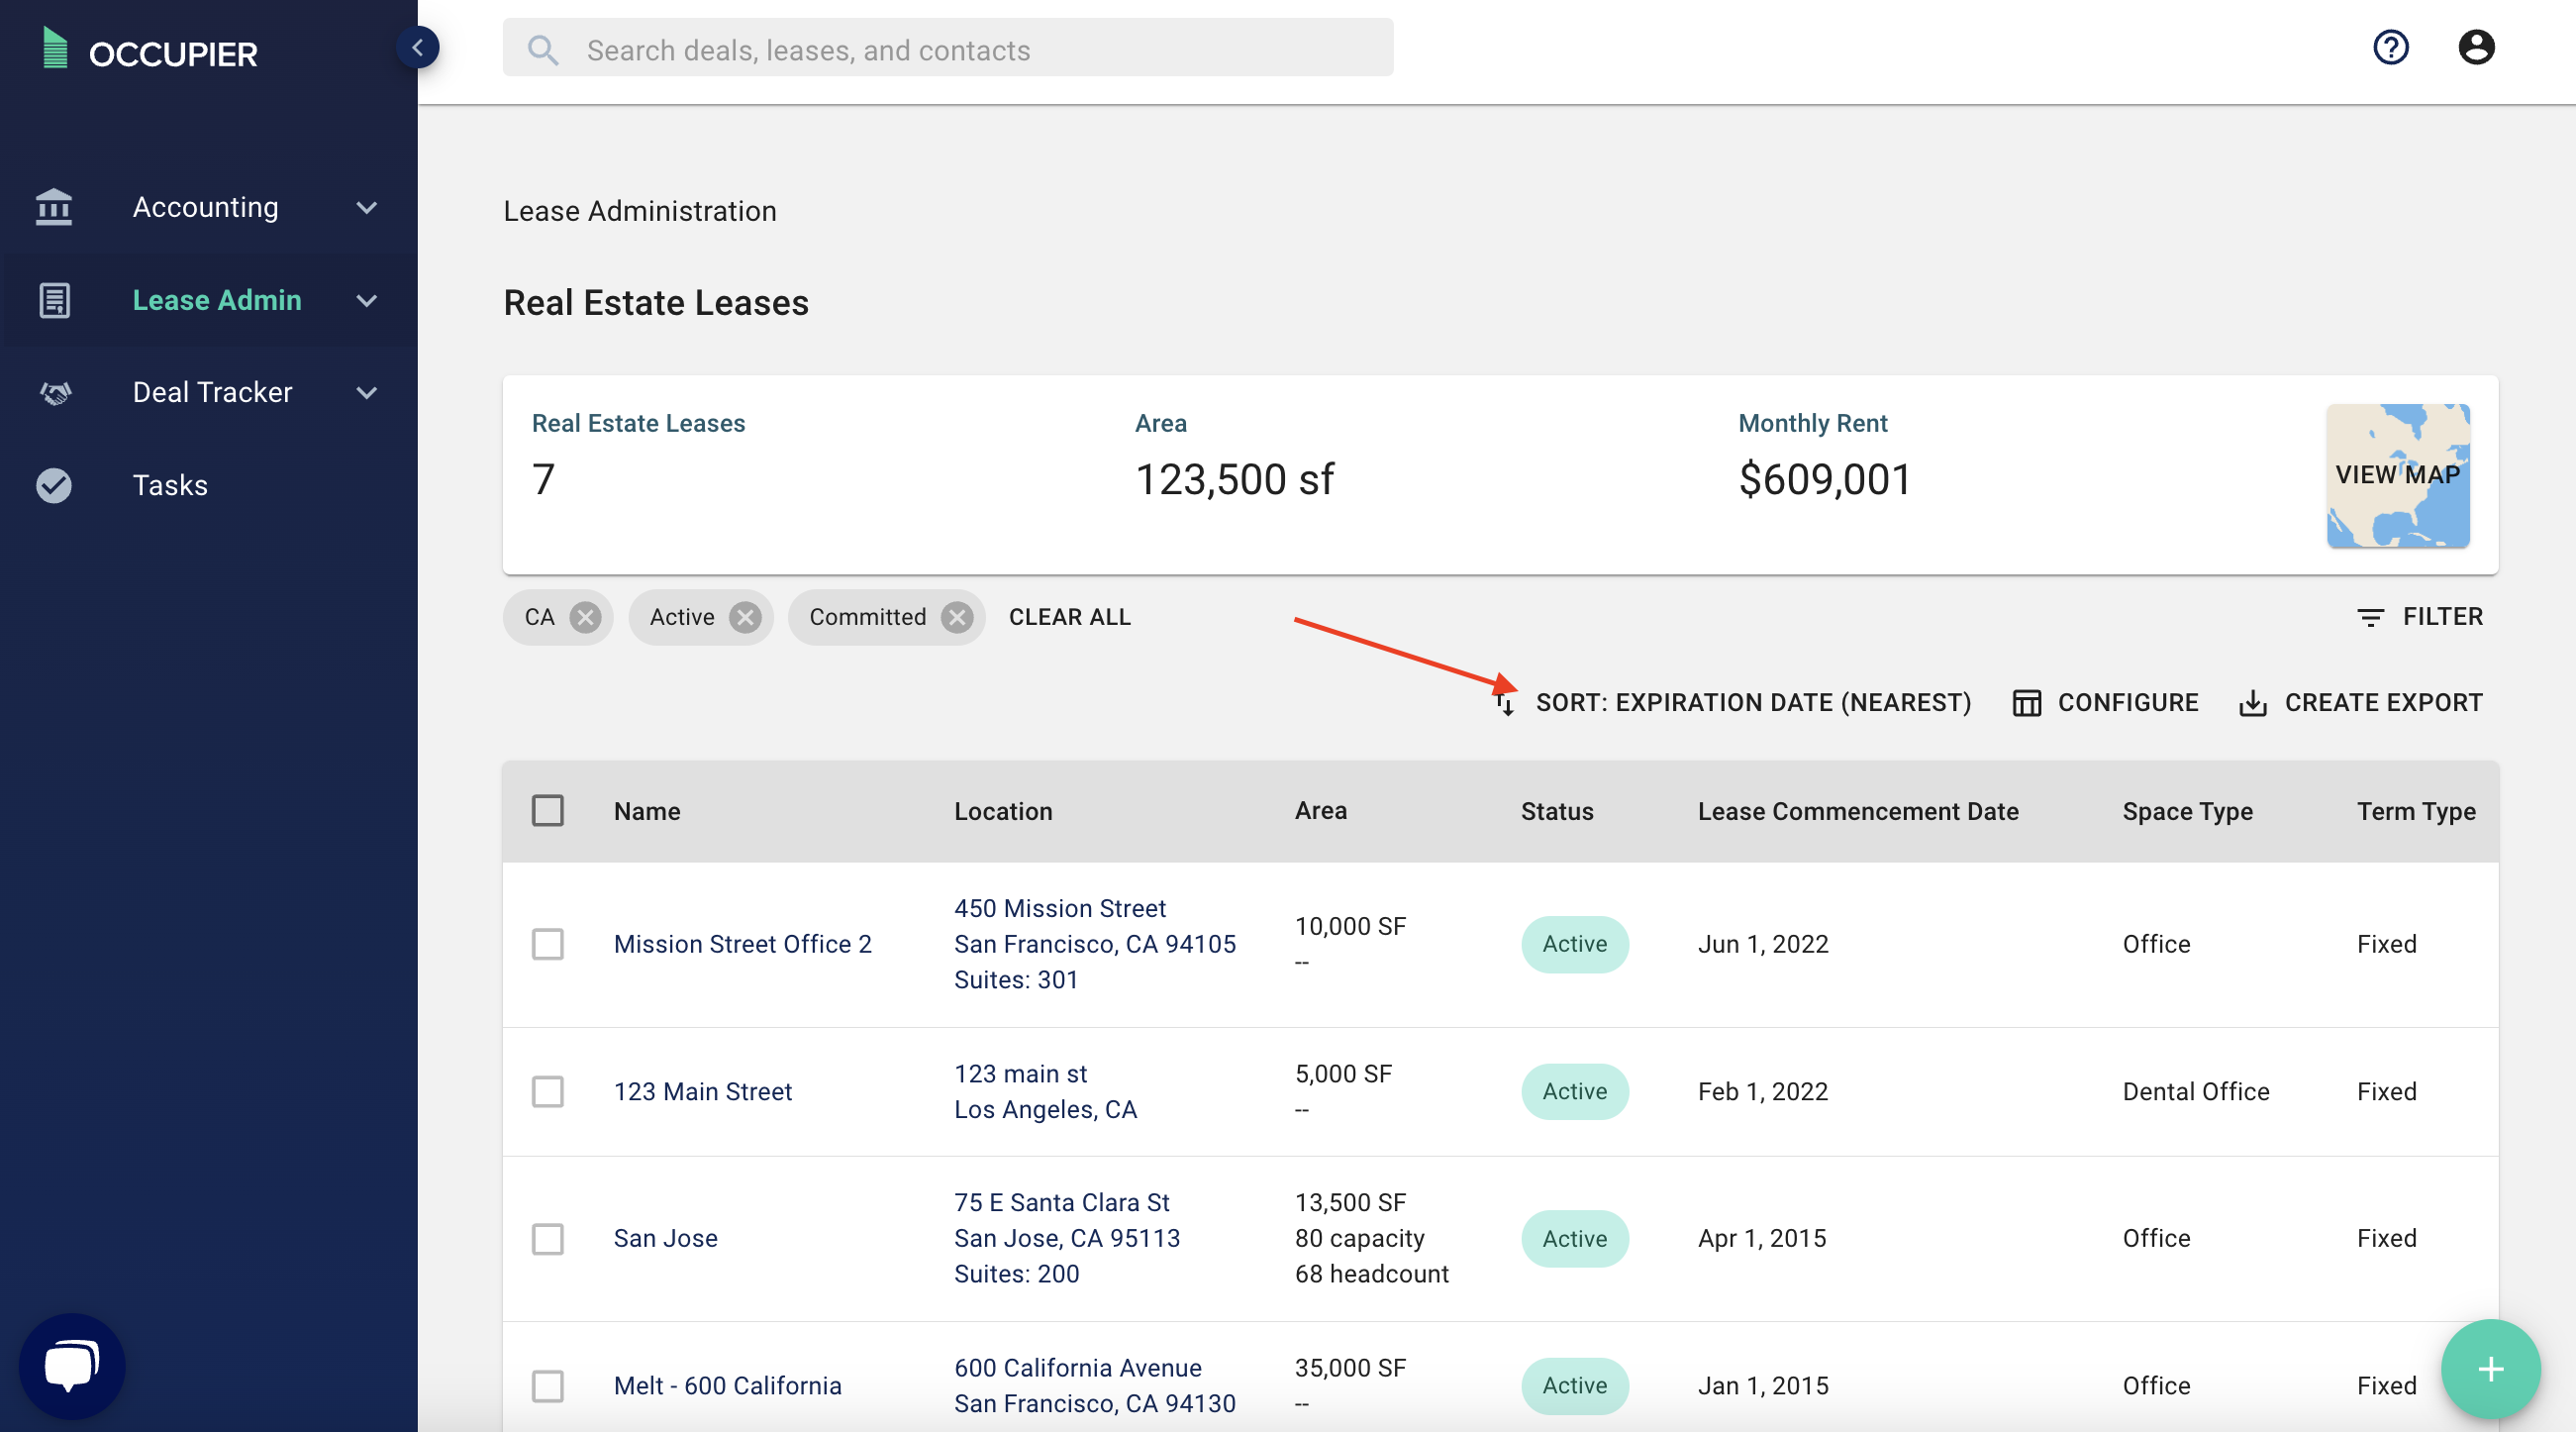
Step 6: Select your desired sorting view from the dropdown menu
