How Do I Add an Image to a Lease?
How to add an image to a lease
Why did we build this?
We built this feature to enable users to visualize the space they are occupying and associate the physical space with its data. By adding an image to a lease record in Occupier, our customers are contributing to the quality of their experience using the platform. Having a site photo for each location customizes the interface to really feel like it’s your own.
What does it do?
Adding an image to a lease helps to identify the location that is represented by the lease data in each lease record. It appears on the digital abstract for each lease, and also shows up when viewing your portfolio on the map in the main dashboard. By adding an image to a lease, you can easily associate the addresses and lease details with the visual recognition of each location.
How to use it
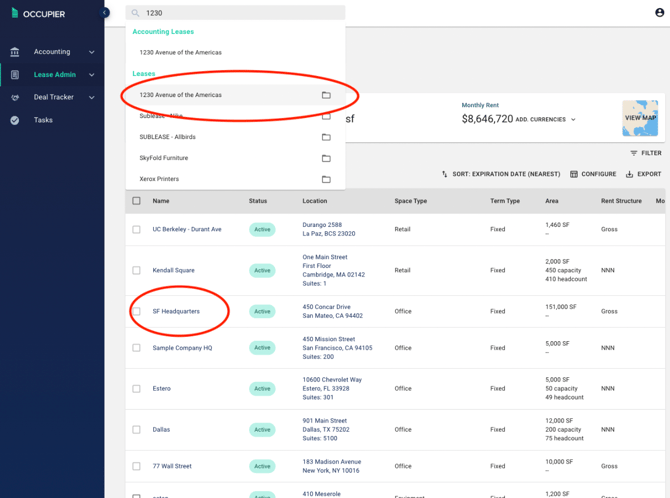
Step 1: Navigate to a lease record by clicking on a Lease Name from the Lease Administration page or by using the search bar at the top.

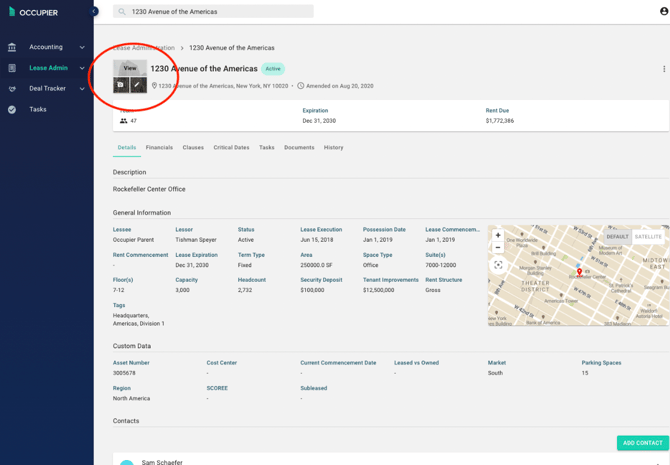
Step 2: Identify the photo icon in the top left corner of the lease record (next to the name of the lease)

Step 3: Click on the photo icon in the square. This should open up a window for you to select a file from your computer

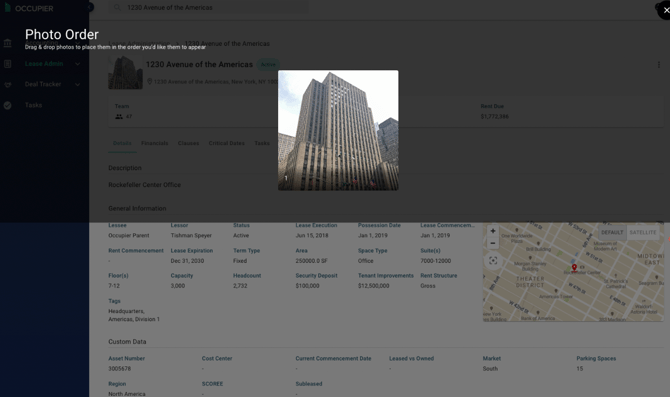
Step 4: Select the photo you’d like to use for this lease