How do I add Account Segments in Occupier?
You can upload account segments or you can manually add them. If you would like to upload Account Segments into Occupier, follow these instructions here. To manually add them, follow these instructions:
Step 1: Open the Lease Accounting module.
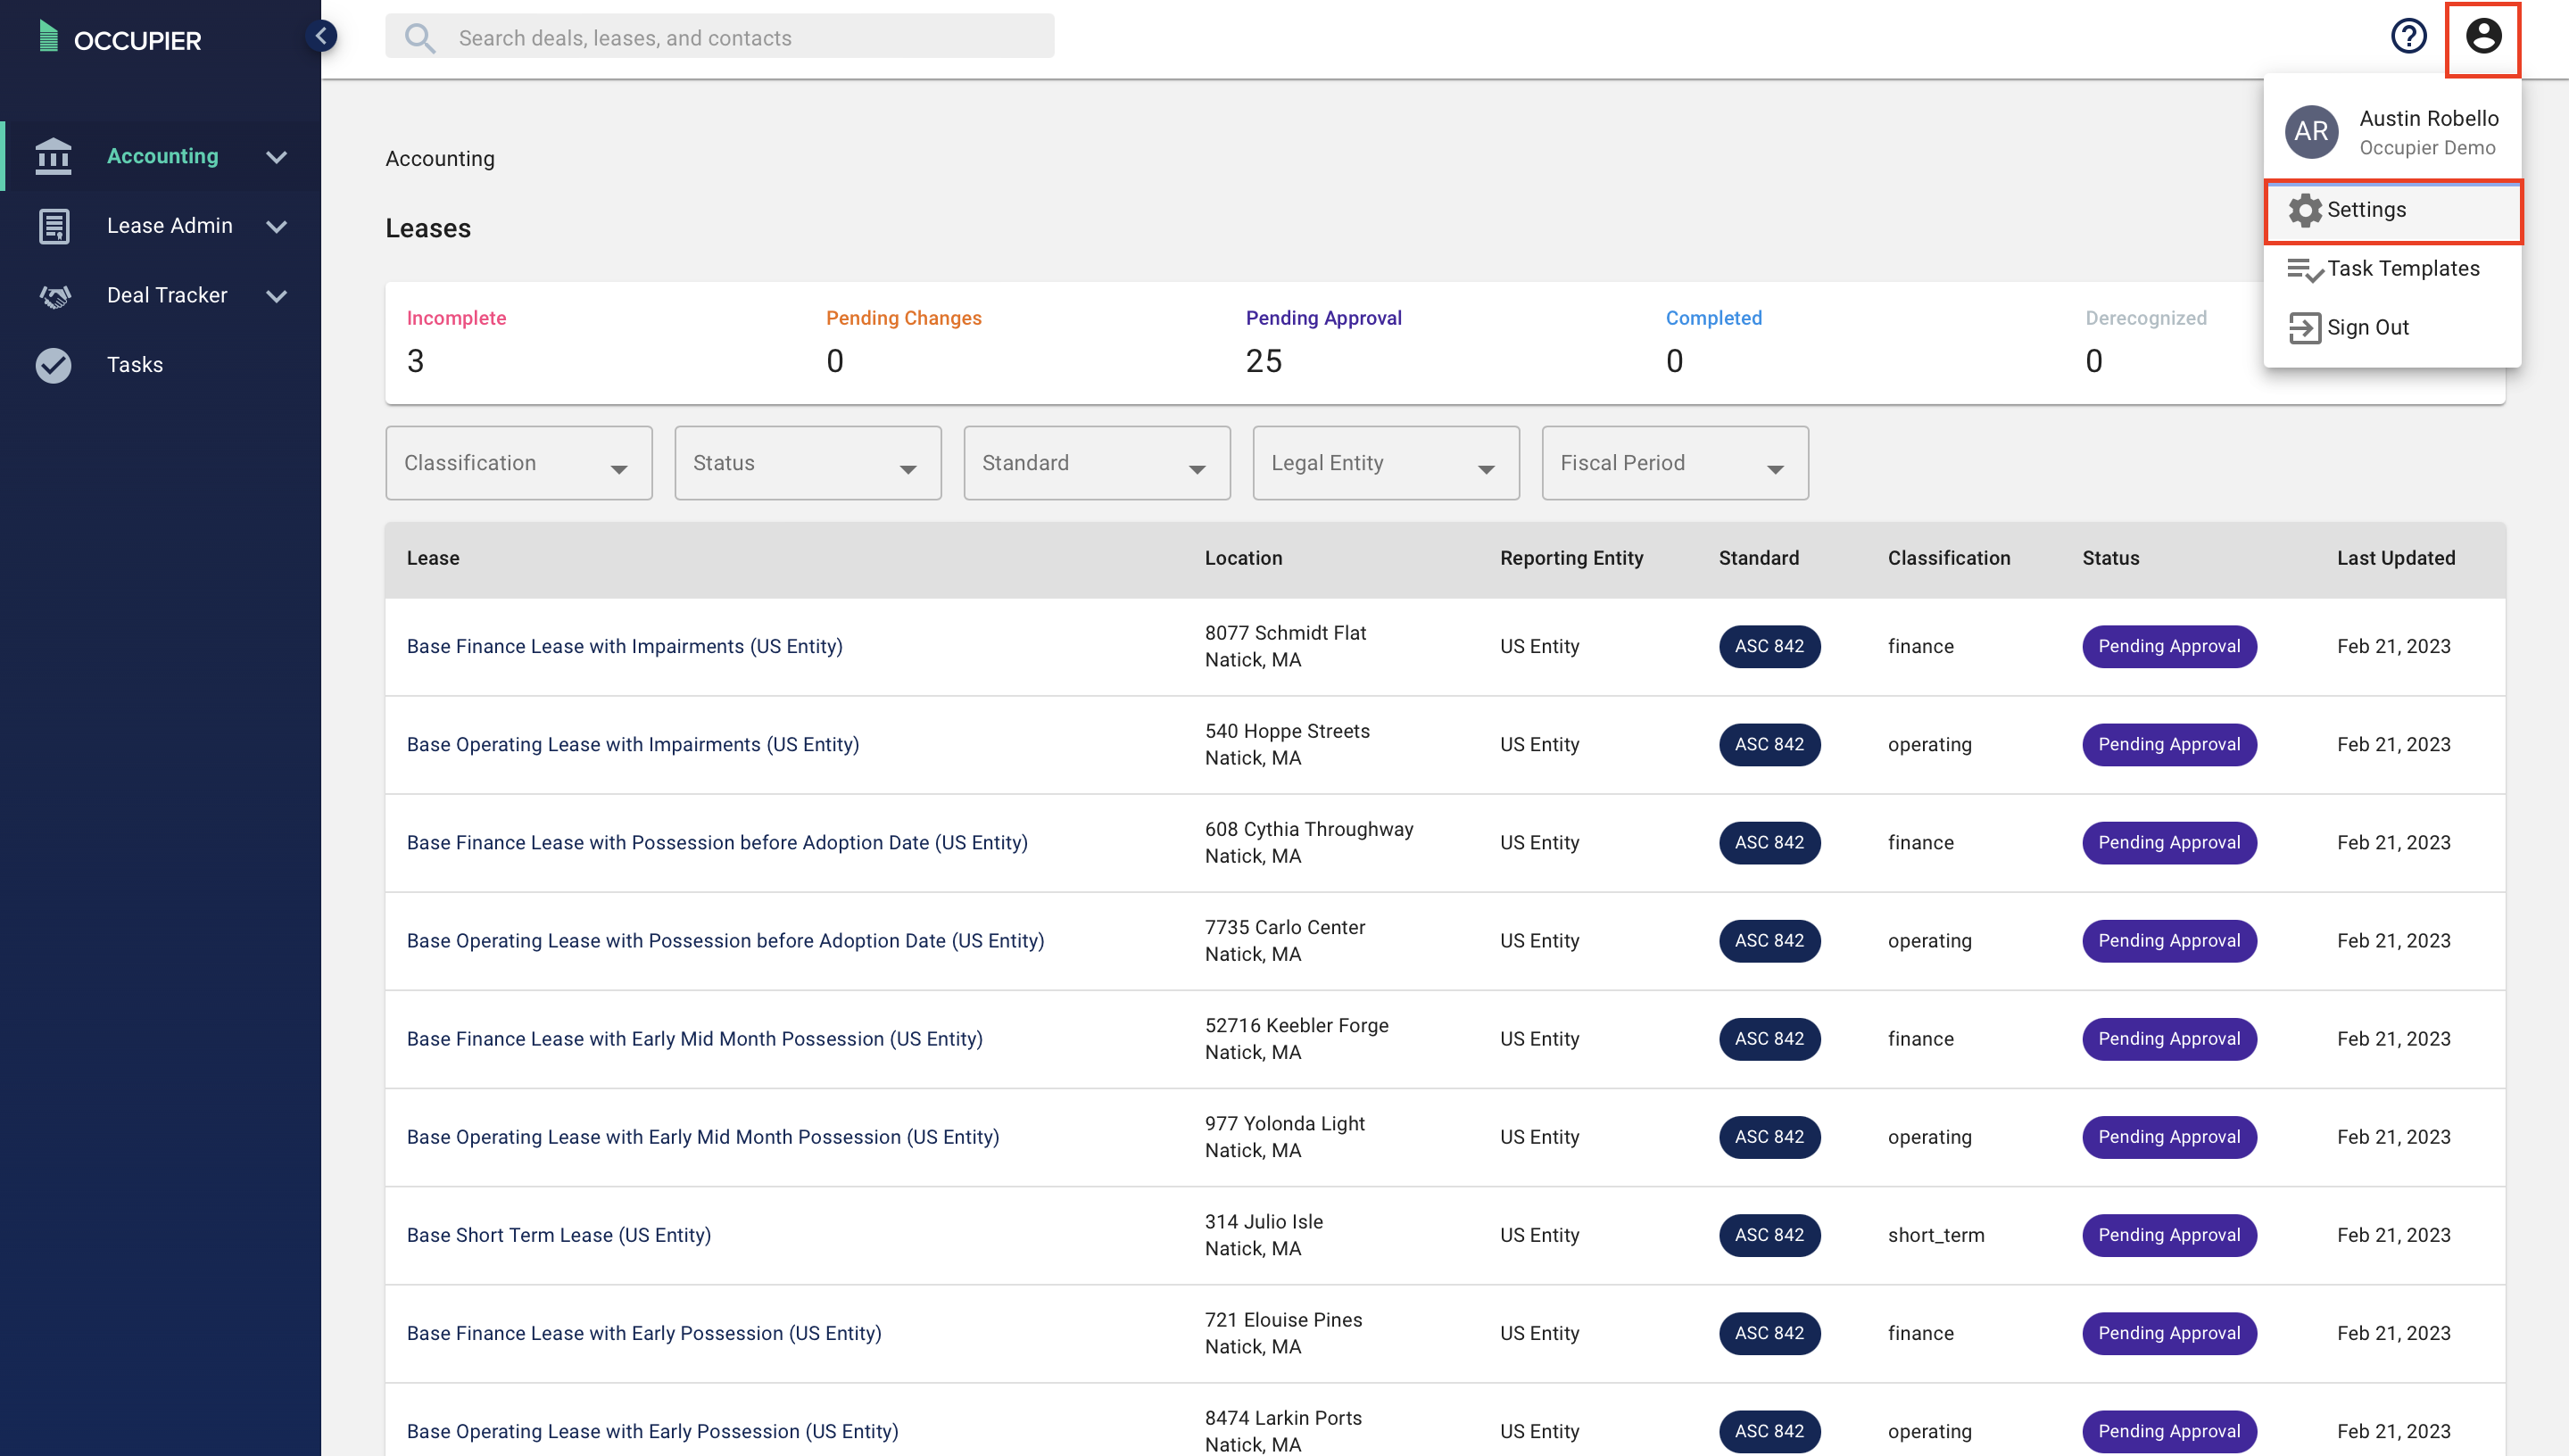
Step 2: Navigate to Account Setting (on the top right-hand corner).
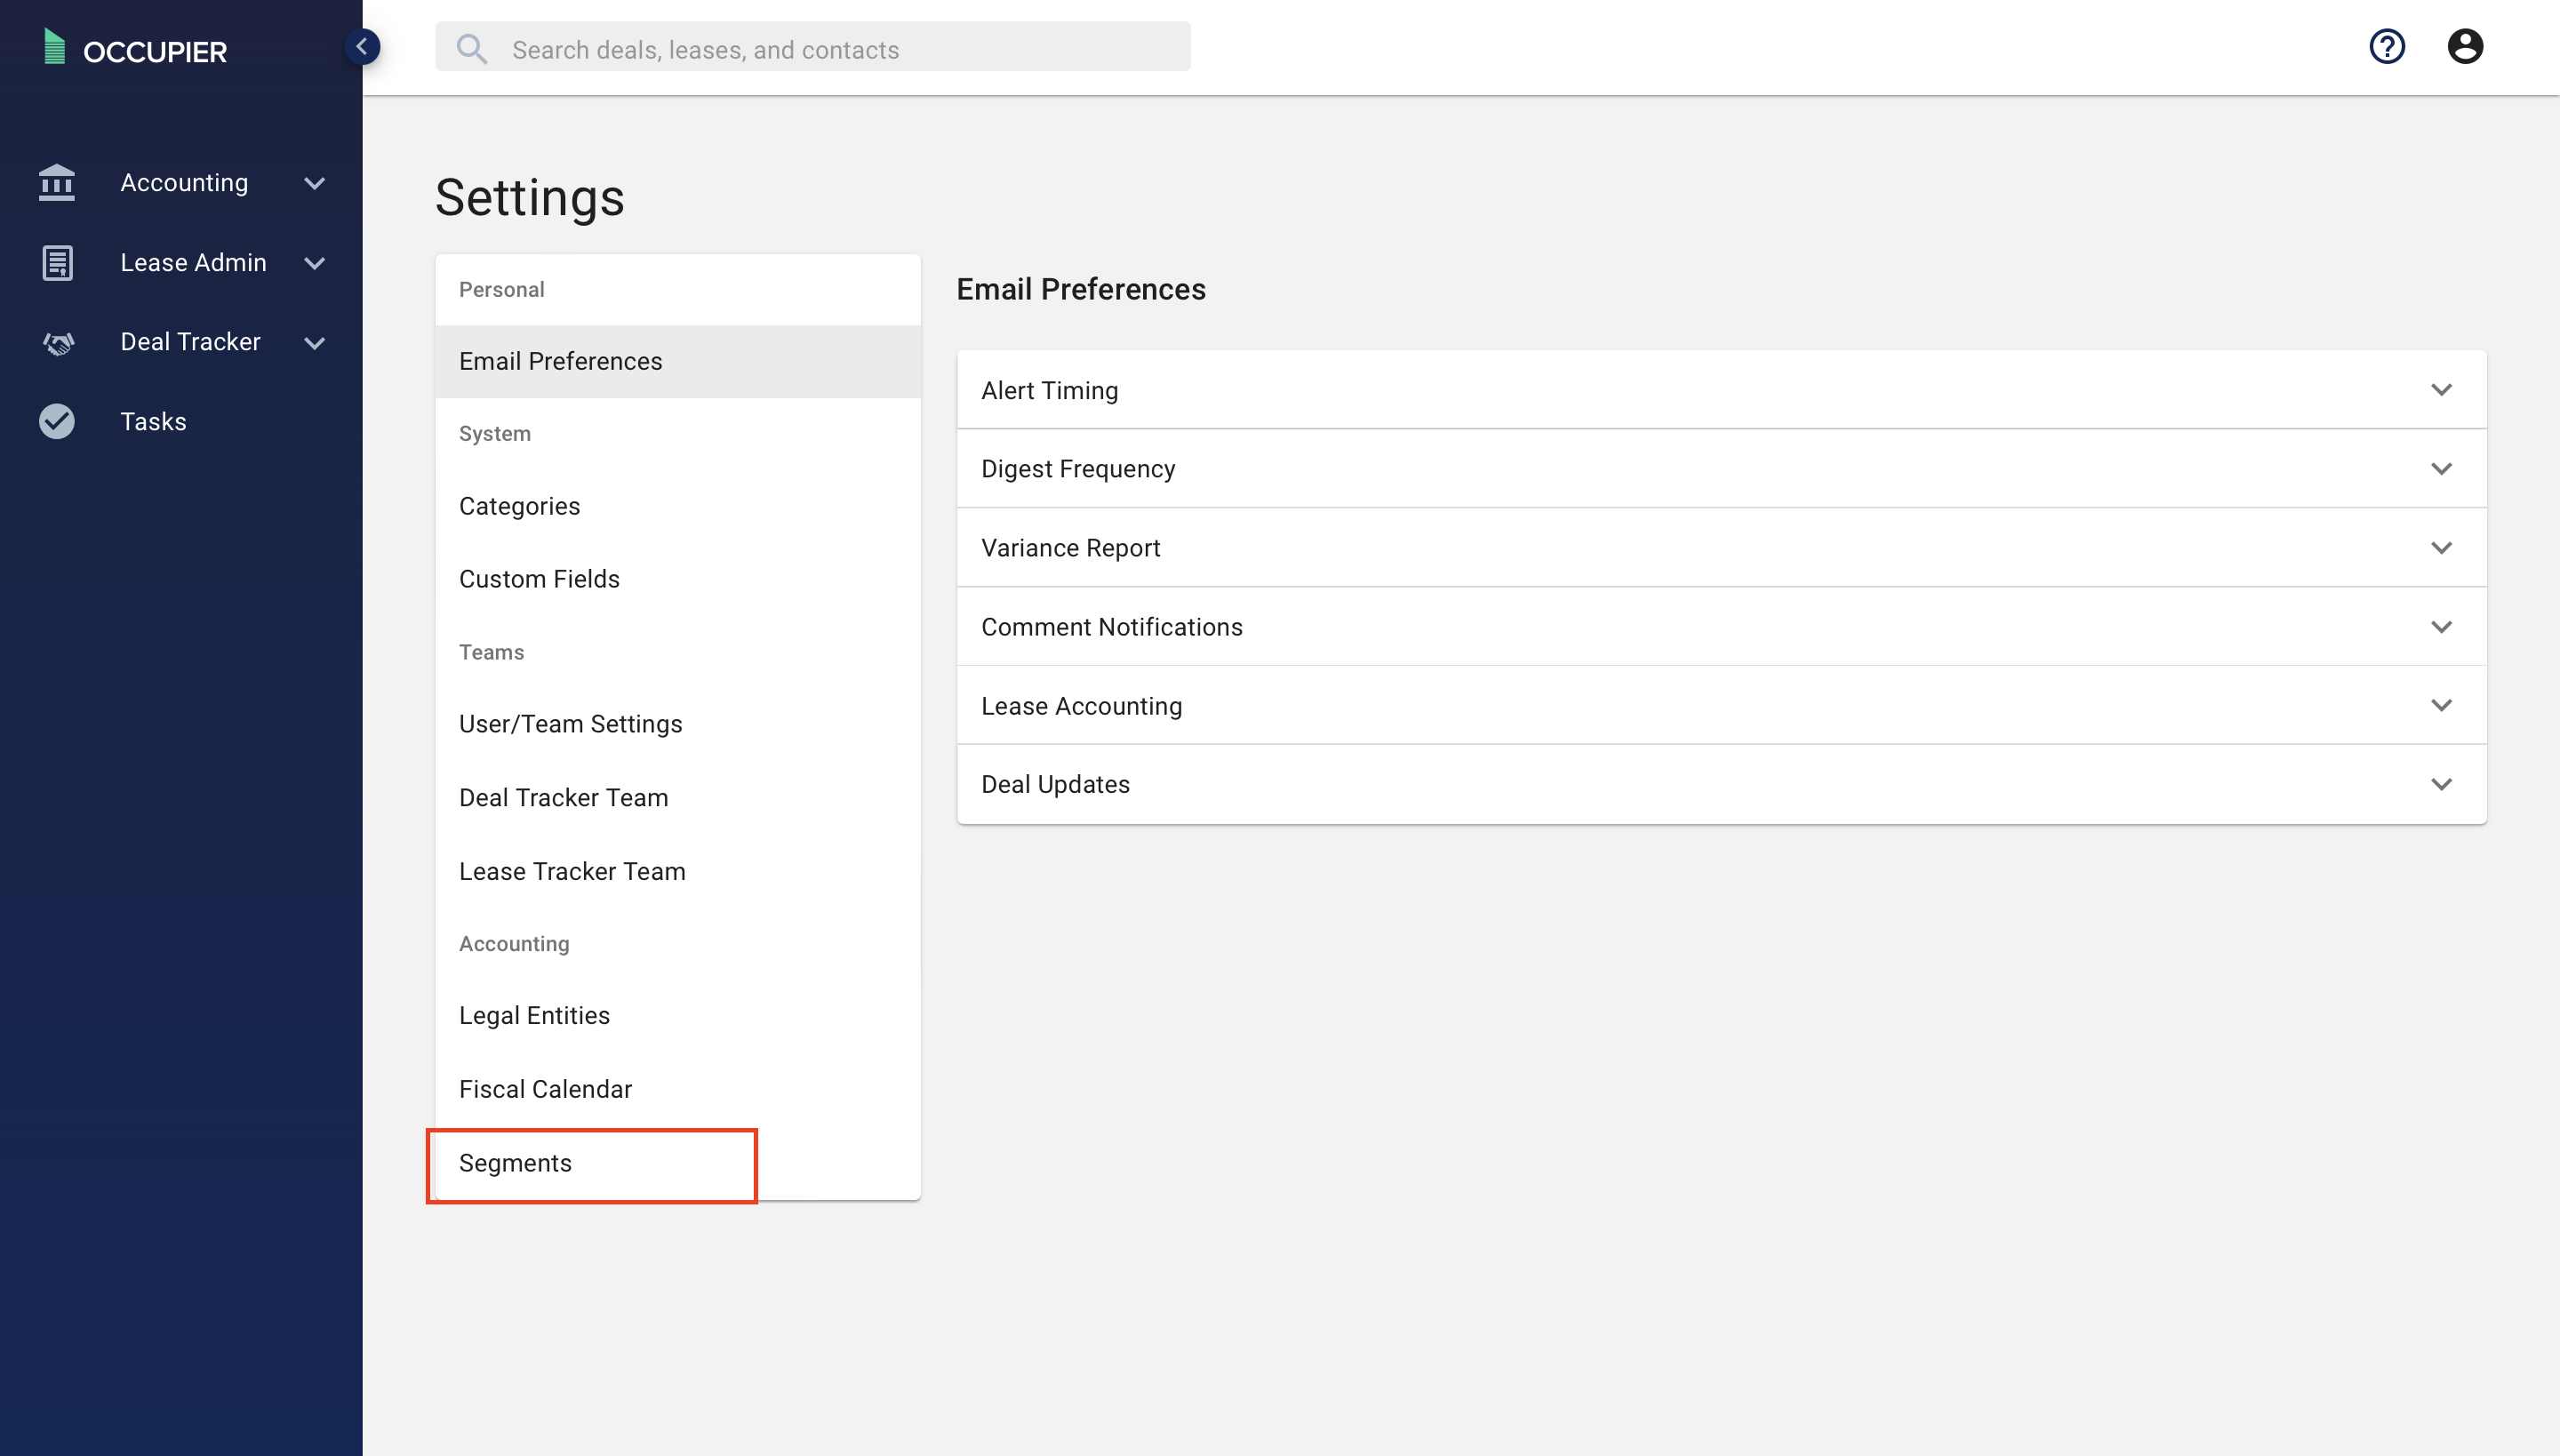
Step 3: Click on Segments.
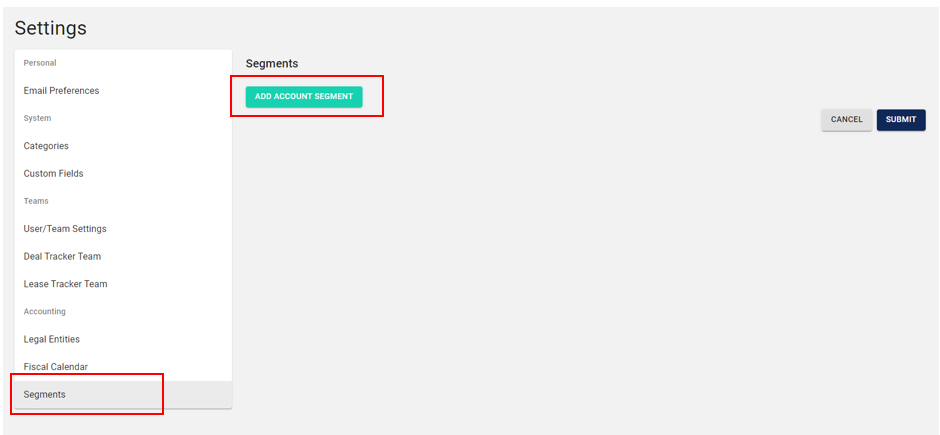
Step 4: Using the "Add Segment" button populate your internal Account Segments.
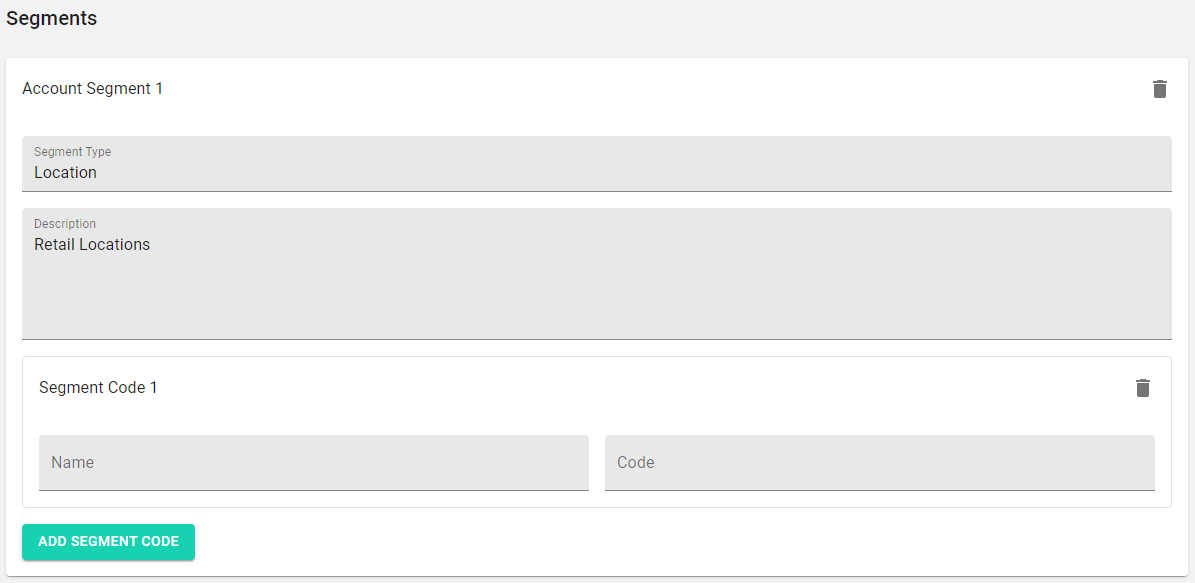
Enter the following information below, then select "Add Segment Code"
Segment Type: This is the header that will be populated in exports as the column header. An example of Account Seg others.gments Types commonly used are: Department, Location, Project, Vendor ID, amon
Description: Enter description of Segment Type
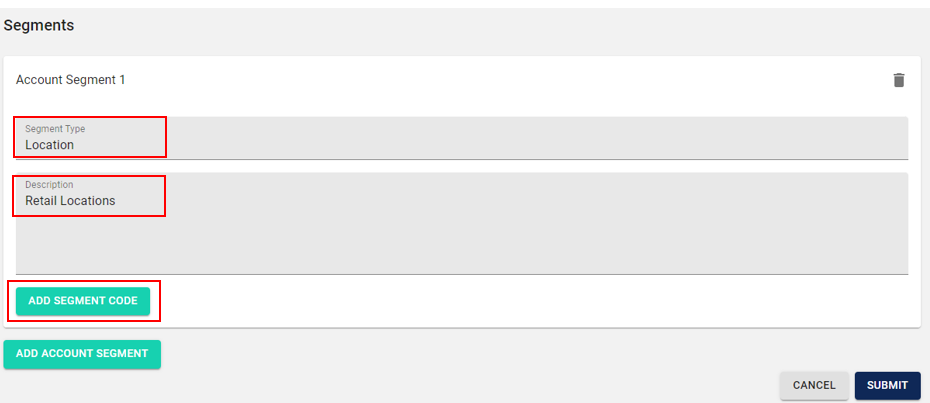
Complete the segment code fields for as many codes as you need:
Name: The Segment Name is used within the lease level reporting to select the Project.
Code: This is the code that is included within Journal Entry reporting when selected at the lease level.
