How do I Export my Lease Data?
This article walks you through how to export your lease data from Occupier, and also how to customize said exports.
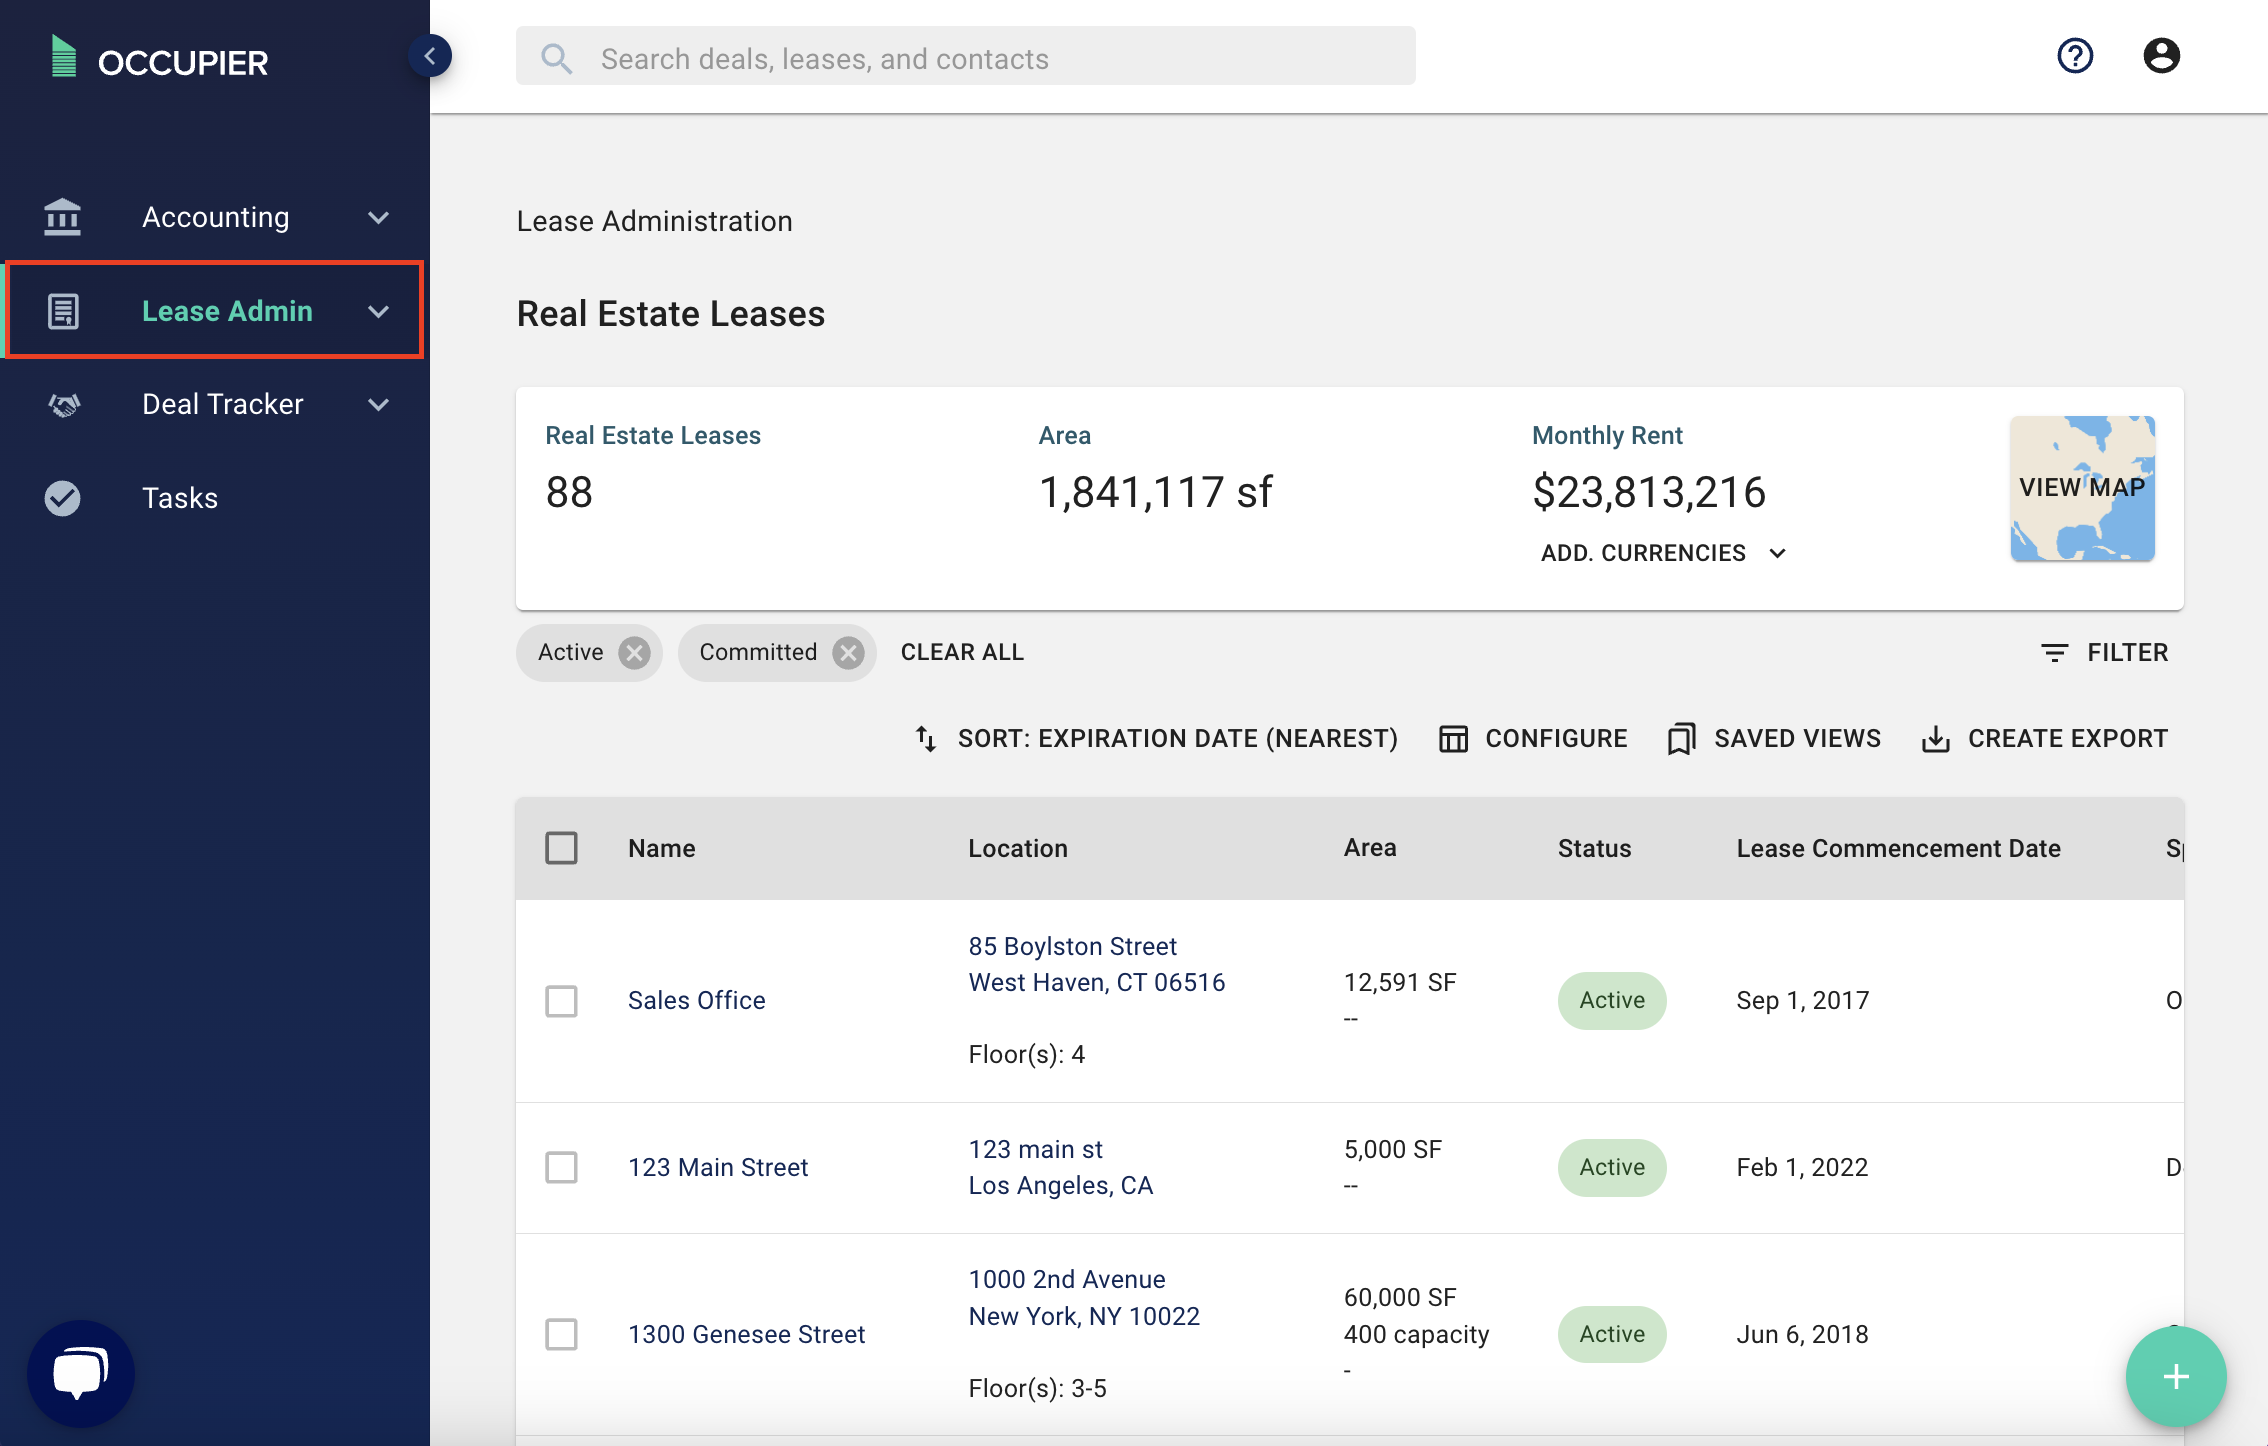
Most of the data within Occupier is easily exportable to an excel sheet. To export your lease data, first navigate to your Occupier Lease Admin homepage.
Then click the "Create Export" button. When you do this, everything in the table below will exported into an excel sheet which will be sent to your email.
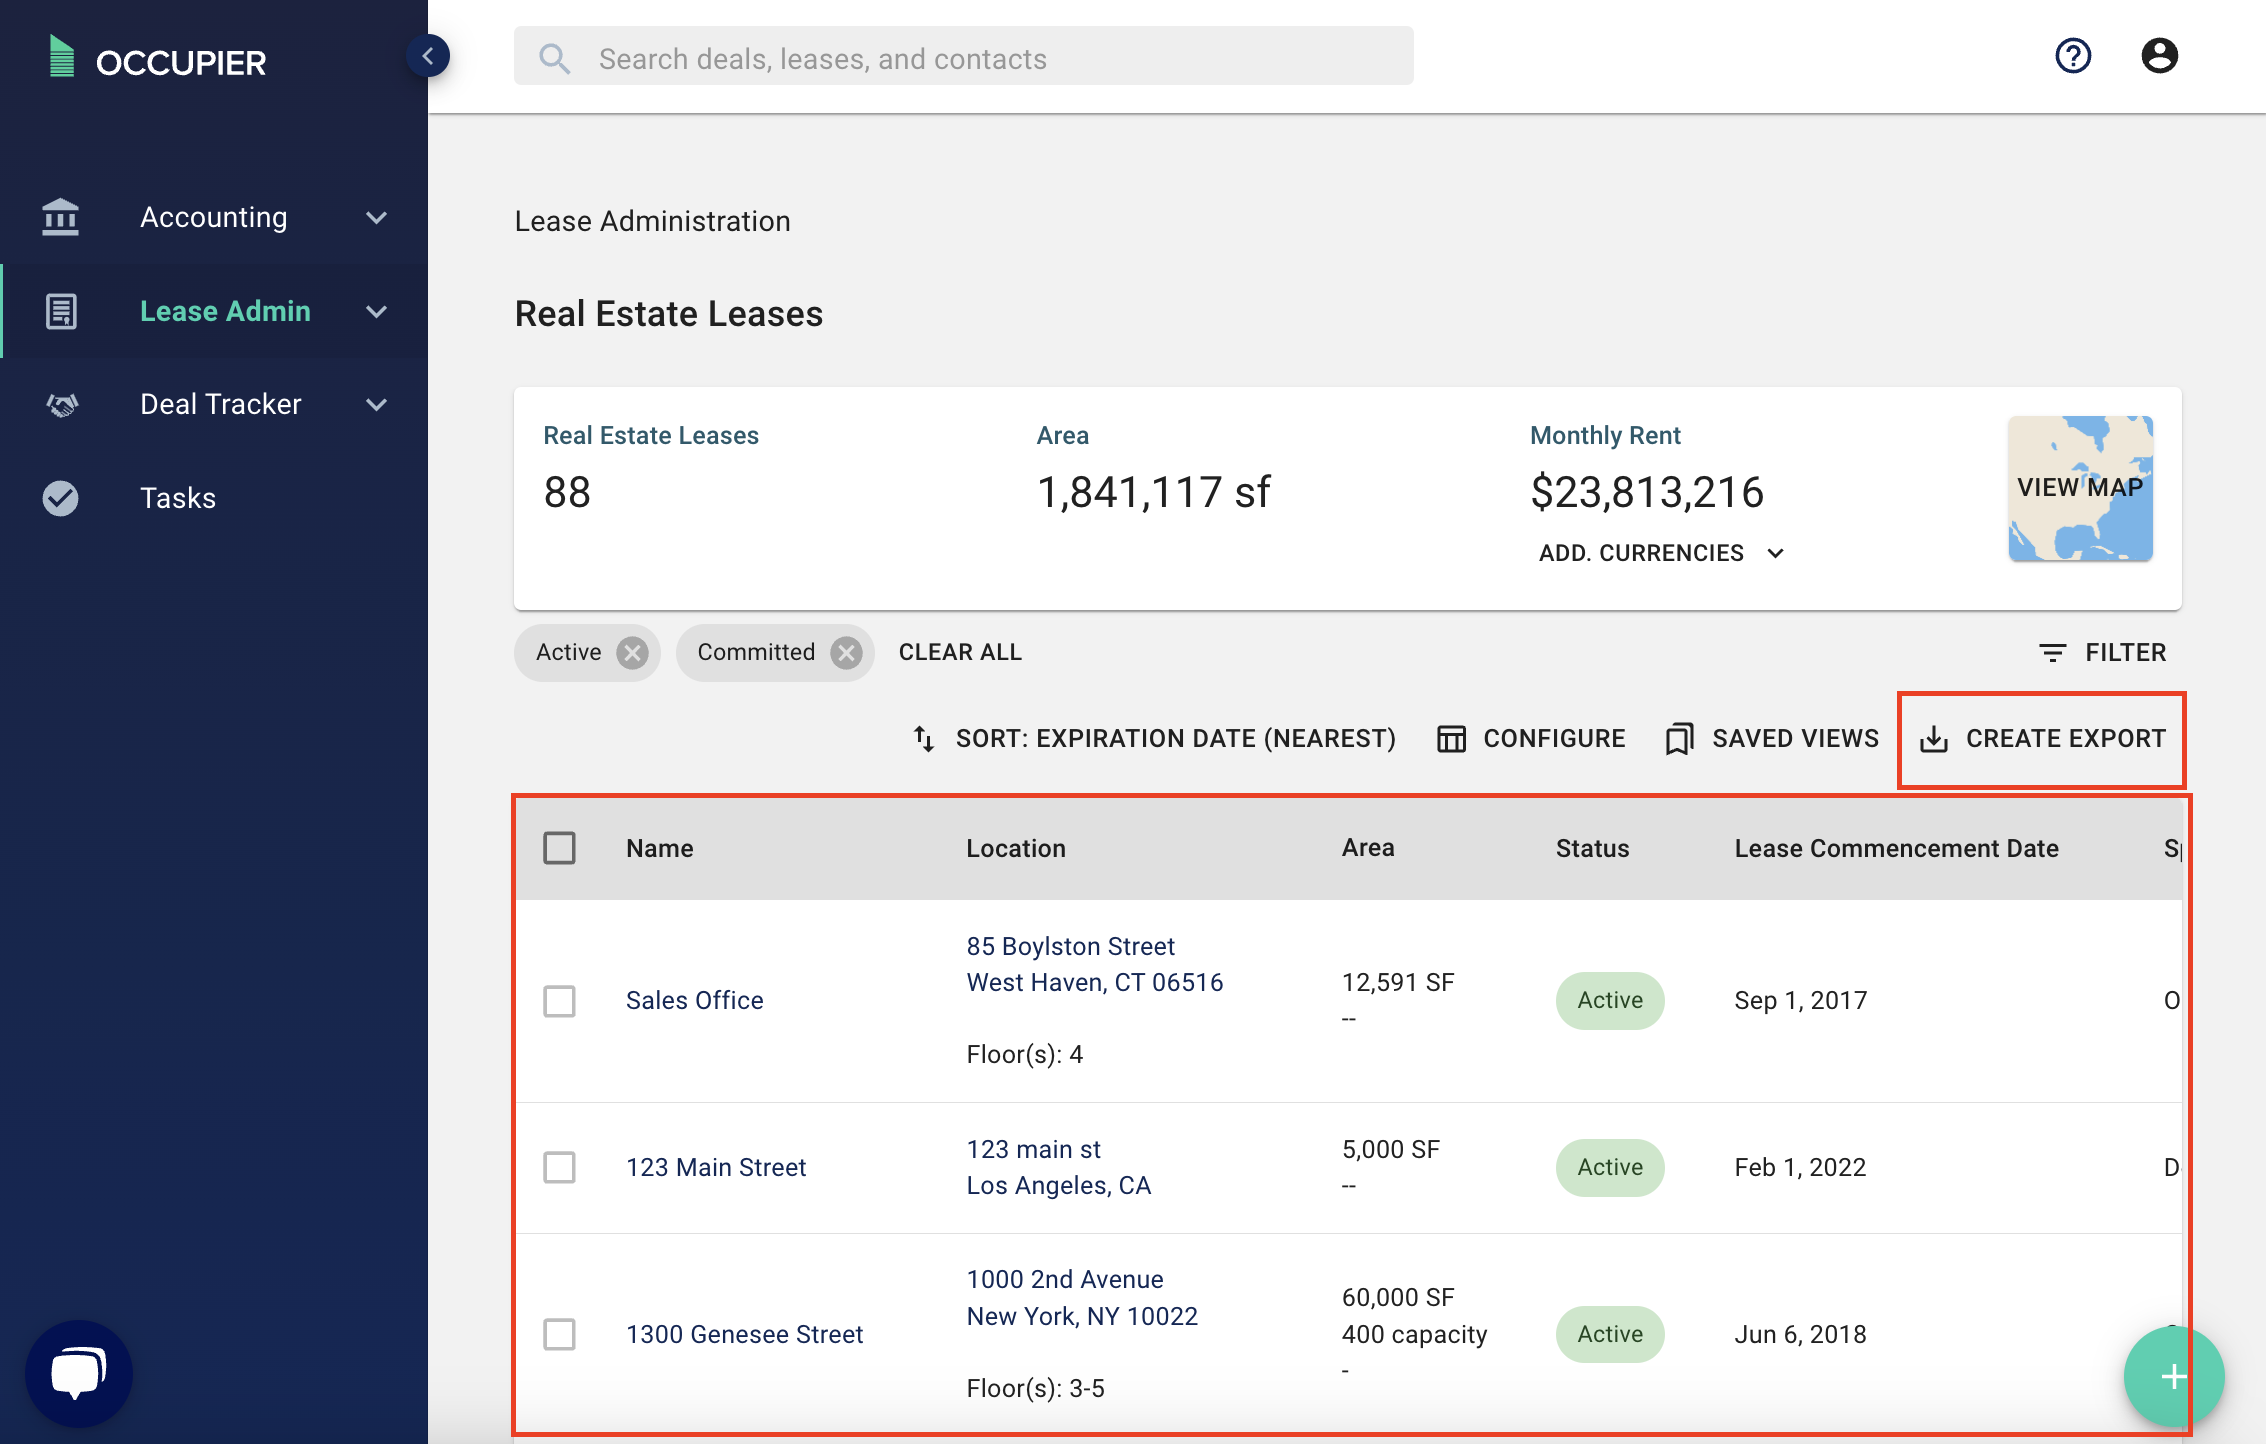
However, you can customize what you want to include in your export. There are a couple of ways to customize your export, the first being with our filters.
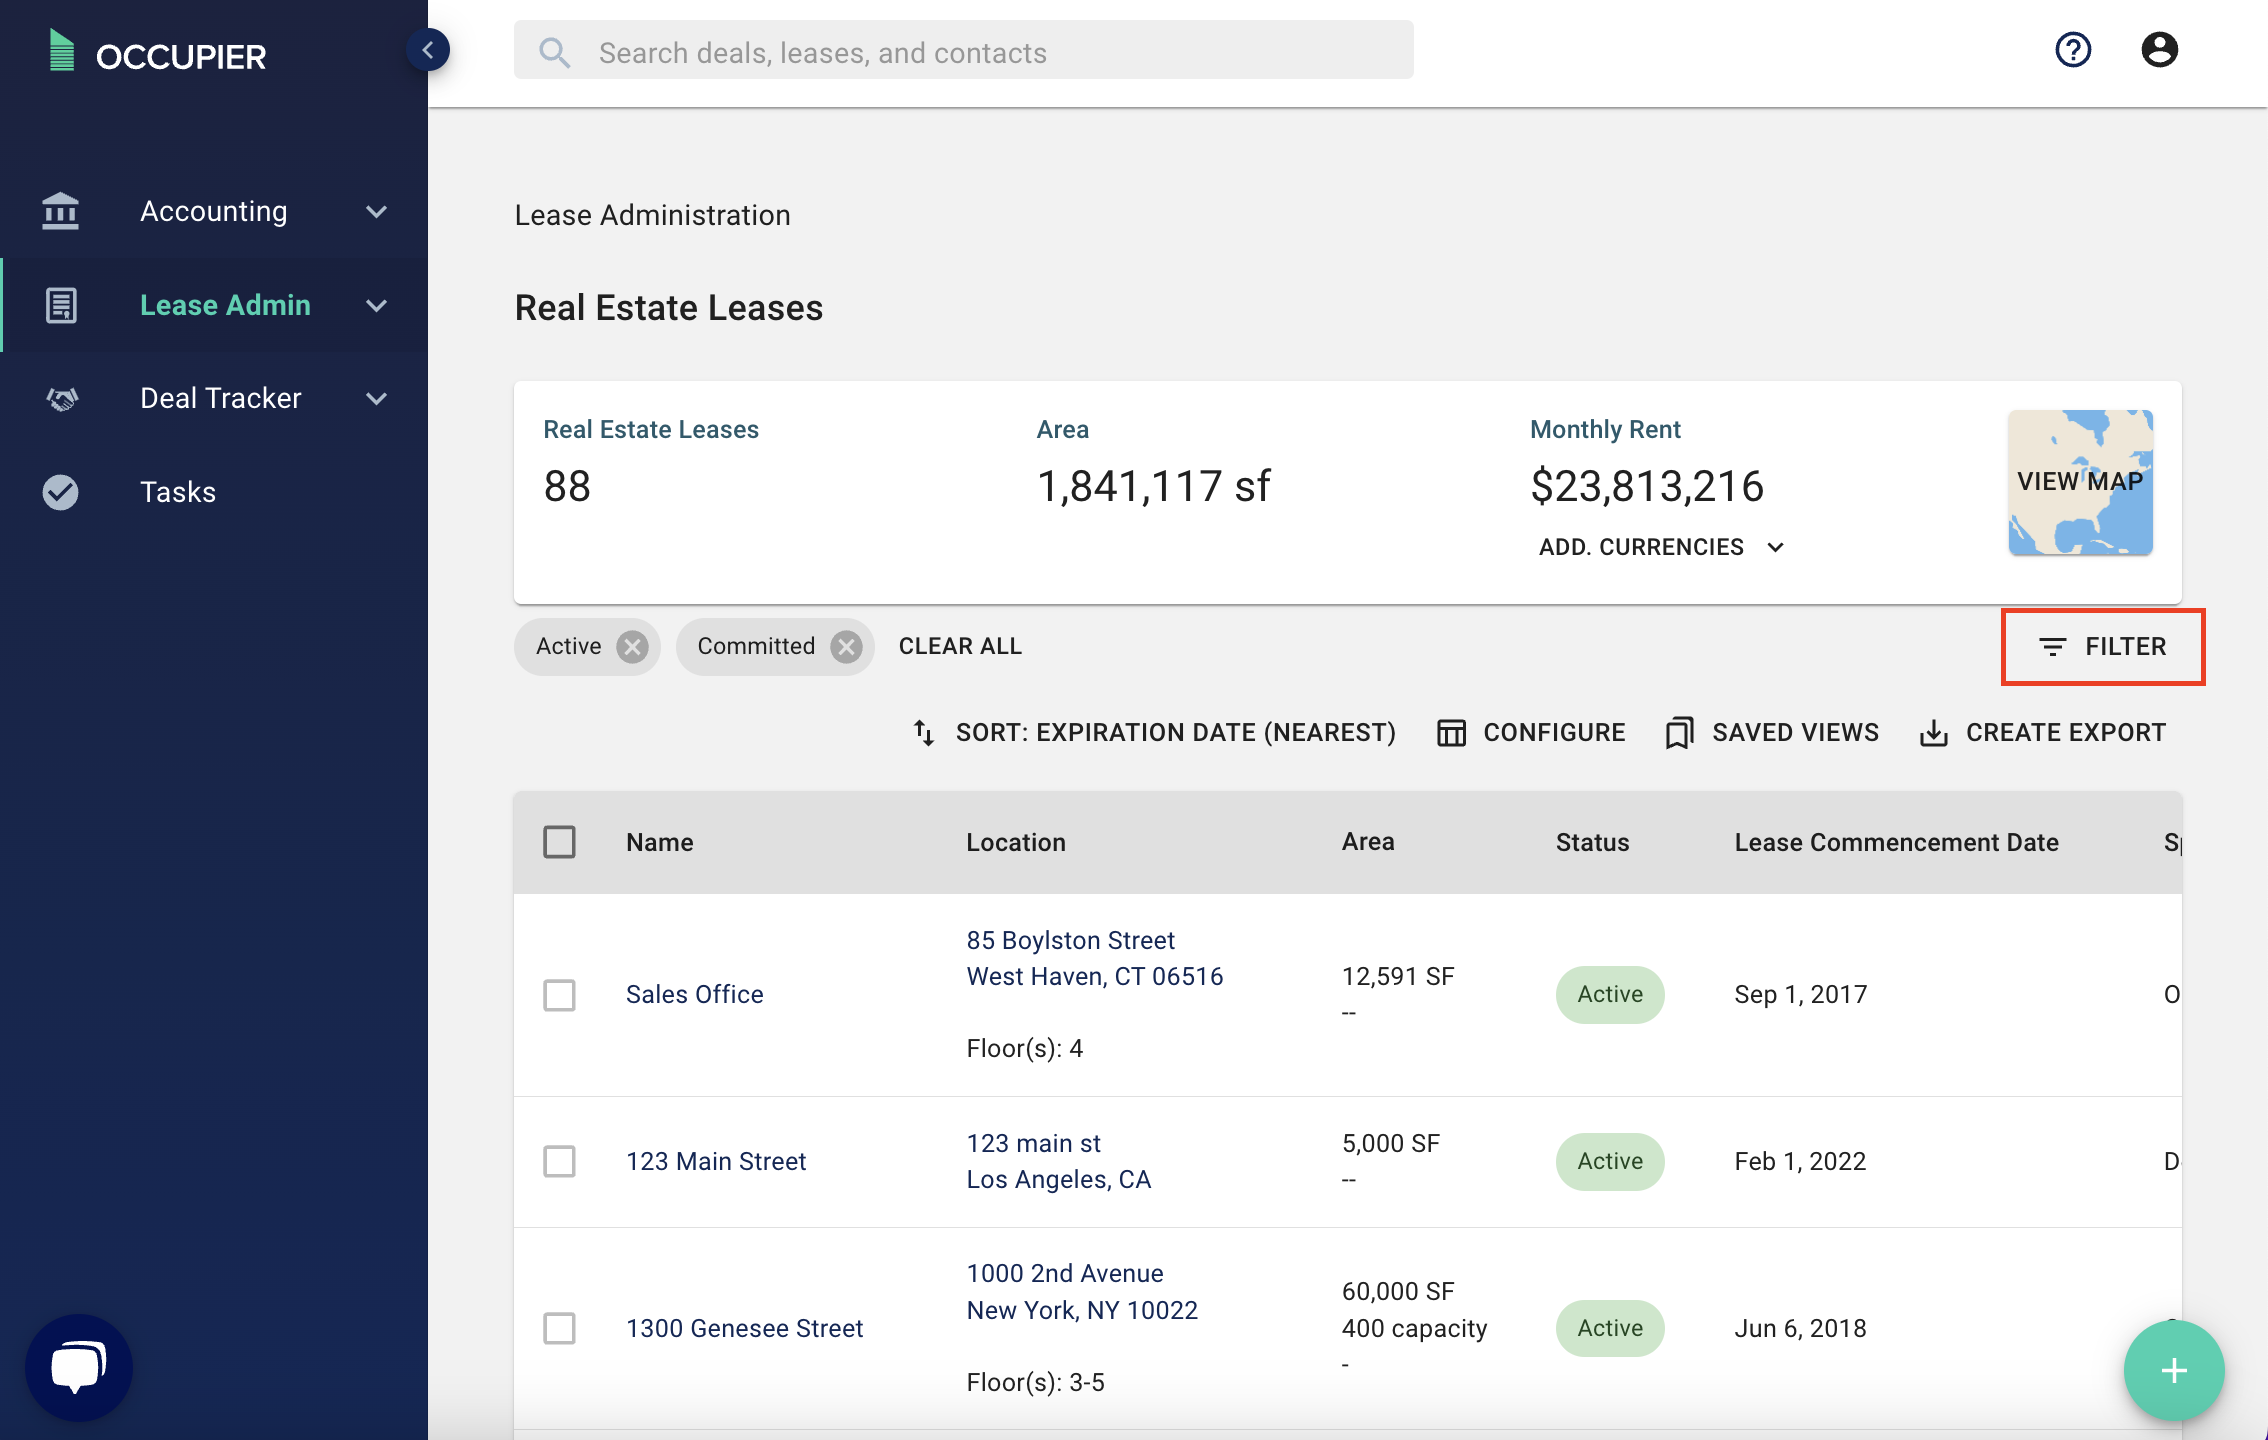
When you click the "Filter" button as shown above, you can apply any filter you'd like. You can filter by city, state, lease status or even any custom fields your account may have.
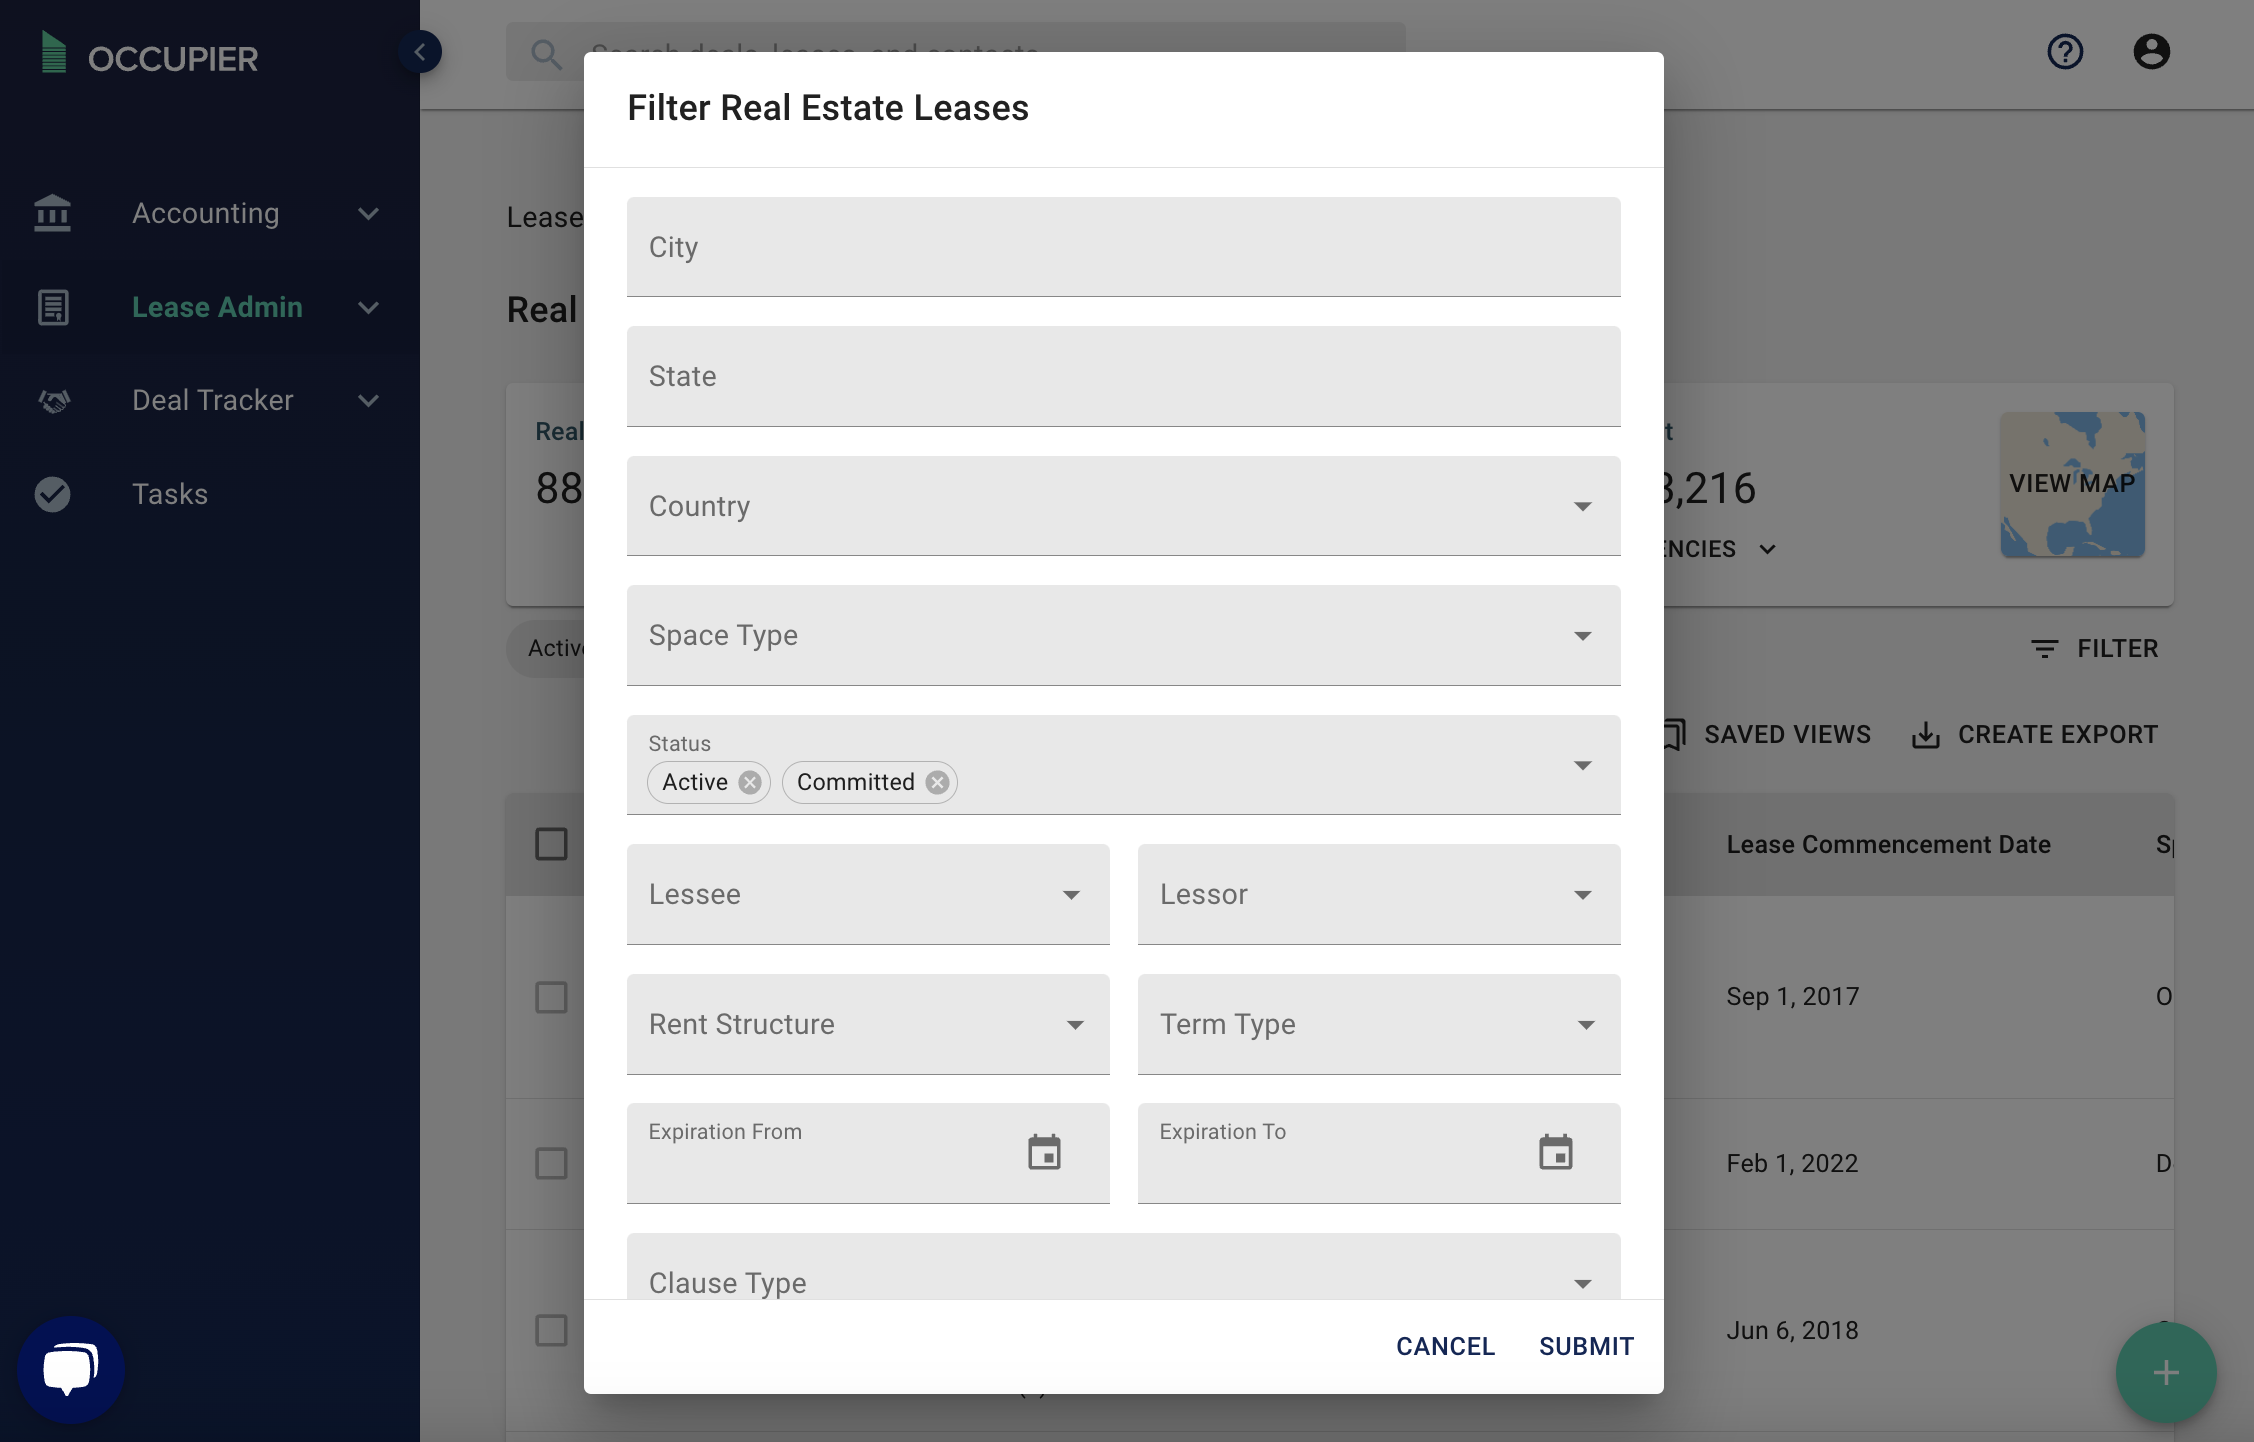
Once you click submit, if you then click "create export", your export will match whatever filters you applied.
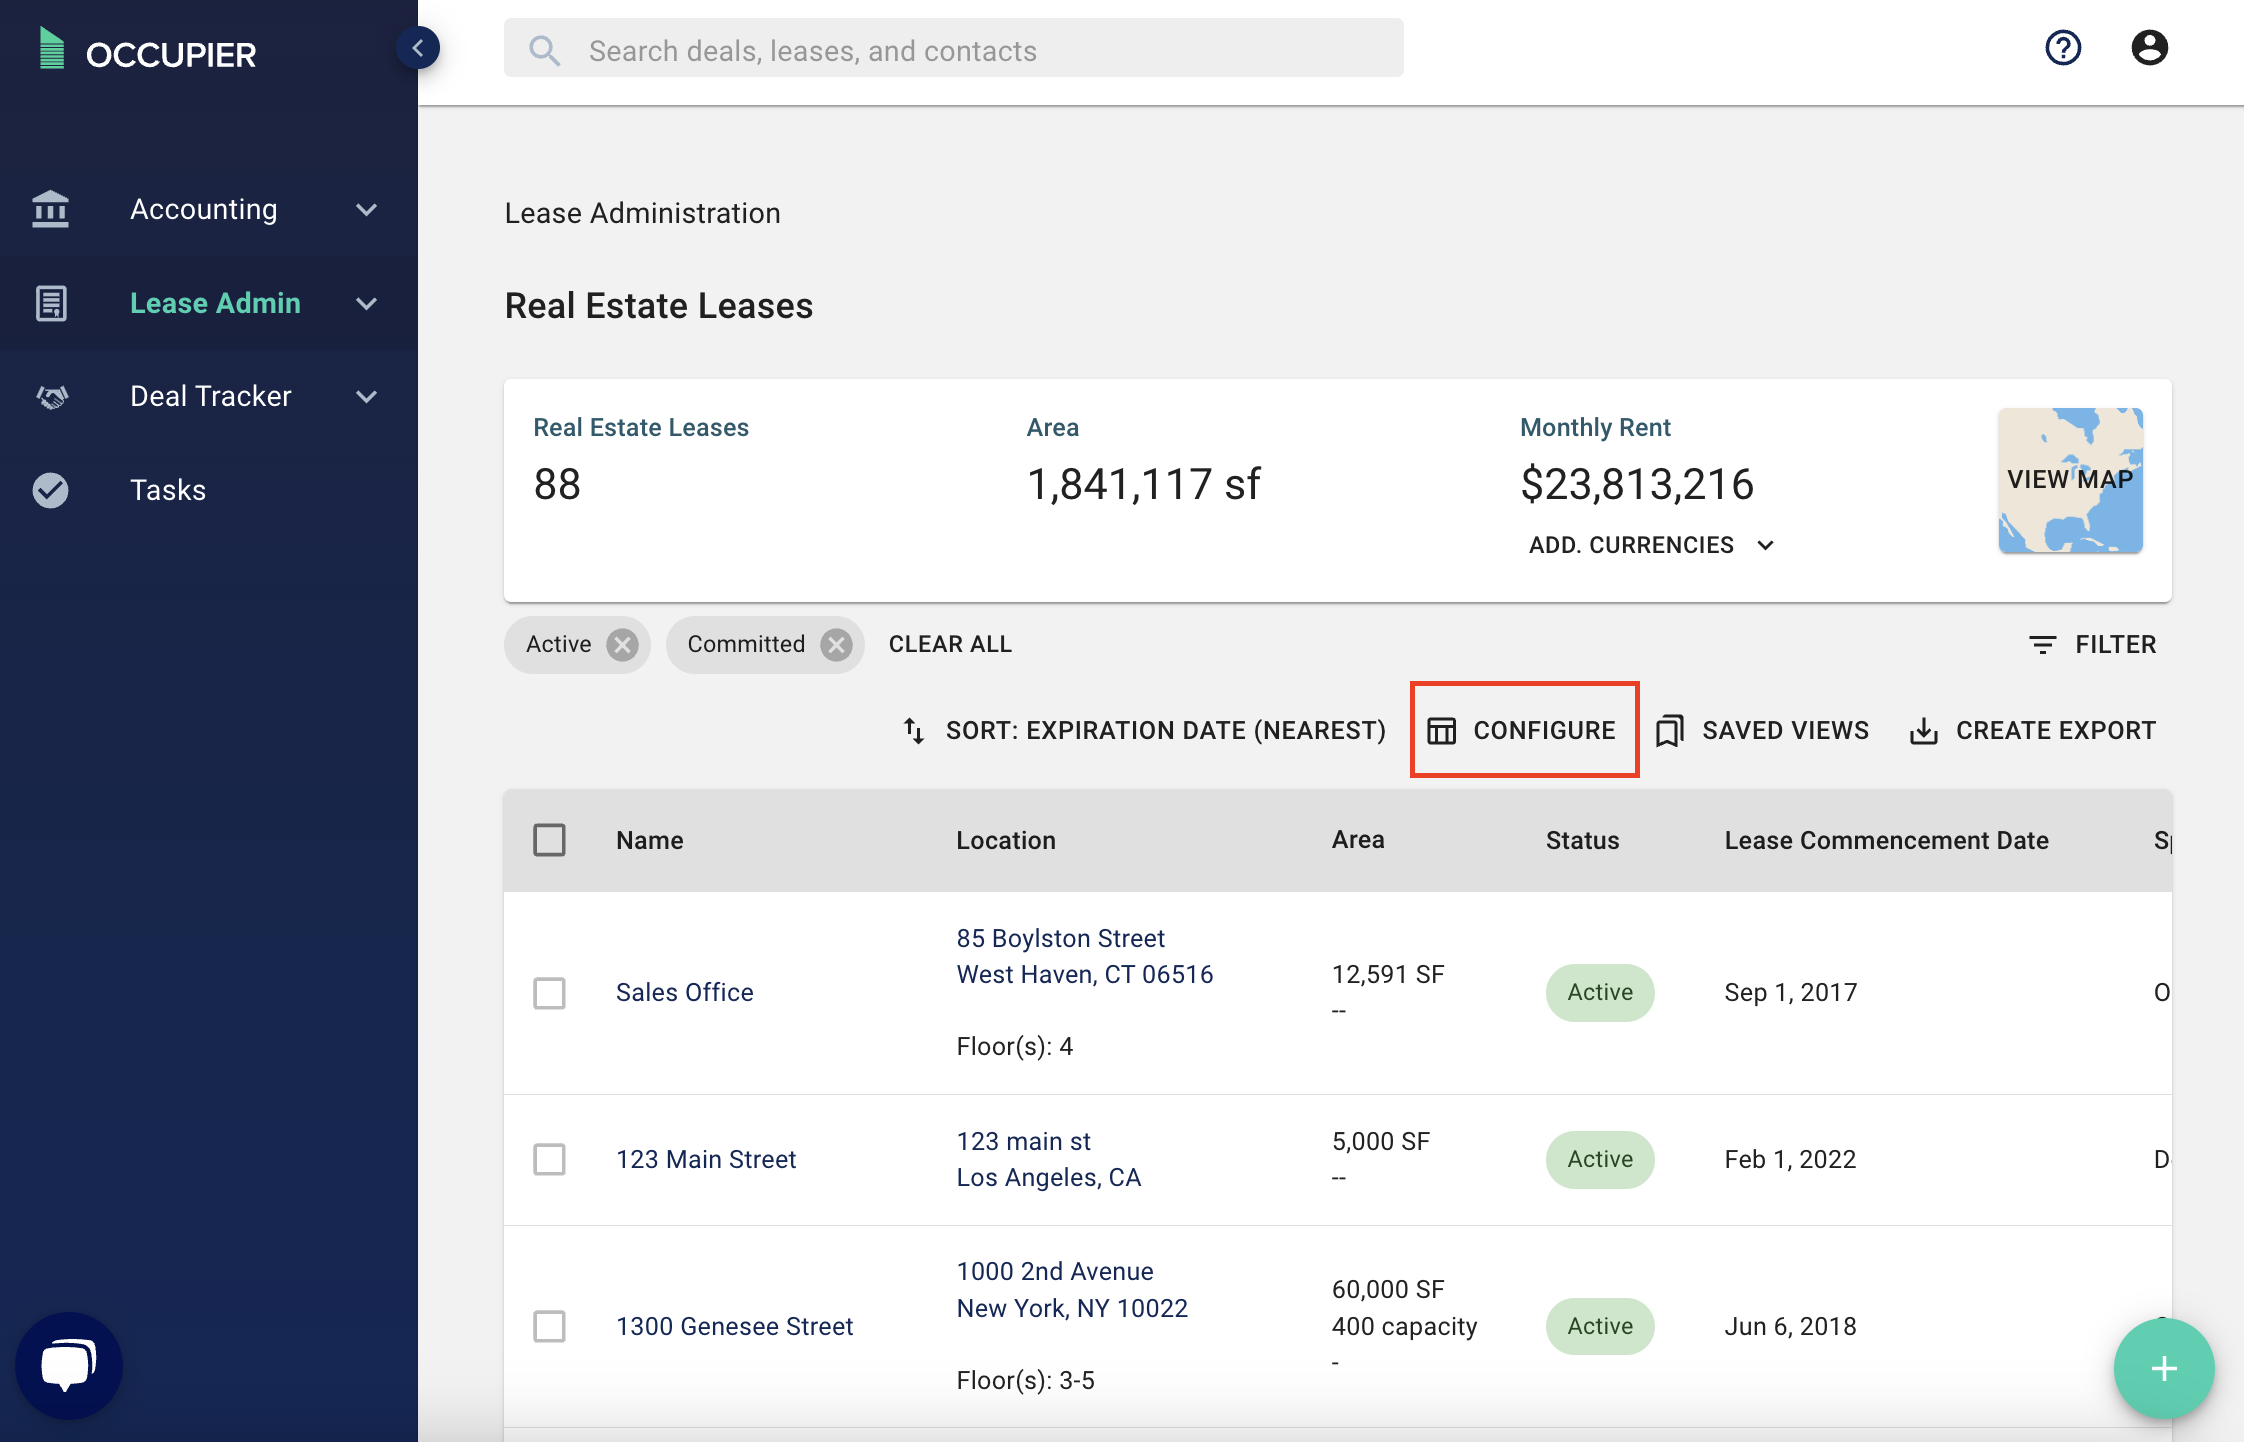
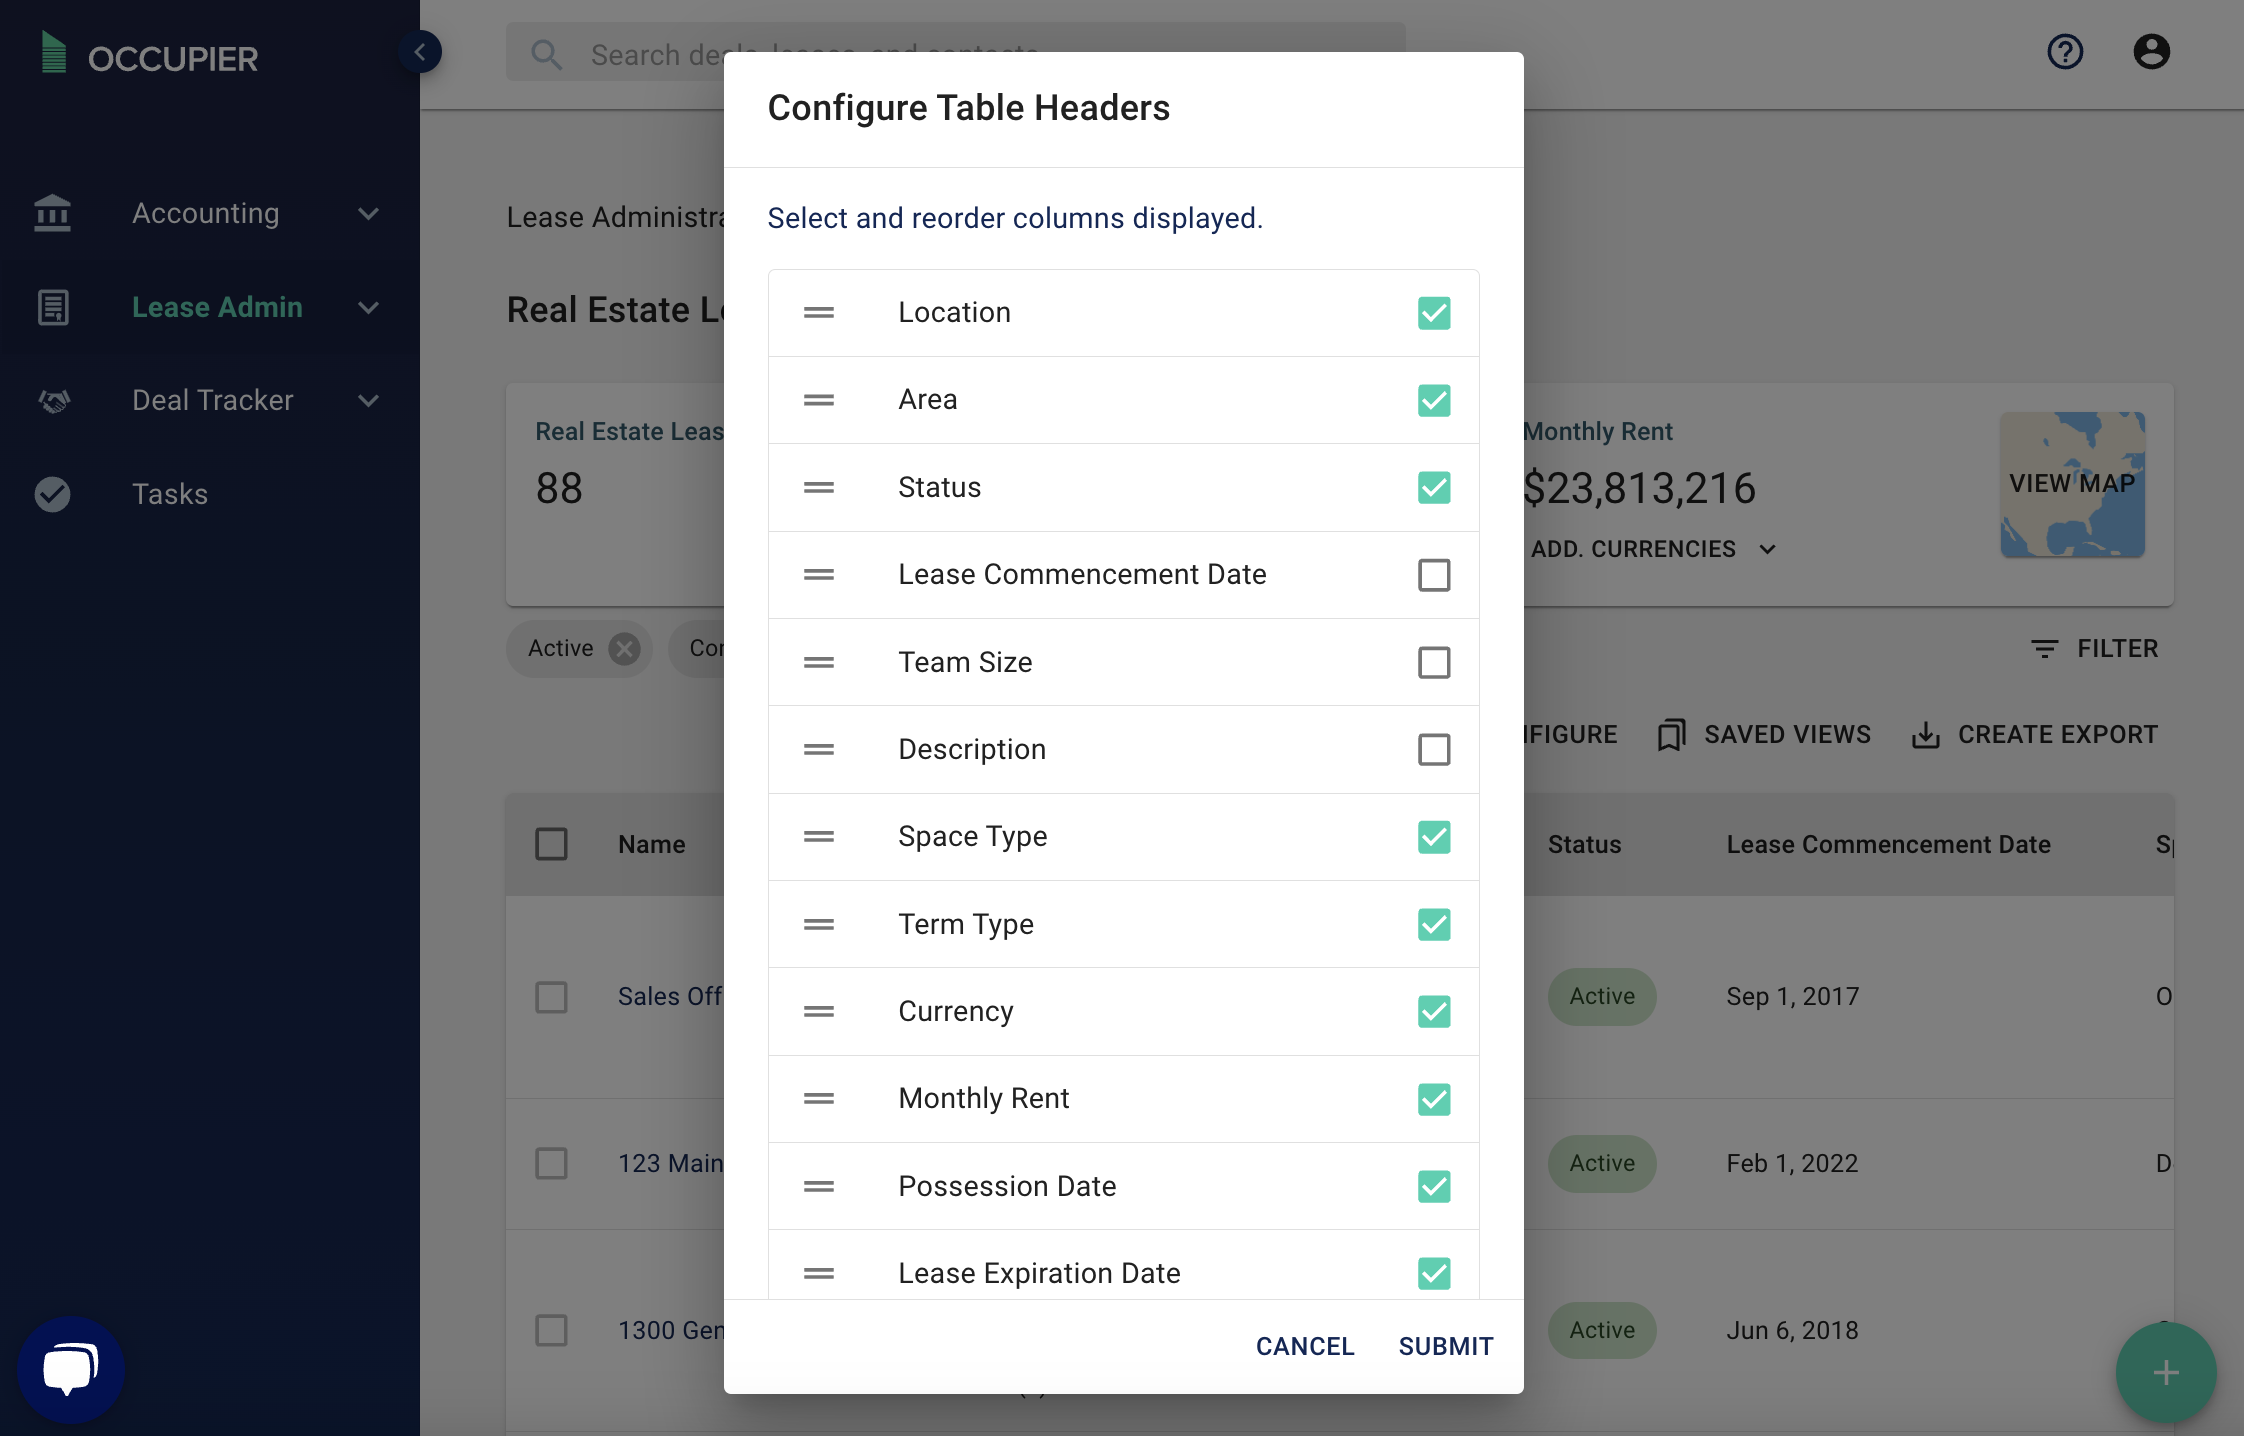
The second way to customize your exports is by configuring. When you click the "Configure" button as shown below, you can uncheck any of the table headers that you do not want included in your export. You can also drag and drop to re-order the columns. Again, your export will match your configuration.
